Single-Strand Necklace with Tigereye Gemstone Cabochon and Seed Beads


Design Idea G41L
Thrill of the Fight
-- Designer --
Esther, Jewelry Designer, Exclusively for Fire Mountain Gems and Beads®
To learn more about Esther Pollock, read her jewelry artist success story here.
: : : Materials : : :
Click here to view a full list of materials used in this design.
Please take the creative opportunity to select the products of your choice for this design, offered here at Fire Mountain Gems and Beads. Some materials may not be available or listed.
- Cabochon, tigereye (natural), 20mm calibrated round, B grade, Mohs hardness 7
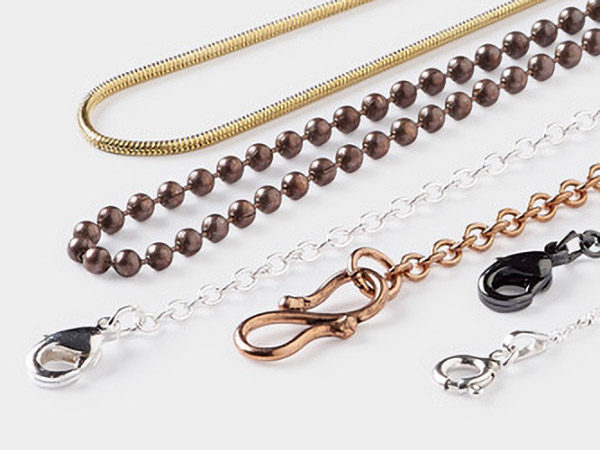
- Chain, gold-finished brass, 1mm snake, 36 inches with 1-inch extender chain and lobster claw clasp
- Lacy's Stiff Stuff™, beading foundation, white, 11x8-1/2 inch sheet
- Scrap, leather (dyed), black, 9-1/4 x 3-1/2 inch square
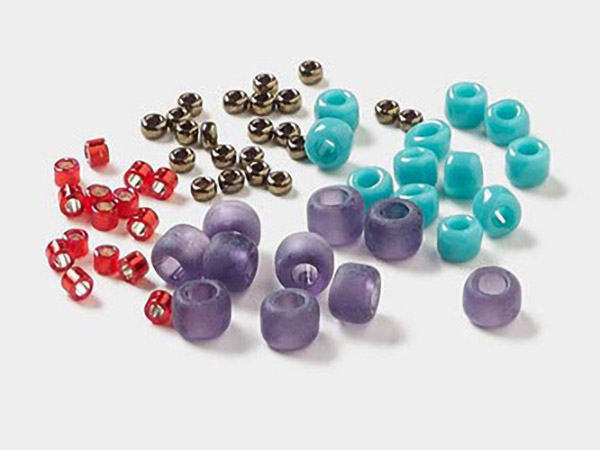
- Seed bead, Delica®, glass, opaque dark brown, (DB0734), #11 round
- Seed bead, Delica®, glass, opaque glazed luster bisque white, (DB1530), #11 round
- Seed bead, Delica®, glass, transparent silver-lined gold, (DB0042), #11 round
- Seed bead, Miyuki, glass, transparent silver-lined gold, (RR3), #15 rocaille
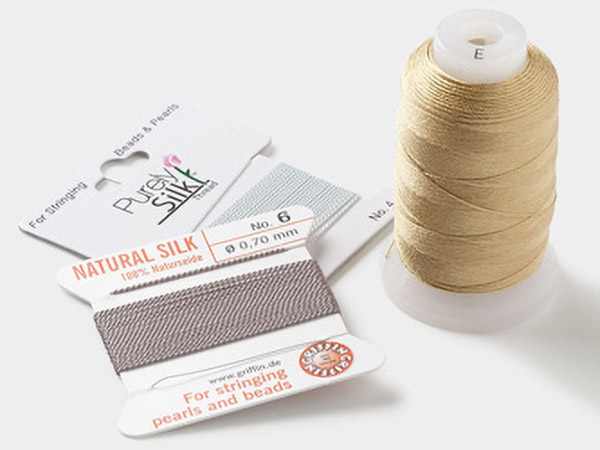
- Thread, Nymo®, nylon, brown, size D
Instructions
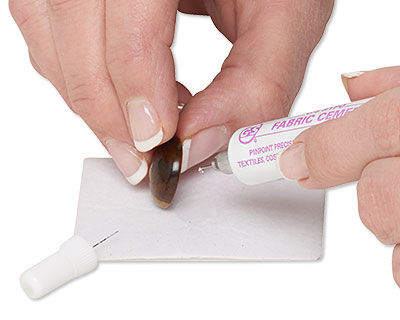
Apply a small amount of E6000® Jewelry and Craft Adhesive to the back of one 20mm tigereye cabochon. Place the cabochon onto a section of Lacy's Stiff Stuff then allow to dry according to manufacturer's instructions.
Tip: It is important to apply enough adhesive to secure the edges of the cabochons to the fabric, but not so much that it comes out around the edges. This could cause issues with the needle passing through the fabric later.
Cut one 6-foot length of brown Nymo® thread. Thread a beading needle almost doubling the thread (to make it easier to work with) but leaving a tail so you are working with only one thread. Knot the end of the working thread.
Tip: It may be necessary to cut other lengths of thread later in the design.
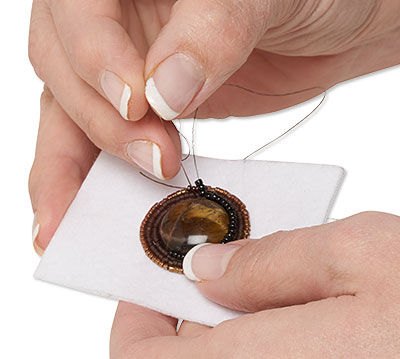
Pass the needle through the Lacy's Stiff Stuff, from back to front, close to the edge of the cabochon. String four luster white seed beads then pass down through the fabric. Pull the thread tight securing the beads in place. Skip back two seed beads, pass up through the fabric then through the two seed beads.
String two white seed beads then continue down through the fabric. Skip back three seed beads (two just stitched and one previous) and pass up through the fabric then through the three seed beads. Repeat to stitch two seed beads at a time around the circumference of the cabochon.
Use the silver-lined gold #11 seed beads to create a second row close around the previous then the dark chocolate #11 seed beads to create a third row close around the second. Tie off the thread then trim excess.
Cut a new length of thread then thread a needle. Knot the end of the working thread. Pass the needle up through the fabric.
Pass the needle through one seed bead in the first row. String two light gold #15 seed beads then pass down through two seed beads in the first row and back through the two #15 seed beads.
String two more #15 seed beads then pass through the next two seed beads from the first row and back through the #15 seed beads just added. Continue to stitch around the entire first row adding a row of #15 seed beads.
Stitch back through the adjacent seed beads to secure the thread then trim excess thread.
Trim the Lacy's Stiff Stuff around the edge of the last row of seed beads.
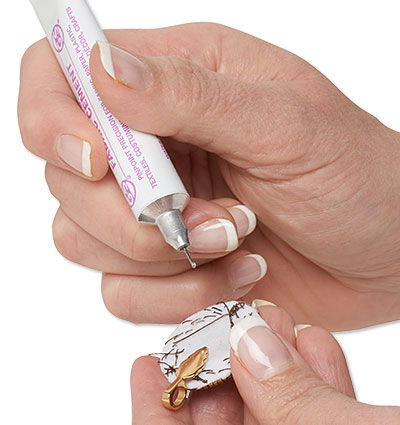
Apply E6000 to the back of the fabric. Press a piece of leather scrap onto the fabric then allow to dry. Trim the leather close around the edge of the Lacy's Stiff Stuff.
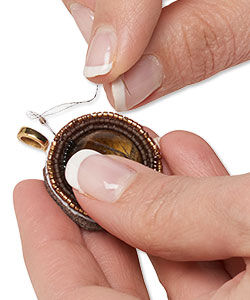
Cut a new length of thread then thread a needle. Knot the end of the working thread. Pass the needle between the two layers of fabric and up through the Lacy's Stiff Stuff, close to the edge of the component, concealing the knot.
String two silver-lined gold #11 seed beads then pass the needle through the edge of both layers of fabric, approximately 2mm from the previous stitch. Pass up through the fabric layers and the second seed bead.
String one seed bead, pass down through the edge of the fabric layers approximately 1mm from the previous bead then up through the previous seed bead. Repeat to create a brick stitch around the entire edge of the leather base.
Continue the brick stitch to create a second row of five beads along the top of the component and a third brick stitch row of four seed beads. Continue to create approximately 10 rows of three seed beads forming a strip. Bring the last row of the strip around the 1mm snake chain, to the back of the component then stitch through the first row and last row several times to create a bail.
Shop for Your Materials Here:

Have a question regarding this project? Email Customer Service.
Copyright Permissions
The pieces featured in the Gallery of Designs are copyrighted designs and are provided for inspiration only. We encourage you to substitute different colors, products and techniques to make the design your own.
All works of authorship (articles, videos, tutorials and other creative works) are from the Fire Mountain Gems and Beads® Collection, and permission to copy is granted for non-commercial educational purposes only. All other reproduction requires written permission. For more information, please email copyrightpermission@firemtn.com.