How to Create a Seed Beaded Toggle Clasp

Learn how to make your own seed beaded toggle clasps to add a one-of-a-kind flair to jewelry. With all the seed bead colors at your fingertips you can come up with a clasp to match any design.

Instructions
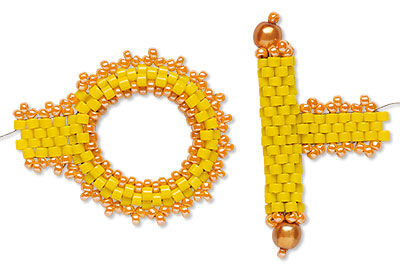
Toggle Clasp Ring
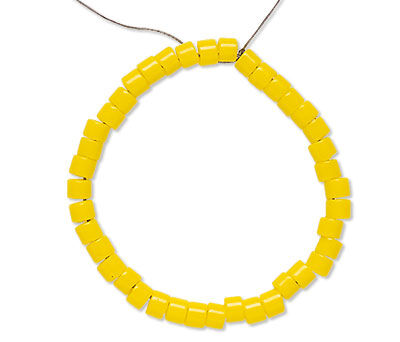
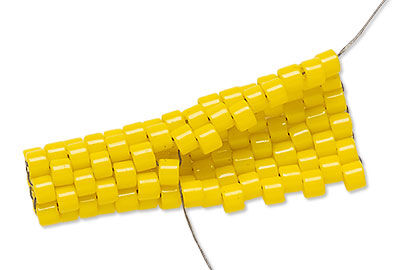
Cut an approximately 2-yard length of thread. Thread a beading needle almost doubling your thread but leaving a tail, making it easier to work. Attach a stop bead to the working end of the thread, leaving an approximately 6-inch tail.
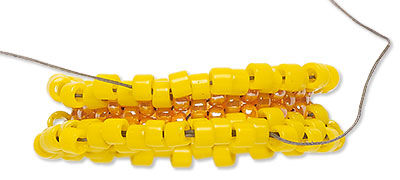
String approximately 40 #11 seed beads onto the thread. Bring the ends of the thread together so they overlap, then pass the needle through the seed beads once more. Pull the thread snug, but not tight, creating a ring then tie a surgeon's knot.
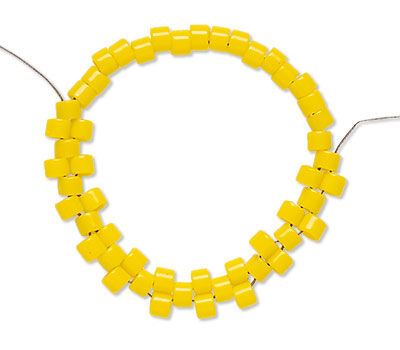
Begin even count circular peyote stitch by stringing one #11 seed bead then passing the needle through the third bead in the base row (skipping one bead from where your needle exited). String one seed bead, skip a seed bead and pass through the next bead in the base row. Repeat this pattern all the way around the base row of seed beads, creating a third row.
Note:
- Remember that the base row of seed beads creates the first two rows of peyote stitch
- There should be half of the number of beads initially strung in each additional row
After adding the last seed bead in the third row, step up by passing the needle up through the first seed bead in the third row. Continue the circular peyote stitch for three rows using #15 Delica seed beads.
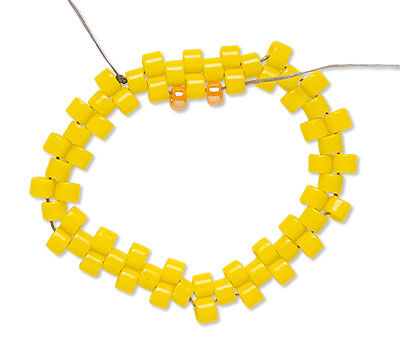
Pass through the last #15 seed bead and step up through the first #11 seed bead in the fourth row then continue to create two more rows of #11 seed beads.
Note: The seed beads will begin to curve in with each additional row, forming a channel.
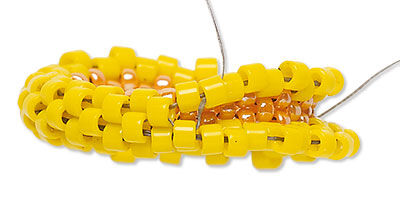
Bring the row just completed and the first row on the opposite side of the ring (Step 3) together so they form a single row, like a zipper. Stitch the resulting row together, zig-zagging between the seed beads around the entire ring.
Option 1
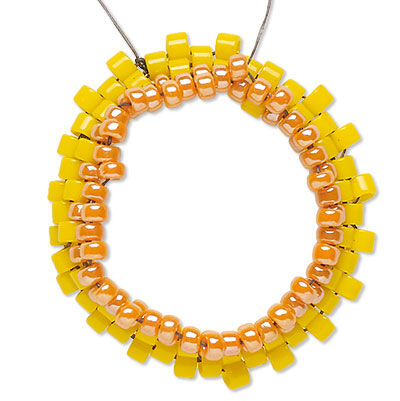
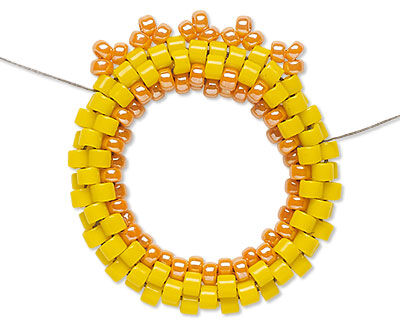
Exit a seed bead along the center edge of the ring then string approximately 12 beads (depending on the desired size of the loop). Pass through the next seed bead in the center row, forming a loop.
Options:
- Continue through the center row once more to reinforce the ring
- Embellish around the edge of the ring:
- String one bead, skip a bead, then pass through the next bead in the row. Continue to stitch a row of beads around the entire center of the ring.
- Form a picot stitch by stringing three #15 seed beads, skip a bead, then pass down through the next seed bead. Continue the picot stitch around the center of the ring.
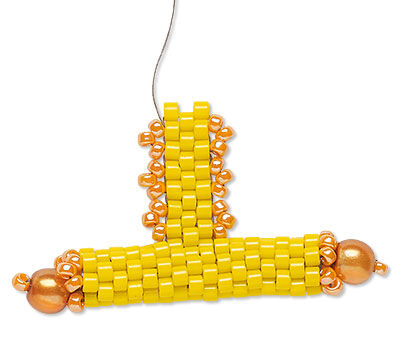
Option 2
For heavier designs, create an approximately 2 - 3 bead wide peyote stitch 1/2 inch strip, working off of the center row of the ring. Double the strip over then secure the end to the same beads in the center row, forming a loop.
Pass back and forth through adjacent seed beads to secure then trim excess thread.
Remove the stop bead then thread a needle onto the tail. Repeat to secure the tail.
Toggle Bar
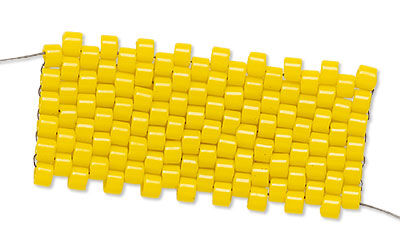
Create an approximately ten row (depending on the desired size of the ring) even count peyote strip.
Stitch the first and last row of the strip together, zig-zagging between the seed beads to secure the ends together, creating a bar. If desired, tie a surgeon's knot to secure the tail.
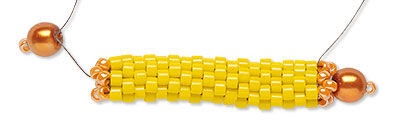
Exiting along the edge of the bar, string approximately ten seed beads (depending on the width of the bar) onto the thread then pass the thread down through the bar, bringing the seed beads through the center.
String one larger bead and one #15 seed bead. Pass the needle back through the larger bead and down through the bar. String a second larger bead and one #15 seed bead then stitch back through adjacent beads along the side of the bar, exiting from a seed bead in the center.
Note: It will begin to get difficult to pass through the seed beads in the peyote stitch. It may be necessary to switch to a smaller needle.
Tip: If desired, a picot stitch can be added to each end of the bar, but it's important to be sure the bar will pass through the ring.
Form a seed bead loop and secure the thread. Be sure the loop is large enough to allow the bar to pass through the ring when attached to the design.
Tip: If desired, secure the ends of the thread then attach a loop later when attaching to the design.
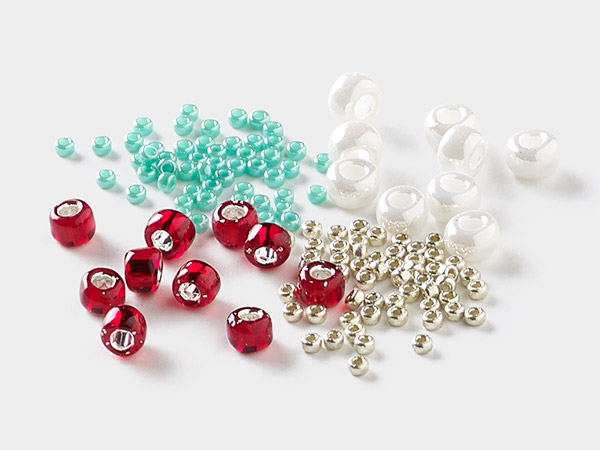
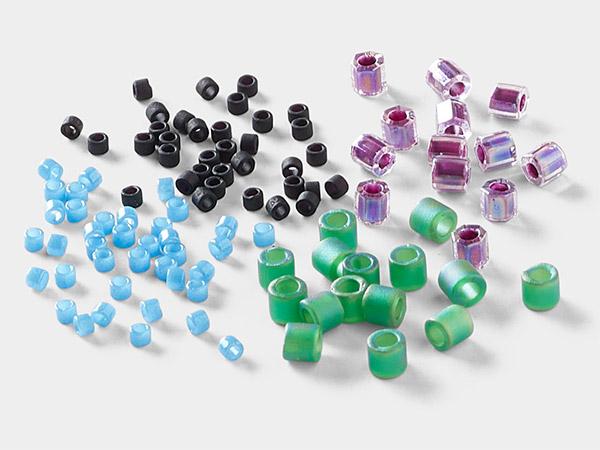
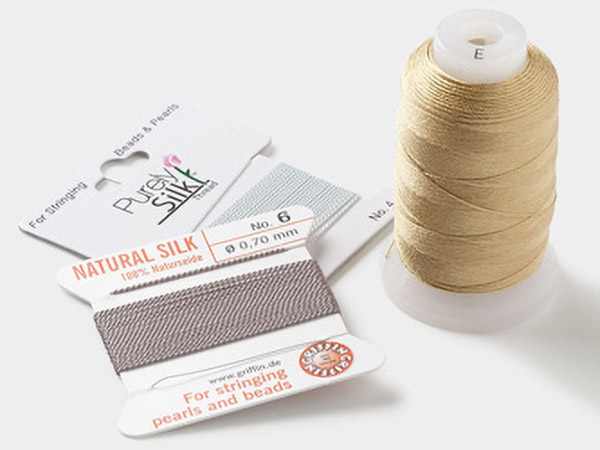
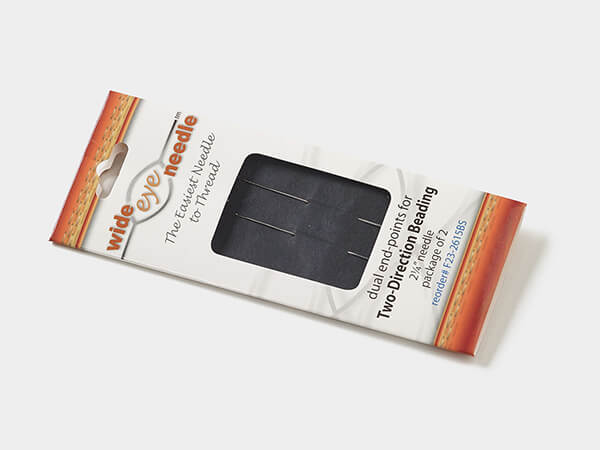
Shop for Your Materials Here:
Have a question regarding this project? Email Customer Service.
Copyright Permissions
All works of authorship (articles, videos, tutorials and other creative works) are from the Fire Mountain Gems and Beads® Collection, and permission to copy is granted for non-commercial educational purposes only. All other reproduction requires written permission. For more information, please email copyrightpermission@firemtn.com.