How to Create Fringe Stitches
Fringe is a great way to add stylish movement to jewelry designs. Begin your creative journey with making seed bead fringe using this comprehensive, illustrated guide to different fringe stitches.
Instructions
Fringe Techniques
Straight Fringe
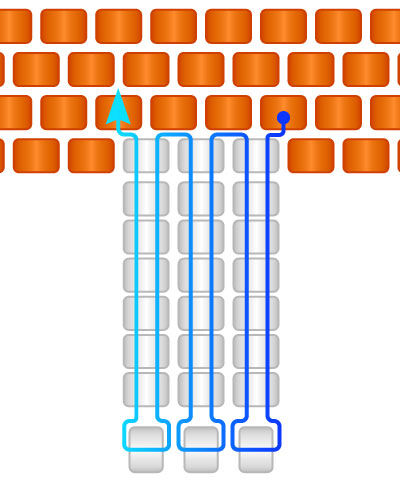
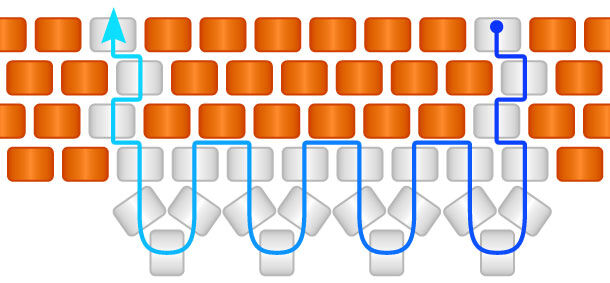
String the desired length of beads onto the thread. Skip the last bead (or three depending on the desired design) strung then pass back through the rest of the beads in the fringe. Continue back through the same bead in the base row then pull the thread snug. Pass through the next adjacent bead in the base row then repeat to create the desired length of straight fringe. Repeat to create rows of fringe as desired along the design.
Tip:
- The tightness of the thread will allow a fluid drape depending on the desired design
- It may be helpful to begin with the longest length of fringe depending on the desired design
Looped Fringe
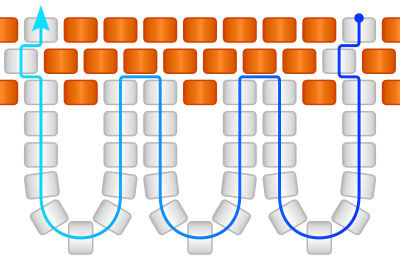
Exit a seed bead in the base row, or area where the fringe will begin. String onto the thread, approximately double the desired length of seed beads for the fringe. Skip one bead, then pass the needle through the next adjacent bead in the base row and pull snug, doubling the beads. Pass through the next adjacent bead in the base row, then repeat to create the desired length of looped fringe. Repeat to create rows of fringe as desired.
Optional:
After stringing the desired number of beads, skip one or more beads and pass up through a bead in the base row. Pass down through the previous bead then string the desired number of seed beads. Skip the next seed bead then pass through the next seed bead in the row. Continue the overlapping looped fringe to the desired length then secure the thread.
Twisted Fringe
Learn to create twisted fringe by watching this video or following the instructions below.

String onto the thread, approximately double the desired length seed beads of the fringe. Hold the needle, or a few inches above the beads, between a thumb and forefinger then twist the thread. Repeat twisting a few times. Slide the opposite hand, or a tool placed between the threads, down the thread pressing the twists down toward the beads. Continue to twist several more times. Press the twists down into the strung beads. Holding the twists secure inside the thread, position the seed beads so they are doubled to test if they begin to twist. Pass the needle back through the next seed bead in the base row and pull snug, doubling the beads. Twist the two sets of beads around each other forming a spiral.
Pass through the next adjacent bead in the base row then repeat to create the desired length of twisted fringe. Repeat to create rows of fringe as desired.
Note: The fringe will want to spiral naturally because of the twisted thread.
Tip: Using a doubled length of twisted thread instead of a monofilament thread will help hold the twist in place.
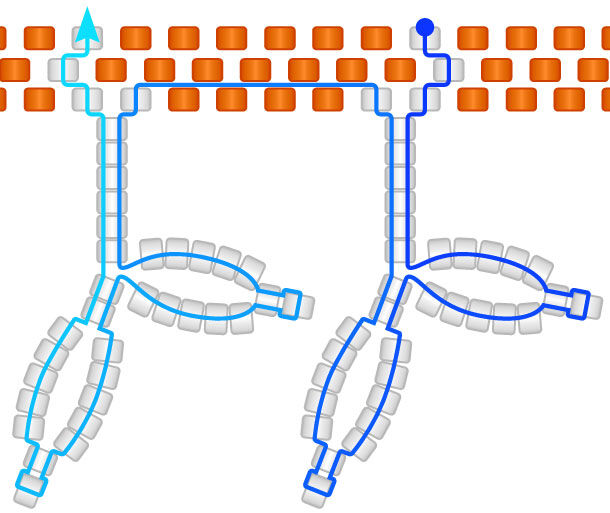
Coral or Branch Fringe
Learn the coraling stitch with this informative video or follow the instructions below.

For the coraling technique, string the desired length of beads for the main fringe onto the thread. Skip the last bead strung then pass back through one or more beads. String a few beads onto the thread, skip the last bead then pass back through the rest of the beads in the branch, back to the main fringe. Continue through a few more beads in the main fringe then create another branch. Repeat to create other branches along the fringe as desired. Continue through remaining beads in the main fringe and through the bead in the base row then pull the thread snug. Pass through the next adjacent bead in the base row then repeat to create the desired length of coral fringe. Repeat to create rows of fringe as desired.
Single-Leaf Fringe
String the desired length of beads for the main fringe onto the thread. Skip the last bead strung then pass through the second to last bead. String the number of beads desired to form the second side of the leaf. Continue through remaining beads in the main fringe and through the adjacent bead in the base row then pull the thread snug. Pass through the next adjacent bead in the base row then repeat to create the desired length of leaf fringe. Repeat to create rows of fringe as desired.
Multi-Leaf Fringe
String the desired length of beads for the main fringe onto the thread. Skip the last bead strung then pass back through one or more beads. String a few beads onto the thread, skip the last bead then string the number of beads desired to form the second side of a leaf. Pass back through the rest of the beads, if any, back to the main fringe. Continue through a few more beads in the main fringe then create another leaf. Repeat to create other leaves along the fringe as desired. Continue through remaining beads in the main fringe and through the bead in the base row then pull the thread snug. Pass through the next adjacent bead in the base row then repeat to create the desired length of multi-leaf fringe. Repeat to create rows of fringe as desired.
Picot Fringe
Exit the seed bead in the base row where the picot fringe will begin. String three seed beads then pass the needle through the adjacent bead in the base row. Tighten the thread snug so the first and third bead sit side-by-side and the second (center bead) resting above them, forming an arch. Pass up through the next adjacent seed bead. Repeat to attach a picot between each set of beads in the base row.
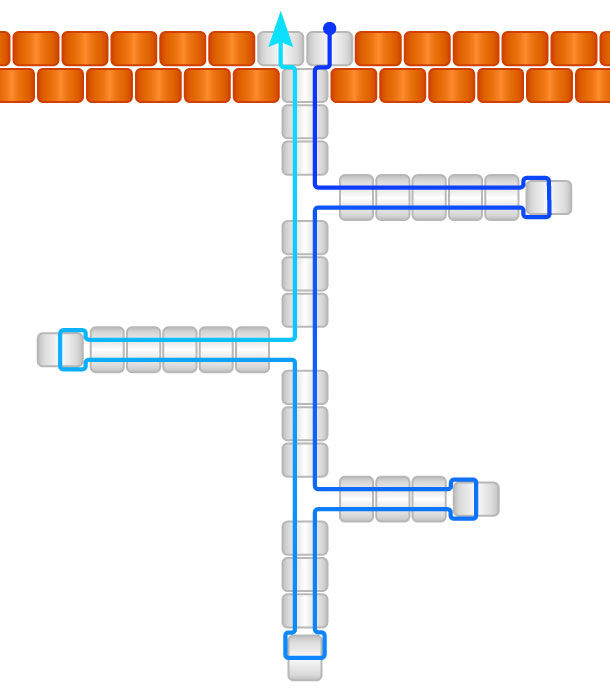
Finishing the Design
After creating the desired fringe, pass through several adjacent seed beads to create loops, securing the thread, then trim excess.
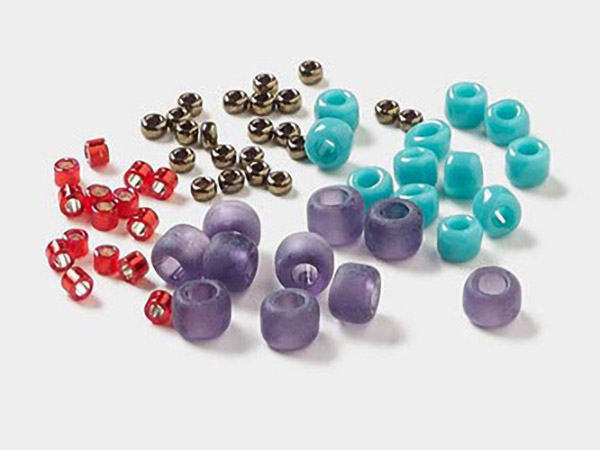
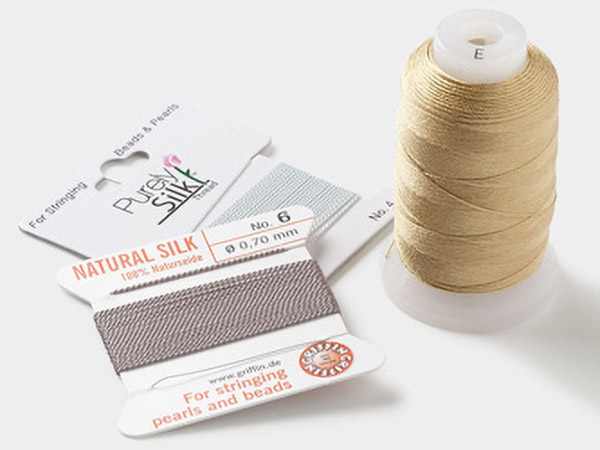
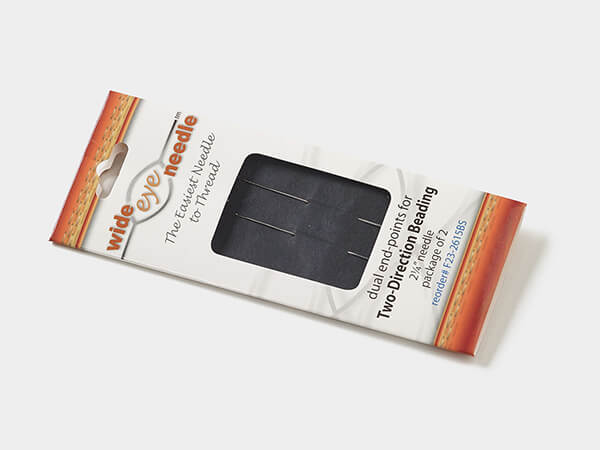
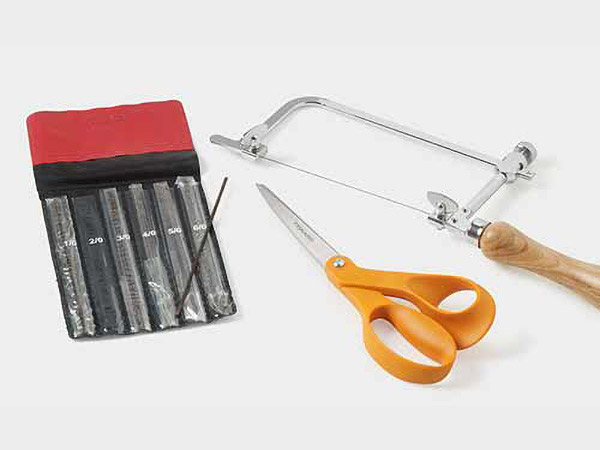
Shop for Your Materials Here:
Have a question regarding this project? Email Customer Service.
Copyright Permissions
All works of authorship (articles, videos, tutorials and other creative works) are from the Fire Mountain Gems and Beads® Collection, and permission to copy is granted for non-commercial educational purposes only. All other reproduction requires written permission. For more information, please email copyrightpermission@firemtn.com.