Crocheted Rocket Ornament with Preciosa Seed Beads

Design and instructions courtesy of Preciosa
Instructions
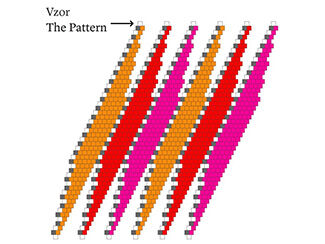
String all the beads for the design onto the Purely Silk™ size FFF white thread, according to the pattern in the image below or in the pattern PDF. Begin stringing with the top row, going straight across. Once you have strung all six white beads in the top row, proceed to the second row and string the beads from left to right. Continue until all the beads have been strung.
You should end up with the following number of beads per row:
- Row 1: 6 beads
- Rows 2 to 5: 12 beads
- Rows 6 to 9: 18 beads
- Rows 10 to 13: 24 beads
- Rows 14 to 17: 30 beads
- Rows 18 to 32: 36 beads
- Rows 33 to 36: 30 beads
- Rows 37 to 40: 24 beads
- Rows 41 to 44: 18 beads
- Rows 45 to 48: 12 beads
- Row 49: 6 beads
Tip: Divide the rows by stringing small strips of paper onto the yarn. This will help you avoid any errors between rows.
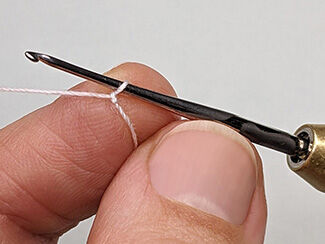
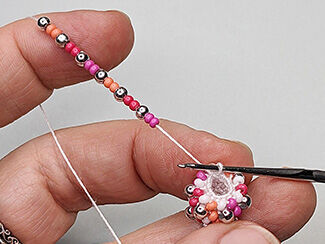
Using a 1.25mm crochet hook, create the initial loop in the Purely Silk size FFF white thread, making sure to leave an 8-inch length of extra thread at the end. Then chain 2. Poke the hook through the first loop. Then single crochet 6 times in the loop you just created. You should now have a small circle.
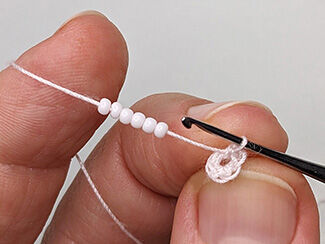
Slide 6 beads up to the hook. Add the beads to the circle you created in Step 1, putting a single crochet between each bead.
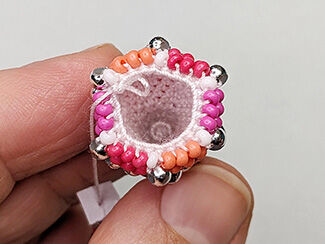
Slide 12 more beads toward the hook for the second row. Add the beads to the cone you are creating, adding one bead at a time, with a single crochet between each bead. Make sure to add two beads to each loop in the previous row of beads.
Slide 12 beads toward the hook. Add the beads to the cone you are creating, adding one bead at a time with a single crochet between each bead. Make sure to add one bead to each loop in the previous row of beads.
Repeat for the fourth and fifth rows of beads.
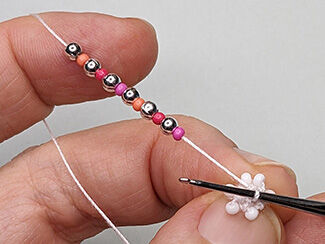
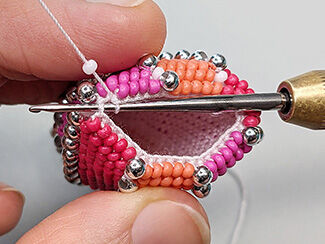
Slide 18 beads toward the hook. Add the beads to the cone you are creating, adding one bead at a time with a single crochet between each bead. Make sure the first place you attach a bead is to a colored bead. This will result in a gently spiraling design. Attach three beads for every two beads in the previous row.
Slide another 18 beads toward the hook. Add the beads to the cone you are creating, adding one bead at a time with a single crochet between each bead.
Add the rest of the rows of beads in a similar fashion until you reach Row 32—the last row of 36 beads.
Thread a #6 soft silver rocaille seed bead onto a 1.5-inch eye pin. Place the eye / bead end of the eye pin inside the narrow (beginning) end of the cone you have just created. Use the excess thread and a Wide-Eye Needle™ to sew the end of the cone shut, encasing the seed bead and eye inside, but leaving the length of the eye pin sticking out of the center. Secure the end of the thread with a knot.
String an 8x6mm silver-plated cord end and a #6 soft silver rocaille seed bead onto the eye pin. Make a simple loop in the end of the eye pin. This will not only secure the cord end and seed bead, but will be the location of the string by which the ornament will hang.
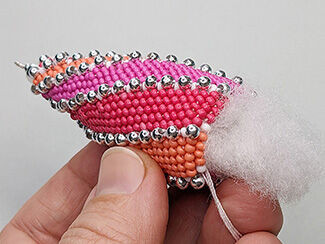
Fill the cone with stuffing material of your choice, to help it retain its shape.
Continue crocheting and adding beads, reducing the diameter of the cone gently, by skipping the last stitch at the end of each row, paying attention to how many beads should be in each row. Remember to add stuffing as you work, to ensure the entire length of the cone is stuffed. You will not be able to add stuffing after finishing the bottom end.
Attach an eye pin, a #6 seed bead and a cord end to the bottom of the ornament, using the same steps you used in Step 9.

Thread a 7mm silver-plated bead, a #6 rocaille seed bead in Color B from your design, and a 5mm silver-plated bead to a 1.5-inch head pin.
Make a simple loop in the end of the head pin, attaching the dangle to the simple loop on the bottom of the ornament before you close the loop.
Materials
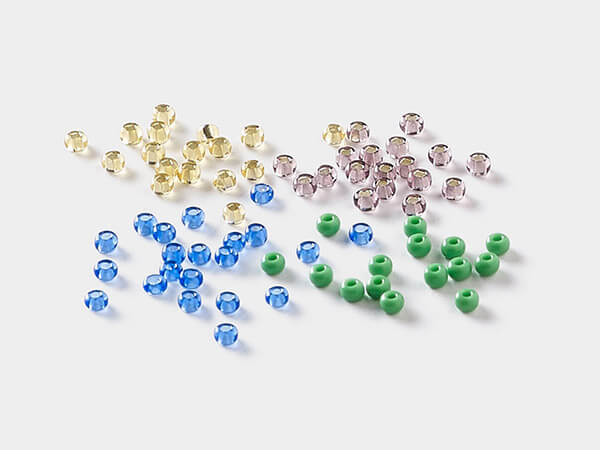
- Preciosa Ornela #10 opaque seafoam green rocaille Czech glass seed beads
- Preciosa Ornela #10 opaque matte blue rocaille Czech glass seed beads
- Preciosa Ornela #10 opaque sky blue rocaille Czech glass seed beads
- Preciosa Ornela #10 opaque white rocaille Czech glass seed beads
- Preciosa Ornela #6 opaque soft silver metallic alabaster Czech glass rocaille seed beads
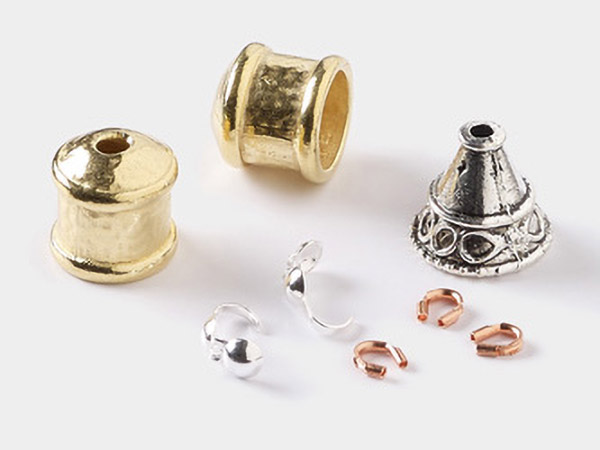
- silver-plated brass 5mm round bead
- silver-plated brass 7mm round bead
- silver-plated brass 1.5-inch 21-gauge eye pin
- silver-plated brass 8x6mm cord end
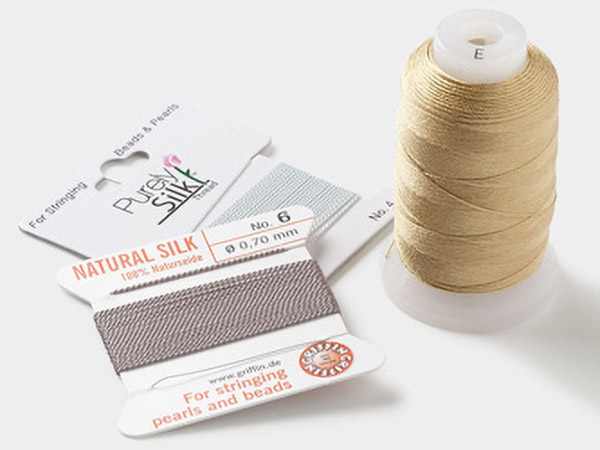
- Purely Silk™ size FFF white thread
Shop for Your Materials Here:

Have a question regarding this project? Email Customer Service.
Copyright Permissions
All works of authorship (articles, videos, tutorials and other creative works) are from the Fire Mountain Gems and Beads® Collection, and permission to copy is granted for non-commercial educational purposes only. All other reproduction requires written permission. For more information, please email copyrightpermission@firemtn.com.