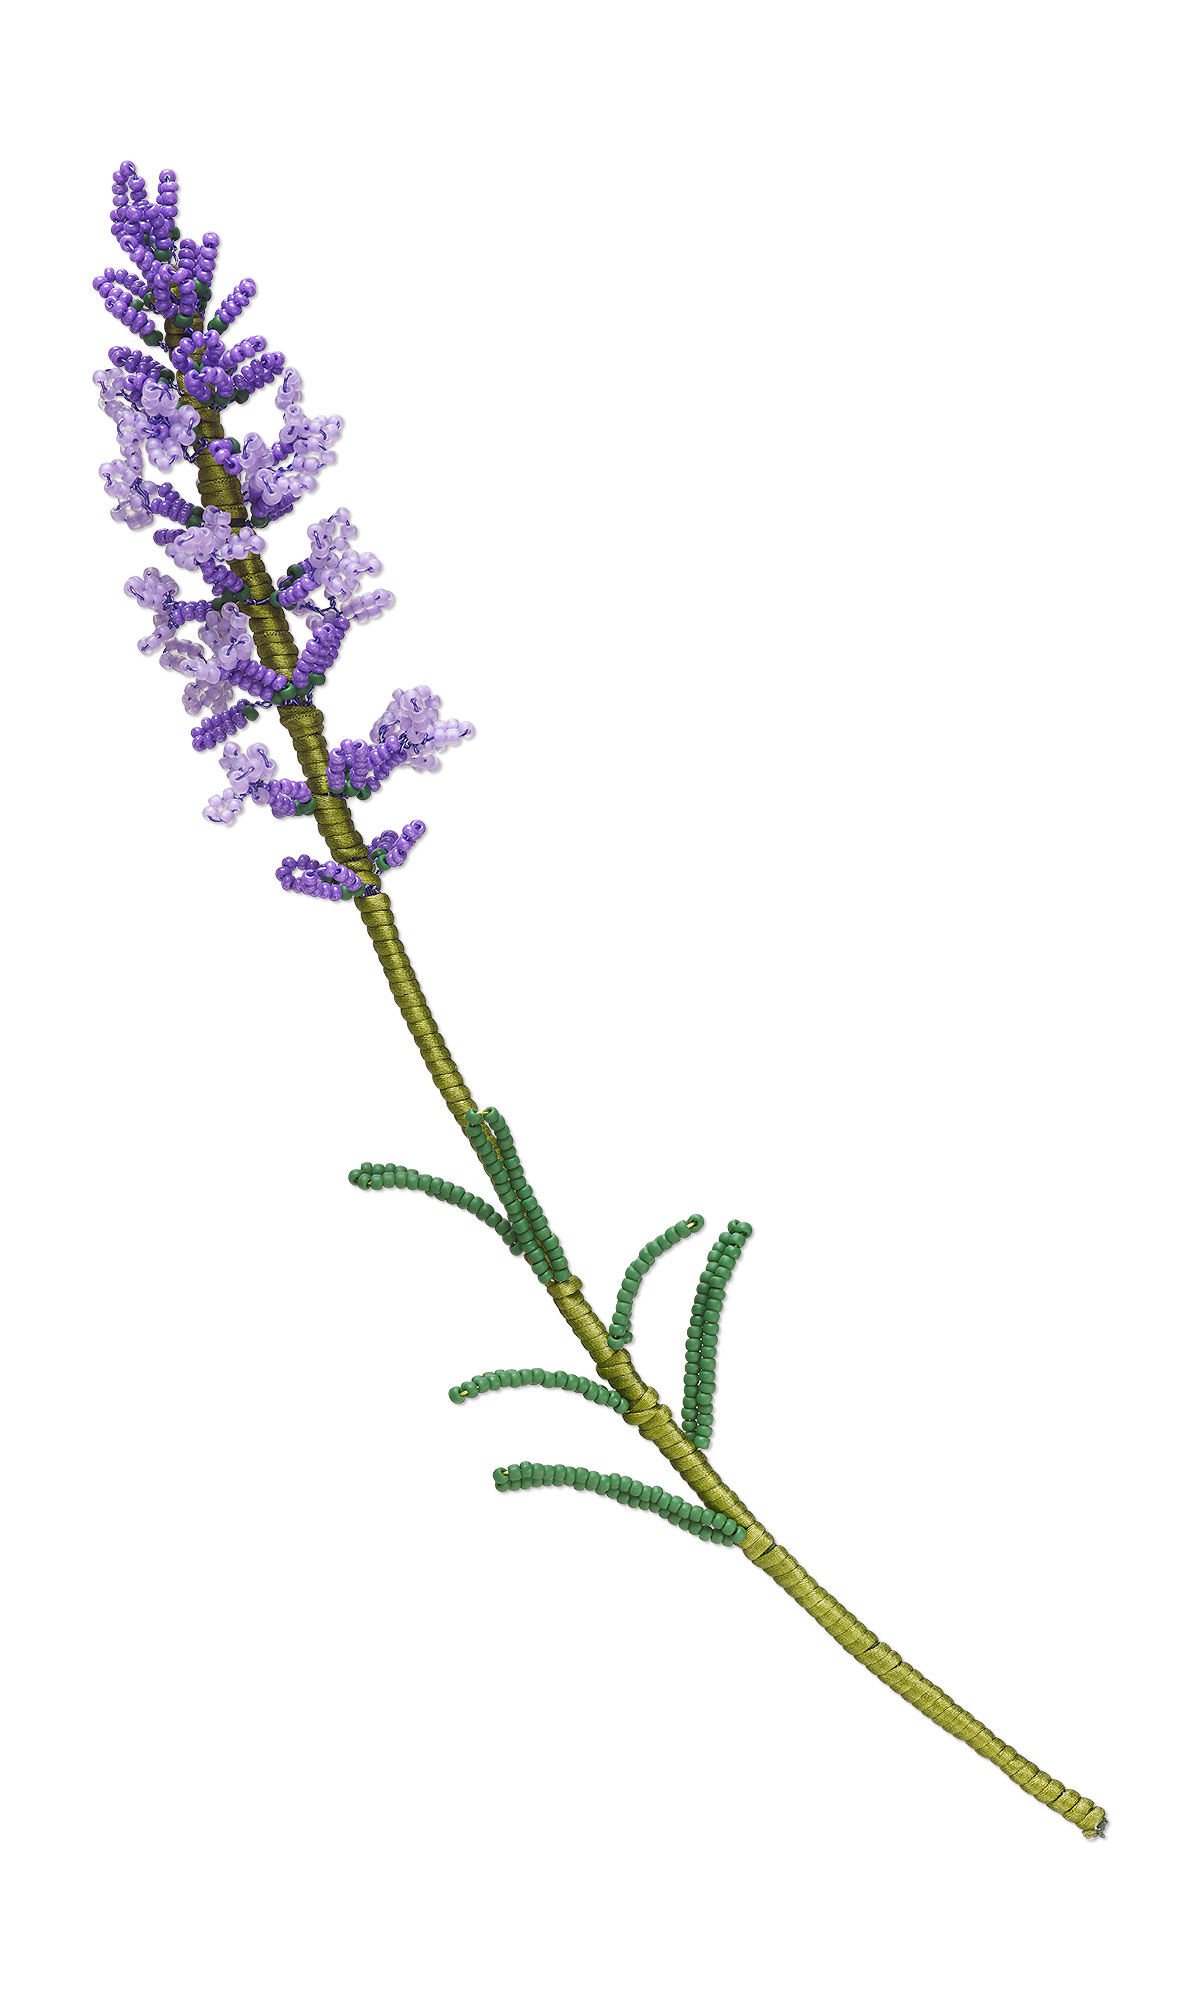
Beaded Lavender Frond with Preciosa Ornela, TOHO BEADS® and Dyna-Mites™ Seed Beads and Satinique™ Cord

Design Idea RG3J
-- Designer --
Patti, Jewelry Designer, Exclusively for Fire Mountain Gems and Beads®
To learn more about Patti Miller, read her jewelry artist success story here.
: : : Materials : : :
Click here to view a full list of materials used in this design.
Please take the creative opportunity to select the products of your choice for this design, offered here at Fire Mountain Gems and Beads. Some materials may not be available or listed.
- Adhesive, Quick Hold®, clear
- Adhesive, Super Glue® Future Glue® Gel, clear
- Cord, Satinique™, satin, leaf green, 1mm
- Rubber tool dip, liquid coating Tool Magic®, white
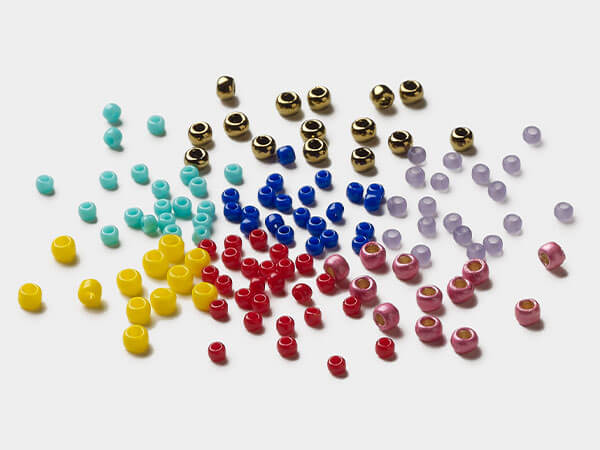
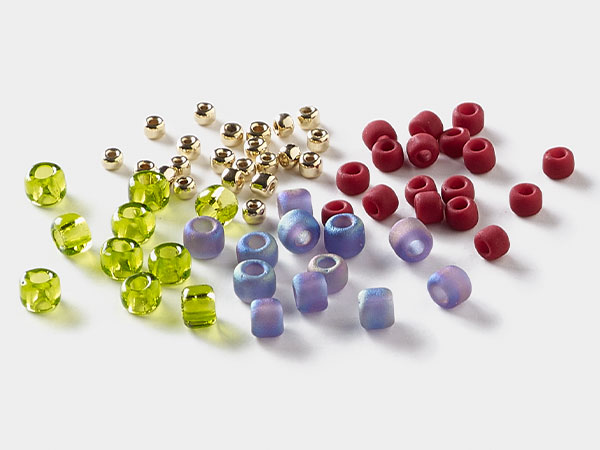
- Seed bead, Dyna-Mites™, glass, #11 round, translucent inside dyed color matte lilac, (213MA 11/0 RR)
- Seed bead, Preciosa Ornela Czech glass, #11 rocaille, opaque terra dyed lilac luster chalkwhite, (16328)
- Seed bead, TOHO BEADS®, glass, #11 round, opaque frosted pine green (TR-11-47HF)
- Table vise, PROXXON™, steel / zinc / rubber, green / olive green / black, 5-3/4 x 4 inches with swivel base and 3-inch jaw length
- Tool, Speedy Stringer™, beechwood, 4x3.5 inches, 1-inch deep bowl, includes "J" needle
- Wire, Wrapit®, nickel silver, half-hard, round, 16 gauge
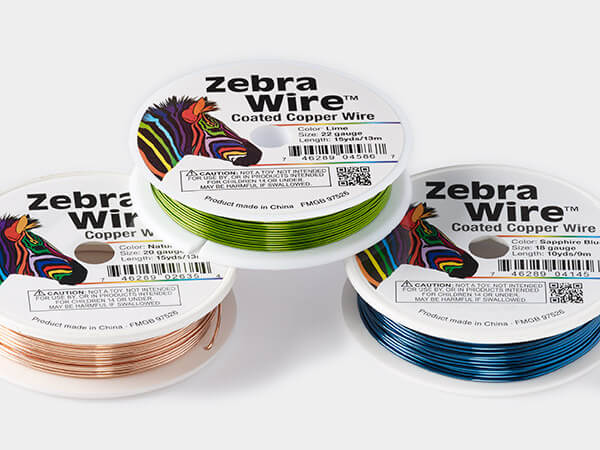
- Wire, Zebra Wire™, color-coated copper, light lime, round, 26 gauge
- Wire, Zebra Wire™, color-coated copper, violet, 26 gauge
Instructions
• #11 Preciosa Ornela opaque terra-dyed lilac luster chalkwhite rocaille seed beads (we will refer to this as “purple”)
• #11 Dyna-Mites™ translucent inside-dyed color matte lilac round seed beads (we will refer to this as “ light purple”)
• #11 TOHO BEADS® opaque frosted pine green round seed beads (we will refer to this as “green”)
Tip: Use whatever colors and finishes of seed beads say “fresh lavender stalk” to you. The seed beads should have very rounded edges and uniformly shaped. Dyna-Mites, TOHO BEADS and Preciosa Ornela round and rocaille seed beads all work. Delica® seed beads are not suitable. Choose three colors of #11 seed beads in green, purple and light purple.
Small loop #1 1 green, 9 purple, 1 green
Large loop #2 1 green, 11 purple, 1 green
Small loop w/small bloom #3 1 green, 4 purple, 21 light purple, 4 purple, 1 green
Small loop w/large bloom #4 1 green, 4 purple, 29 light purple, 4 purple, 1 green
Large loop w/small bloom #5 1 green, 5 purple, 21 light purple, 5 purple, 1 green
Large loop w/large bloom #6 1 green, 5 purple, 29 light purple, 5 purple, 1 green
Small or Large Loop
- Grasp both tails of wire and move them in so the beads fold in half making a tight U shape with the green beads touching.
- Grasp the beads and twist tightly just below the green beads twice to secure the beads.
Small Loop with Small Bloom
- Let the first 5 beads (1 green and 4 purple) fall onto the last section of beading.
- Move 5 light purple beads up 1/4 inch from the beads just moved, to the loop and bend and twist them once to make a small bloom loop.
- Repeat three times for a total of four bloom loops.
- Pinch the sides of each loop together so they are straight instead of rounded.
- Bring your working tail up so it is centered between all four loops to create a bloom.
- Let the last light purple bead fall to the center of the bloom.
- Wrap the working wire tightly, once around the third small bloom loop so the tail comes out from the bottom of the bloom.
Small Loop with Large Bloom
- Let the first 5 beads (1 green and 4 purple) fall onto the last section of beading.
- Move 7 light purple beads up 1/4 inch from the beads just moved, to the loop and bend and twist them once to make a small bloom loop.
- Repeat three times for a total of four bloom loops.
- Pinch the sides of each loop together so they are straight instead of rounded.
- Bring your working tail up so it is centered between all four loops to create a bloom.
- Let the last light purple bead fall to the center of the bloom.
- Wrap the working wire tightly, once around the third sm bloom loop so the tail comes out from the bottom of the bloom.
- Move the next five beads (1 green and 4 purple) up to fall against the bloom.
- Pinch the wires together so the green beads are touching and twist tightly to take up any slack between the loops.
Large Loop with Small Bloom
- Let the first 6 beads (1 green and 5 purple) fall onto the last section of beading.
- Move 5 light purple beads up 1/4 inch from the beads just moved, to the loop and bend and twist them once to make a small bloom loop.
- Repeat three times for a total of four bloom loops.
- Pinch the sides of each loop together so they are straight instead of rounded.
- Bring your working tail up so it is centered between all four loops to create a bloom.
- Let the last light purple bead fall to the center of the bloom.
- Wrap the working wire tightly, once around the third small bloom loop so the tail comes out from the bottom of the bloom.
- Move the next 6 beads (5 purple, 1 green) up to fall against the bloom.
- Pinch the wires together so the green beads are touching and twist tightly to take up any slack between the loops.
Large Loop with Large Bloom
- Let the first 6 beads (1 green and 5 purple) fall onto the last section of beading.
- Move 7 light purple beads up 1/4 inch from the beads just moved, to the loop and bend and twist them once
- Repeat three times for a total of four bloom loops.
- Pinch the sides of each loop together so they are straight instead of rounded.
- Bring your working tail up so it is centered between all four loops to create a bloom.
- Let the last light purple bead fall to the center of the bloom.
- Wrap the working wire tightly, once around the third sm bloom loop so the tail comes out from the bottom of the bloom.
- Move the next 6 beads (5 purple, 1 green) up to fall against the bloom.
- Pinch the wires together so the green beads are touching and twist tightly to take up any slack between the loops.
Leaf Loops
- Thread 16 inches of green beads onto a roll of Zebra Wire™ 26-gauge light lime color-coated copper round wire.
- Hold the wire about 2-1/2 inches from the tip and let 2 inches of beads fall against your fingers.
- Fold the beads in half and twist twice forming a loop, then pinch the loop closed to form a straight leaf. Curve very slightly.
Your completed lavender stalk will consist of a tip, two small tiers, two medium tiers, two large tiers, one medium tier, one small tier and 7 leaves.
Tip: The first step of preparation needs to be completed the day before you wish to work on this project.
Dip the jaws of a pair of flat nosed pliers in Tool Magic® liquid coating and let them dry overnight.
Pour each of your three seed bead colors into a Speedy Stringer™ bead stringer.
Practice making a gentle “J” hook that curves very slightly outwards with your wire. We recommend using the smaller barrel of extra-large round Wubbers for this. Practice stringing seed beads onto the wire, using the Speedy Stringer.
You will make the tip tier from three small loops and one large loop as follows:
Cut a 14-inch length of Zebra Wire™ 26-gauge violet color-coated copper wire. Using round-nose pliers, make a small, tight coil in one end of the wire to use as a stopper.
Thread Pattern 1 onto the wire three times. Thread Patter 2 onto the wire once. Then let the beads fall against the stopper.
Make a large loop (as detailed above) three inches from the end of the wire.
About 1/4 inch away from the large loop, make three small loops (as detailed above), leaving 1/4 inch between each loop. Push all four loops up together and center the large loop between the three small loops. Twist the tails together just below the loops to secure the tip tier.
Cut off the tails, leaving about 3 inches of wire. Then cut one inch off one of the tails. Straighten the tails. This will make the stem look more streamlined.
You will be making 3 small tiers consisting of four small loops as follows:
Cut a 14-inch length of Zebra Wire 26-gauge violet color-coated copper wire. Using round-nose pliers, make a small, tight coil in one end of the wire to use as a stopper.
Thread on Pattern 1 four times. Then let the beads fall against the stopper.
About 3 inches from the tip, make a small loop (as detailed above). Create three more small loops about 1/4 inch apart.
Cut off the tails, leaving about 3 inches of wire. Then cut one inch off one of the tails. Straighten the tails.
Repeat twice to make a total of 3 small tiers.
You will be making 3 medium tiers consisting of two small loops and three small loops with small blooms as follows:
Cut a 20-inch length of Zebra Wire 26-gauge violet color-coated copper wire. Using round-nose pliers, make a small, tight coil in one end of the wire to use as a stopper.
Thread on Pattern 3 once, Pattern 1 once, Pattern 3 twice and Pattern 1 once. Let the beads fall against the stopper.
About 3 inches from the tip, make the following:
- Two small loops (as detailed above).
- Two small loops with small blooms (as detailed above)
- One small loop
- One small loop with small bloom
Cut off the tails, leaving about 3 inches of wire. Then cut one inch off one of the tails. Straighten the tails.
Repeat to make a total of 3 medium tiers.
You will be making 2 large tiers consisting of 2 large loops, 1 large loop with small blooms and 2 large loops with large blooms as follows:
Cut a 20-inch length of Zebra Wire 26-gauge violet color-coated copper wire. Using round-nose pliers, make a small, tight coil in one end of the wire to use as a stopper.
Thread on Pattern 2 once, Pattern 6 twice, Pattern 2 once and Pattern 5 once. Let the beads fall against the stopper.
Make a stopper coil on the free end of the wire.
About 3 inches from the new stopper coil, make a large loop with small bloom (as detailed above).
Then make the following:
- One large loop
- Two large loops with large blooms
- One large loop
Cut off the tails, leaving about 3 inches of wire. Then cut one inch off one of the tails. Straighten the tails.
Repeat to make a total of 2 large tiers.
Make a total of 6 leaves following the instructions for leaf loops. Use varying lengths of beads from 1-1/2 to 2-1/2 inches.
Cut one inch off one tail from each leaf and straighten the stems.
Use a wire straightener or nylon-jaw pliers to completely straighten a 10-inch length of Wrapit® 16-gauge nickel silver half-hard round wire while still on the roll, then cut. This will be the stem of the stalk.
Hold the end of a roll of floral tape (available at craft and hobby stores) to the end of the wire at a 45-degree angle so the tip of the wire is completely covered, pinching around the tip so no metal shows through. Then roll the tape tightly down the wire past the end and cut it from the roll. Pinch the tape together to cover the end of the wire.
You will be constructing the lavender stalk as follows:
Hold the tip tier against the stem so the base of the loops touches the tip of the stem.
Hold the end of a roll of Satinique™ 1mm leaf green satin cord against the stem 1/4 inch from the tip. Roll the cord up to the tip.
Lay the tip tier against the wire so the loops rest on top of the tip of the stem. Then roll the cord tightly down over the tier wires and step about two revolutions. Hold the cord with your non-dominant hand.
You will be rolling the cord down to completely cover the wires and stem as you construct your lavender stalk.
Tip: Be sure to wrap tightly to flatten the cord as you roll and wrap so each revolution touches the last for complete coverage of the stem.
Tip: Flatten wires more snugly against the stem as you go for a cleaner looking stem.
Wrap a small tier around the stem just under the last cord wrap.
Twist the tail wires twice around the stem.
Grip the twists of wire with the tip of flat-nose pliers coated in Tool Magic and twist until the tier is snug on the stem. Be careful not to over-twist, as that may break the wires.
Bring the cord down between two loops in the tier and continue wrapping the cord down two more revolutions.
Repeat to wrap on a second small tier.
Repeat Step 9, substituting in medium tiers, and wrapping the cord 4 revolutions between tiers.
Repeat Step 9, substituting in large tiers, and wrapping the cord 5 revolutions between each tier.
Repeat Step 9, substituting in one small tier, and wrapping the cord 4 revolutions between the last two tiers.
Wrap the cord down the stem 2 inches. Lay the tails of a leaf flat against the stem. Continue wrapping the cord underneath the leaf.
Repeat 6 times, laying the leaves so they will face different directions, with varying intervals of space between leaves. You will have 2 inches free at the bottom of the stem.
Bow each leaf very slightly so they reach upward with the tips gently curving down.
Wrap the cord to 1/4 inch from the bottom of the stem. Apply a thin layer of Quick Hold® clear adhesive to the exposed stem. Then quickly wrap the cord down the rest of the stem.
Clamp the cord to the bottom tip of the stem. Let the adhesive dry for 5 minutes.
Cut the cord from the stem. If needed, apply a tiny drop of Super Glue® Future Glue® Gel clear adhesive to the end of the cord so it is flat against the stem.
Shop for Your Materials Here:
Copyright Permissions
The pieces featured in the Gallery of Designs are copyrighted designs and are provided for inspiration only. We encourage you to substitute different colors, products and techniques to make the design your own.
All works of authorship (articles, videos, tutorials and other creative works) are from the Fire Mountain Gems and Beads® Collection, and permission to copy is granted for non-commercial educational purposes only. All other reproduction requires written permission. For more information, please email copyrightpermission@firemtn.com.

