How-To Wire Wrap a Cabochon Setting

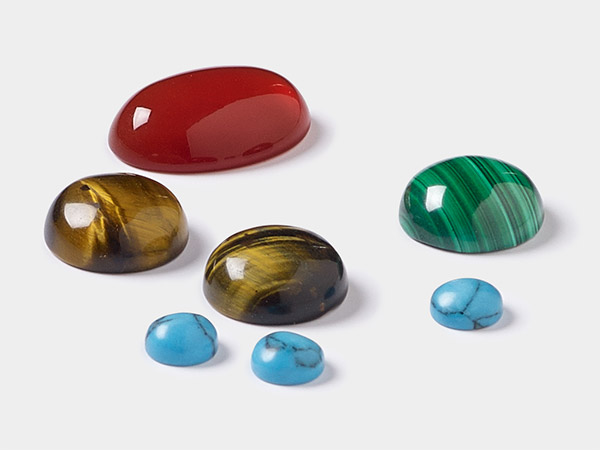
Cabochons are available in a wide range of sizes and shapes, which means sometimes you can't get a perfect fit in a bezel. Try wrapping a cabochon with wire for a custom way to use cabs in handmade jewelry by following these full instructions:
Instructions
Cut a piece of painter's tape to a width of approximately 1/2 inch. Wrap the tape around the girdle of the cabochon, tearing at the point of overlap.
Press the tape to the work space surface to use as a measuring guide.
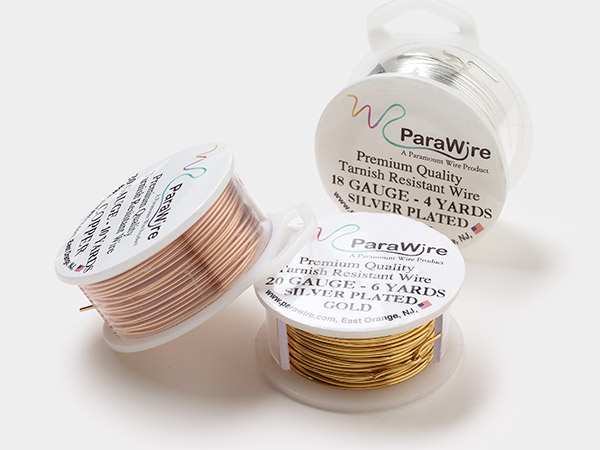
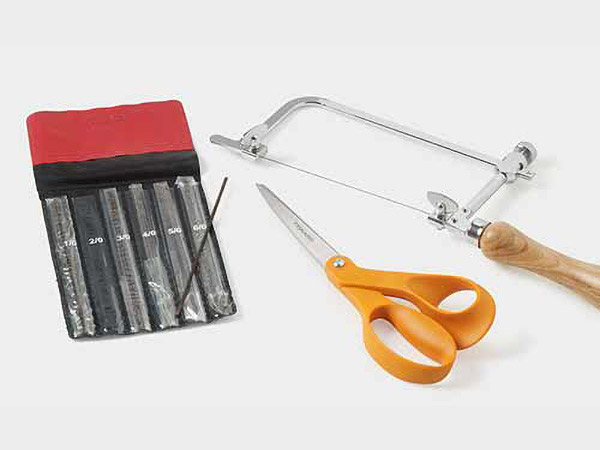
Cut three pieces of 21-gauge square wire that are approximately 2 inches longer than the tape measured in Step 1.
Cut four 2-inch lengths and one 3-1/2 inch length of 26-gauge half-round wire.
Tear four pieces of painter's tape that are approximately 1 inch in length, cut to a 1/2 inch width and place at the edge of the work space.
Note: The number of 1-inch tape lengths and 2-inch half-round wire lengths may differ depending on the size of the cabochon used.
Hold the three pieces of square wire parallel to each other, with flat sides together. Wrap one 1-inch piece of tape around the center of the wires.
Repeat to wrap three more 1-inch lengths of wire at intervals along the bundle of square wire, spacing to accommodate the size and shape of your cabochon.
Hold a 2-inch length of half-round wire on the inside curve of the wire bundle between two pieces of painter's tape. Position the half-round wire with the flat side against the bundle leaving a tail approximately 1/4 inch in length.
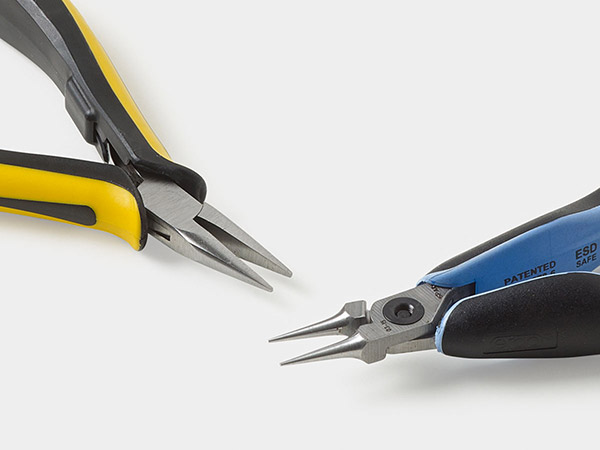
Using your fingers or chain nose pliers, wrap the half-round wire around the wire bundle approximately four times. Finish wrapping on the inside curve of the bundle. Wrap the tail around to the back of the wire bundle, trimming excess wire if necessary.
Note: It is best to wrap the wire snug against the bundle, but still able to move along the bundle with pressure.
Repeat to wrap three more half-round wire lengths between all the pieces of tape holding the wire bundle.
Use chain-nose pliers to flatten the half-round wraps.
Remove the painter's tape from the wire bundle, leaving the pieces at each end.
Place the wire bundle against the cabochon on the workspace and gently shape around the cabochon, stopping just prior to the location of the bail.
Slide the half-round wraps to the approximate final placement on the bundle.
Note: For better security, place the half-round wire wraps at even intervals around the cabochon.
Working between the two center wire wraps, pull the outer wires of the bundle away from the center wire. Hold the wire bundle against the cabochon with the center wire on the girdle.
Position the outer wires out further, one over the edge of the cabochon dome and one over the flat back.
Repeat with the remaining bundle sections between wire wraps.
Place the cabochon within the created bezel. Shape the wire bundle around the uncovered edge of the cabochon, bringing the ends of the bundle together to close the bezel.
Hold the remaining 2-inch length of half-round wire around the gathered bundle ends, snug against the cabochon. Position the half-round with the flat side toward the bundle and with a 1/2 inch tail.
Wrap the half-round wire tightly around the gathered ends three times. (Do not cut excess wire.)
Remove the painter's tape from the end of the bundle wires.
Pull two of the loose bundle wires on the left of the cabochon to a horizontal position. Repeat with the right side of the wire bundle, leaving two straight wires in the center.
Grip the two center wires with Wubbers® bail-making pliers and bring the wires over the jaw toward the back of the cabochon.
Wrap the half-round wire added in Step 10 tightly around the ends of the center wires and the previously wrapped wires, securing the bail.
End wrapping at the back of the bail. Bring the tail of the half-round wire to the back of the cabochon. Pull both wire ends down the center of the cabochon back.
Using round-nose pliers, create a decorative spiral with each end of the half-round wire.
Created decorative shapes on the front of the cabochon with the wires separated from the bail in Step 11. Trim excess wire if desired.
Tip: String beads onto the wire between swirls and loops for added texture.
Shop for Your Materials Here:
Have a question regarding this project? Email Customer Service.
Copyright Permissions
All works of authorship (articles, videos, tutorials and other creative works) are from the Fire Mountain Gems and Beads® Collection, and permission to copy is granted for non-commercial educational purposes only. All other reproduction requires written permission. For more information, please email copyrightpermission@firemtn.com.


