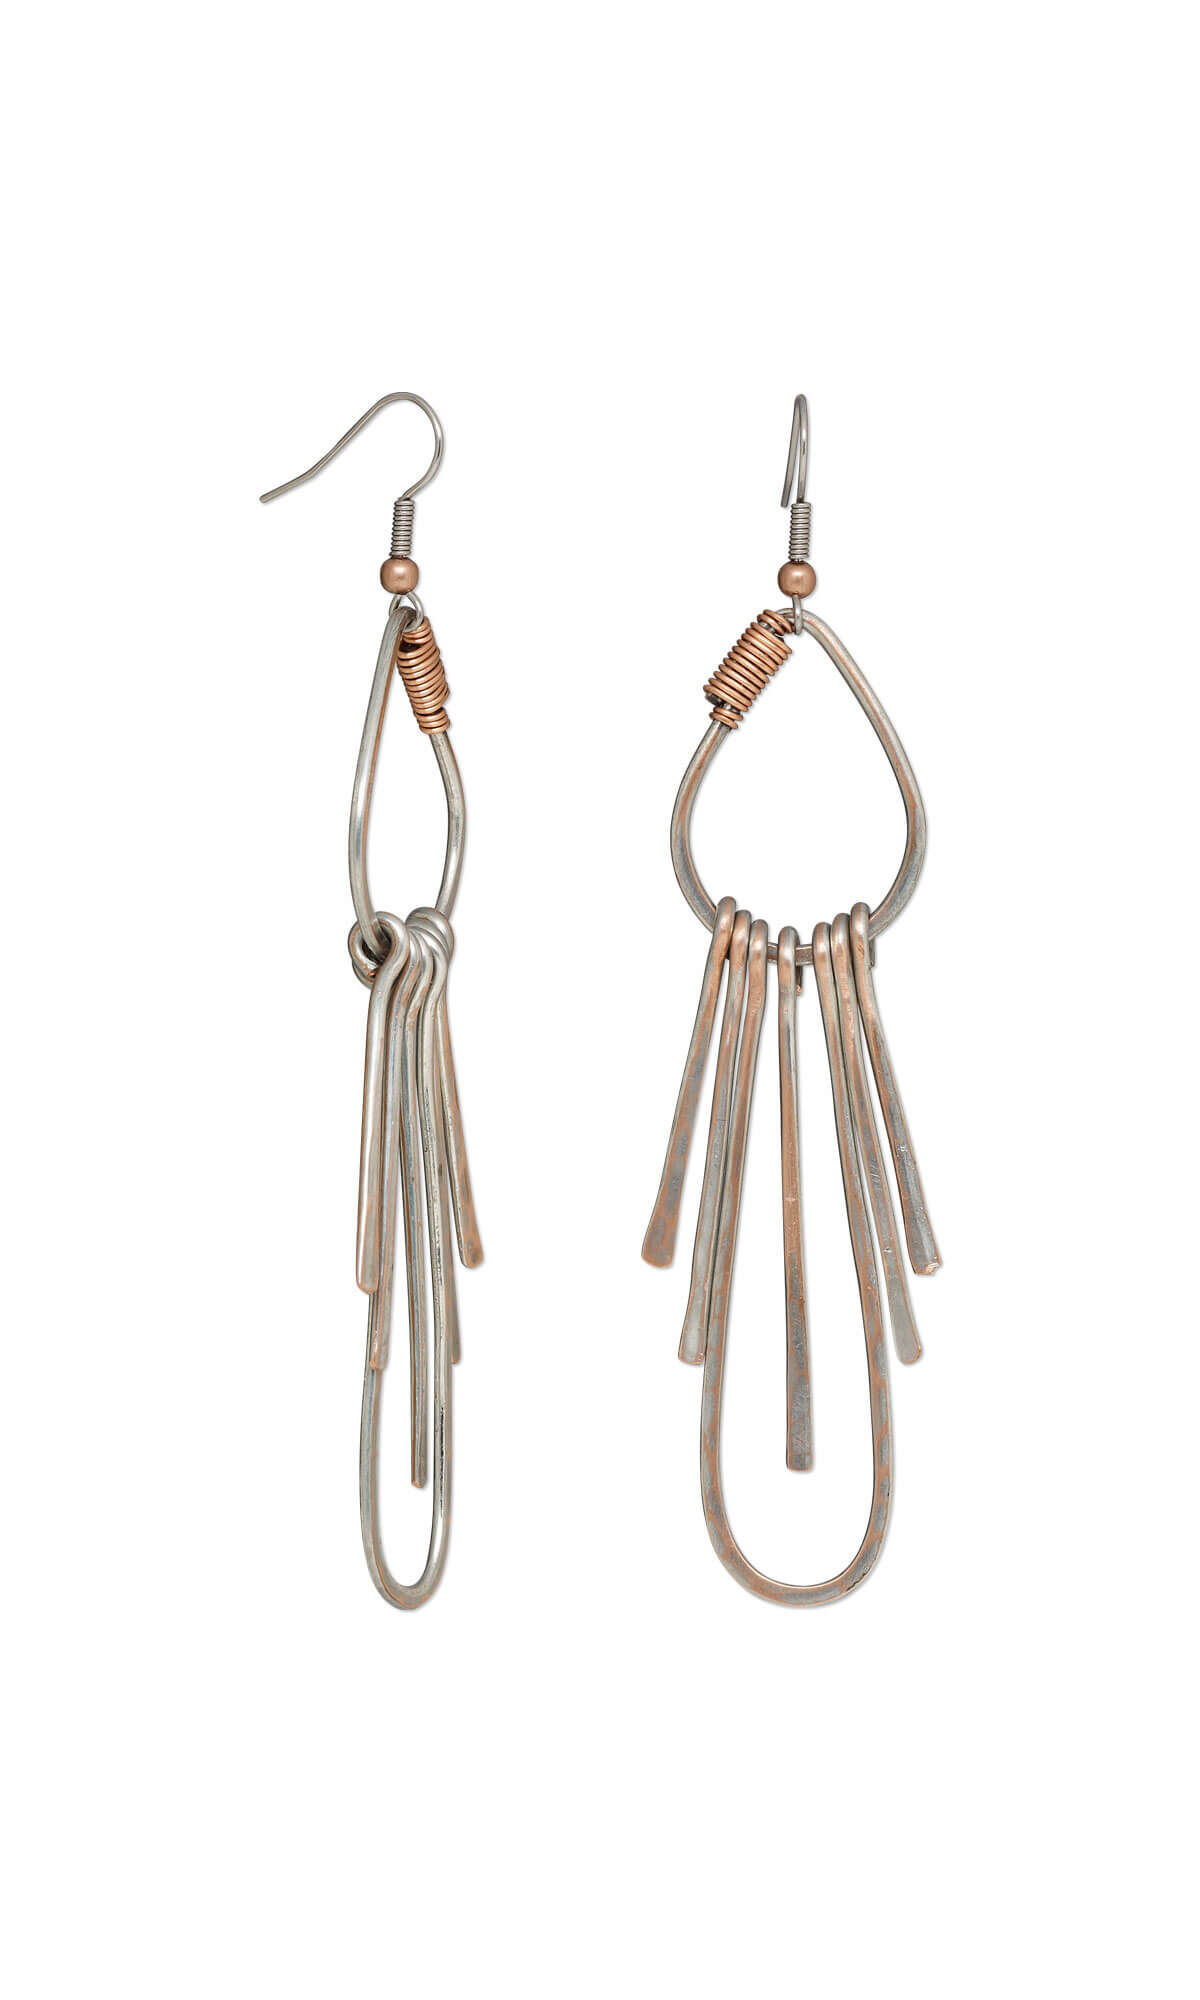
Wireworked Earrings with Zebra Wire™


Design Idea MK3D
-- Designer --
Patti, Jewelry Designer, Exclusively for Fire Mountain Gems and Beads®
To learn more about Patti Miller, read her jewelry artist success story here.
: : : Materials : : :
Click here to view a full list of materials used in this design.
Please take the creative opportunity to select the products of your choice for this design, offered here at Fire Mountain Gems and Beads. Some materials may not be available or listed.
- Wire, Zebra Wire™, natural copper, round, 24 gauge
- Wire, Zebra Wire™, tinned copper, silver color, round, 16 gauge
- Jump ring, antique copper-plated brass, 4mm round, 2.4mm inside diameter, 20 gauge
- Ear wire, stainless steel and copper-plated brass, 16.5mm fishhook with 2.5mm ball and open loop, 21 gauge
- File, diamond- / titanium-coated steel / rubber, black and yellow, 7 inches
- Bench block, steel, 3-3/4 x 3-3/4 x 3/4 inch square
- Sanding pad, micro-mesh, 2-inch square, 1500-12000 grit
- Craft brush, wood / horsehair / aluminum, assorted colors, 7 to 8-1/2 inches, sizes 1-12
- Pliers, Wubbers® Designer Mandrel, large bail-making, steel and rubber, 7-1/4 inches
- Pliers, Wubbers® Designer Mandrel, jumbo round mandrel, steel and rubber, 7 inches
- Patina gel, Cool Tools, stabilized liver of sulfur
- Chasing hammer, steel and rubberwood, natural, 28mm convex head and 14mm ball head, 10 inches
Instructions
Cut the following lengths of wires:
- 14-gauge copper Zebra Wire™
- Two 3-3/4 inches
- Two 5-1/2 inches
- Two 2-1/4 inches
- Four 1-3/4 inches
- Four 1-1/2 inches
- 24-gauge copper Zebra Wire
- Two 10-inches
Form a simple loop on all of the lengths of except on the 10-inch and 5-1/2 inch lengths.
Working off the spool, place the small jaw of the extra-large Wubbers® pliers against the wire then wrap 3/4 of the way around the jaw and pull the tails together to make a teardrop shape.
Bend one tail downward and cut flush a little under 1/2 inch of the way down. Cut the second tail just below the top of the teardrop then tuck this tail toward the inside of the teardrop.
Center one 10-inch length of wire over the overlap of the teardrop created in Step 2. Wrap tightly until the end of the overlap is wrapped then wrap twice more around the teardrop-shaped wire, trim then tuck the tail to hide the end.
Wrap the other tail tightly against the existing wraps then repeat.
Rub Penny Brite® onto the surface of the 10-inch length of copper wire only. Rinse then brush the same length of wire with patina gel.
Let set for five minutes then rinse. Brush lightly with a sanding pad to remove most of the patina on the same length of wire for a slightly brushed and antiqued look.
Place the center of the 5-1/2 inch length of wire on the large barrel of the standard round Wubbers pliers. Make a 180-degree bend to form the long drop.
Form a simple loop on both ends in the same direction.
Place the long drop on a steel block and hammer the wire flat from the bottom, approximately 2/3 of the way up, graduating upwards.
Repeat Steps 5 and 6 using one 3-3/4 inch, one 2-1/4 inch, two 1-3/4 inch and 1-1/2 inch lengths of wires, creating drops.
Use the simple loops to attach the drops in the following lengths, making sure the simple loops are attached in the same direction:
- 1-1/2 inch
- 1-3/4 inch
- 2-1/4 inch
- The long drop
- 3-3/4 inch in the center of the long drop
- 2-1/4 inch
- 1-3/4 inch
- 1-1/2 inch
Pass one jump ring through the loop on the ear wire then close.
Use one jump ring to attach the previous jump ring onto the teardrop to complete the earring.
Repeat Steps 2 - 9 to create a second earring.
Have a question regarding this project? Email Customer Service.
Copyright Permissions
The pieces featured in the Gallery of Designs are copyrighted designs and are provided for inspiration only. We encourage you to substitute different colors, products and techniques to make the design your own.
All works of authorship (articles, videos, tutorials and other creative works) are from the Fire Mountain Gems and Beads® Collection, and permission to copy is granted for non-commercial educational purposes only. All other reproduction requires written permission. For more information, please email copyrightpermission@firemtn.com.

