Create Your Own Braided Wire Beaded Ring
Create a beautiful braided wire beaded ring using gold-filled wire and small gemstone beads in this beginner-friendly tutorial. We’ll walk you step-by-step through shaping, braiding and beading the wire to achieve a polished, timeless ring with a subtle pop of color—perfect for gifting, selling, or wearing yourself. You’ll also see fun, colorful variations to spark endless design combinations using different bead sizes, gemstone types and wire colors. Whether you’re new to wirework or looking for a fresh idea to add to your handmade jewelry collection, this project is simple, stylish and totally customizable.


Design Idea SB22
-- Designer --
Patti, Jewelry Designer, Exclusively for Fire Mountain Gems and Beads®
To learn more about Patti Miller, read her jewelry artist success story here.
: : : Materials : : :
Click here to view a full list of materials used in this design.
Please take the creative opportunity to select the products of your choice for this design, offered here at Fire Mountain Gems and Beads. Some materials may not be available or listed.
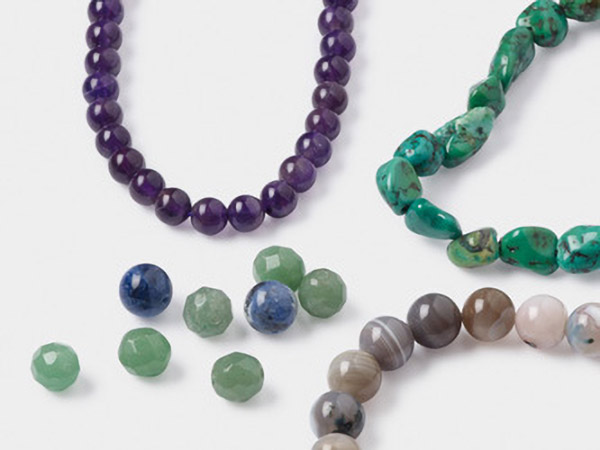
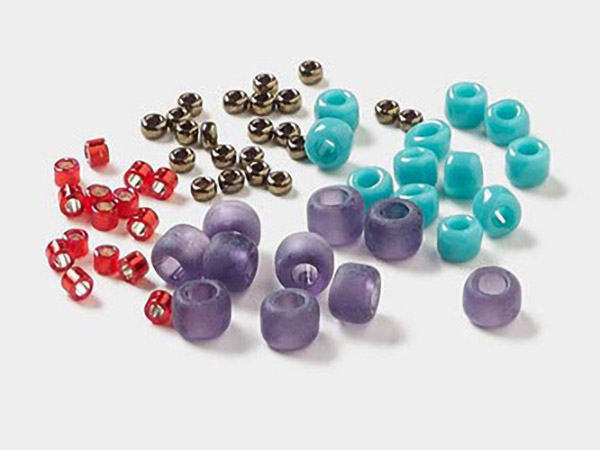
- Red creek jasper, round bead, 4mm
- Turquoise, round bead, 4mm.
- Bead, bamboo coral (dyed), pink, 4.5-5mm hand-cut round, B- grade, Mohs hardness 3-1/2 to 4.
- Rose quartz, tumbled faceted round bead natural 15.5-16 inch 4mm.
- Wire, Zebra Wire™, brass, round, 24 gauge.
- Wire, sterling silver-filled, dead-soft, round, 20 gauge.
- Wire, Zebra Wire™, brass, round, 22 gauge.
- Wire, ParaWire™, copper, round, 20 gauge.
- Wire, ParaWire™, copper, round, 24 gauge.
- Rubber tool dip, liquid coating Tool Magic® 2 ounce jar white.
- Pliers, Wubbers® Designer Mandrel, small half-round mandrel, steel and rubber.
- Ring mandrel, hardened steel, 11-1/2 x 1 x 1 inches.
Instructions
Cut the following wire lengths:
- One 9-inch 20-gauge sterling silver–filled round wire
- One 8-inch 24-gauge copper round wire
Dip the jaws of a pair of chain-nose pliers in Tool Magic®. Set aside and allow to dry completely, preferably overnight.
Locate the center of the 20-gauge sterling silver–filled wire and make a 180-degree bend so the wire ends are aligned. Using the prepared chain-nose pliers, close the bend tightly so the two wire tails are parallel.
Using the smallest barrel of Wubbers® round mandrel pliers, form a small hook at the bend.
At the tip of the hook, use the 24-gauge copper wire to tightly wrap several coils around both silver-filled wires. Trim the short tail and tuck it neatly.
Center the long copper wire tail between the two silver-filled wire tails.
Leaving the copper wire centered, splay the two silver-filled wires outward to approximately 80 degrees. Thread one 4mm round turquoise bead onto the copper wire and allow it to rest between the bases of the silver-filled wires.
Wrap the right silver-filled wire snugly around the bead so it rests across the top of the copper wire. Wrap the left silver-filled wire snugly around the bead so it rests across the bottom of the copper wire.
Thread another bead onto the copper wire and slide it snugly against the previous bead. Repeat the wrapping process described in Step 5.
Continue adding and wrapping beads until a total of eight beads have been wrapped into place.
Using the tips of chain-nose pliers, bend the two silver-filled wires so they are parallel and extend closely together from the end of the ring.
Grip one silver-filled wire just above the bend using chain-nose pliers. Bend the wire outward approximately 90 degrees from the top edge of the plier jaw.
Using round-nose pliers, form a loop. After the loop, use chain-nose pliers to bend the wire downward so it runs parallel to the opposite wire, with both tails pointing in opposite directions.
Trim both wire tails with flush cutters so they meet approximately halfway between the last bead wrap and the loop.
Wrap the remaining copper wire tightly around the exposed silver-filled wire between the final bead wrap and the loop, filling the space completely. Trim and tuck in the tail securely.
Place the ring onto a ring mandrel and gently shape it until round. Slip the loop over the hook to complete the ring.
Repeat Steps 1–10 to create additional rings using the following variations:
- Ring 2: Substitute 4mm round amethyst beads
- Ring 3: Substitute 4.5–5mm round pink coral beads and replace the silver-filled wire with 20-gauge round copper wire
- Ring 4: Substitute 4mm round rose quartz beads and replace the original wires with 22-gauge and 24-gauge round brass wire
- Ring 5: Substitute 4mm round red creek jasper beads and replace the silver-filled wire with 20-gauge round copper wire
Shop for Your Materials Here:


Have a question regarding this project? Email Customer Service.
Copyright Permissions
All works of authorship (articles, videos, tutorials and other creative works) are from the Fire Mountain Gems and Beads® Collection, and permission to copy is granted for non-commercial educational purposes only. All other reproduction requires written permission. For more information, please email copyrightpermission@firemtn.com.