Bracelet with Bronzite Beads and Brown Leather Cord
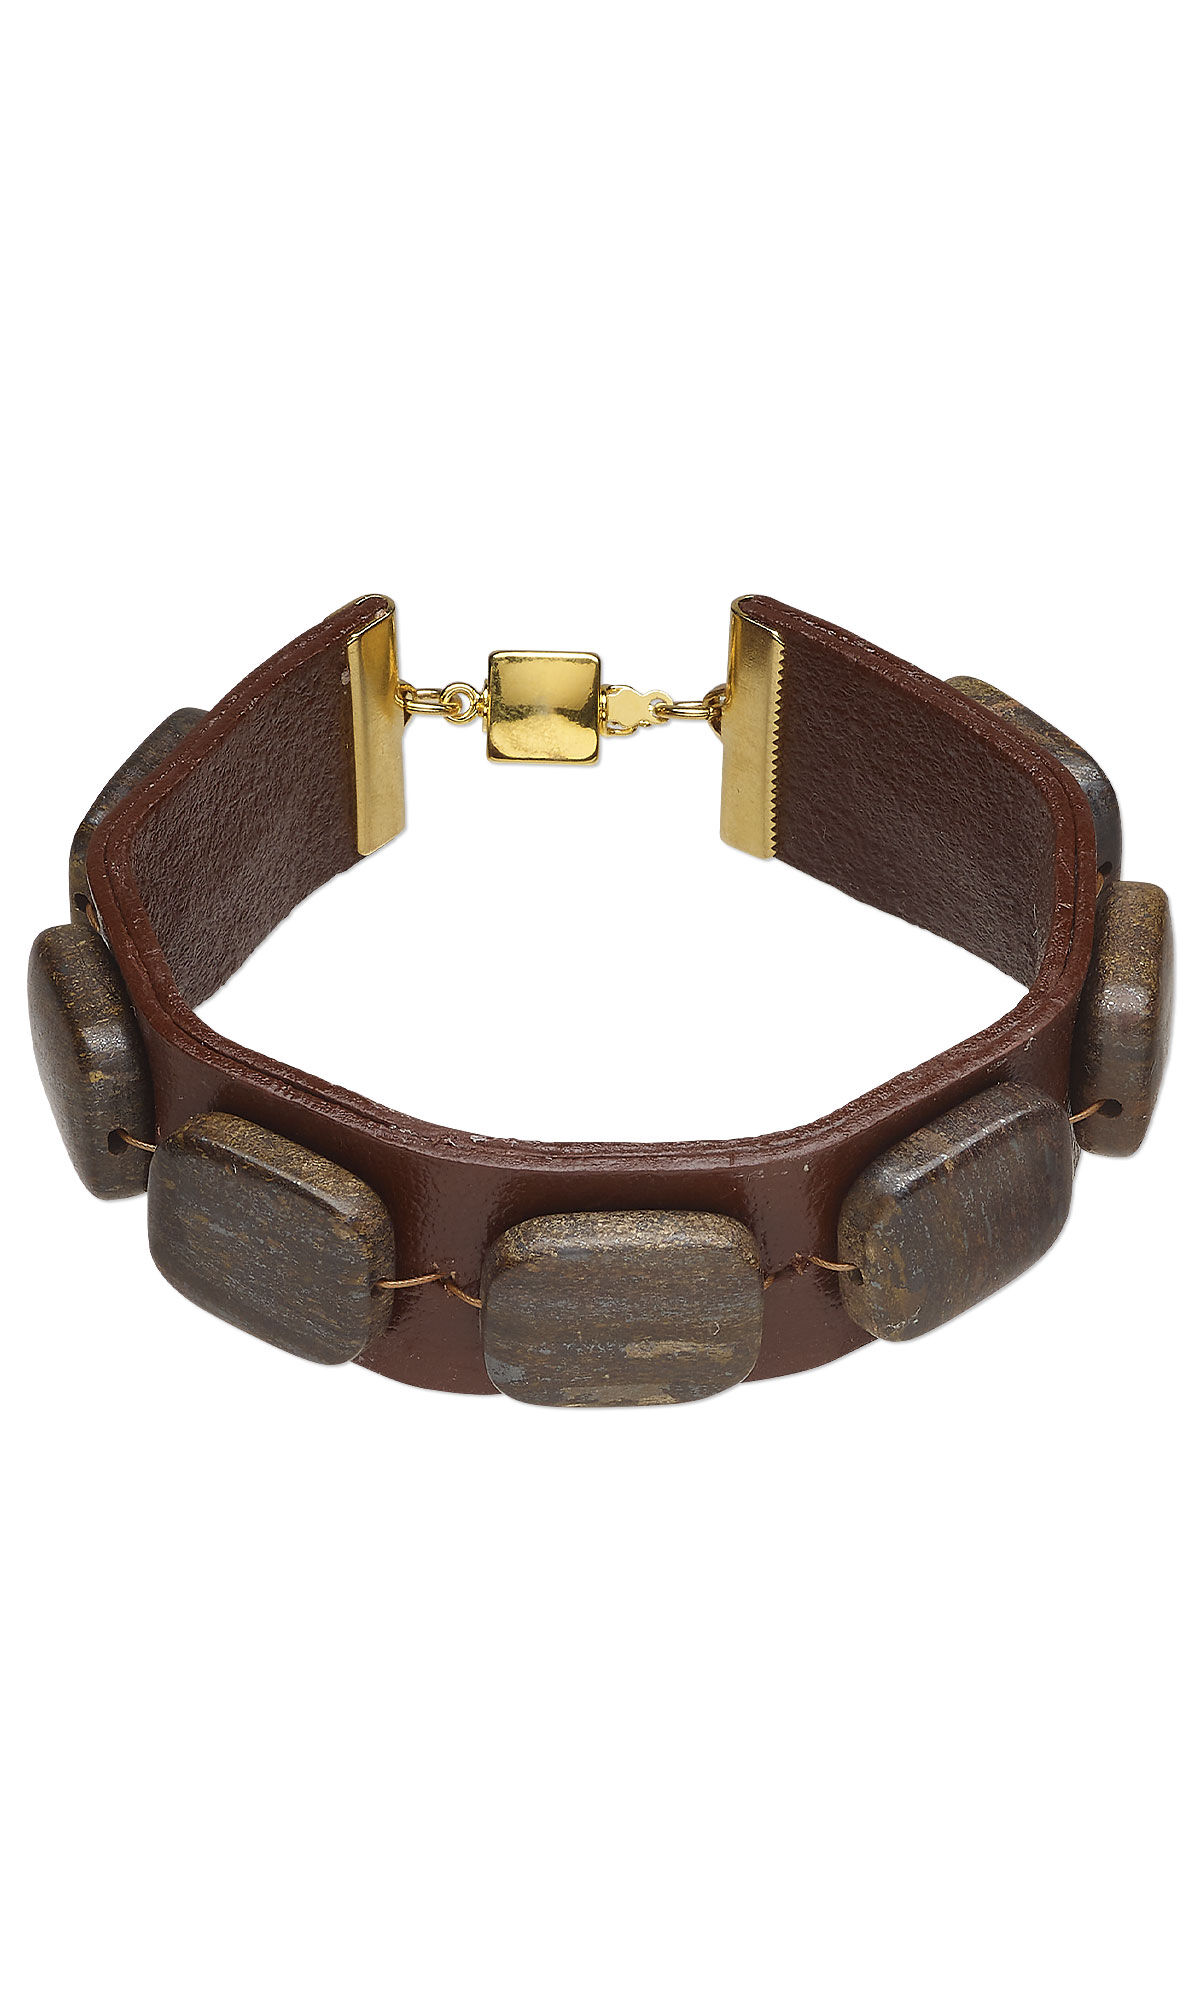

Design Idea RG2Q
-- Designer --
Patti, Jewelry Designer, Exclusively for Fire Mountain Gems and Beads®
To learn more about Patti Miller, read her jewelry artist success story here.
: : : Materials : : :
Click here to view a full list of materials used in this design.
Please take the creative opportunity to select the products of your choice for this design, offered here at Fire Mountain Gems and Beads. Some materials may not be available or listed.
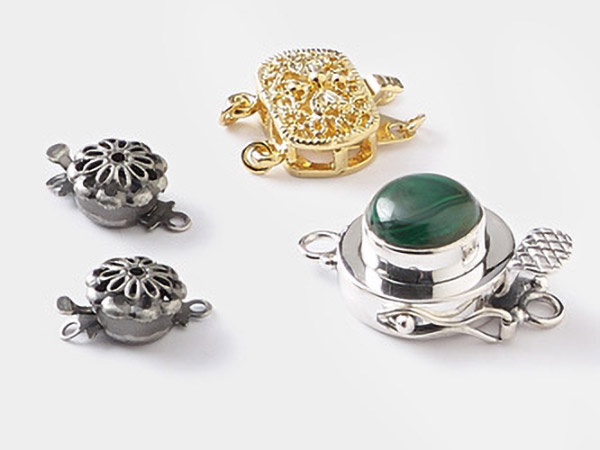
- Clasp, tab, gold-plated brass, 8x8mm flat puffed square.
- Beading awl, steel and plastic, red, 2-4mm with 5-3/4 x 3 x 3/4 inch case.
- Jump ring, gold-plated brass, 5.5mm round, 3.5mm inside diameter, 18 gauge.
- Ribbon crimp end, gold-plated brass, 19x5mm rectangle.
- Beading wire, Accu-Flex®, nylon and stainless steel, copper, 49 strand, 0.024-inch diameter.
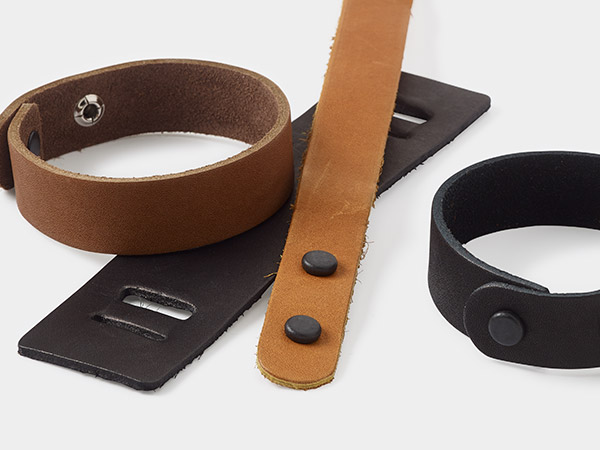
- Cord, leather, brown, 20mm flat.
- Link, gold-plated brass, 7x3mm figure 8.
- Adhesive, Quick Hold®, 1-fluid-ounce tube, clear.
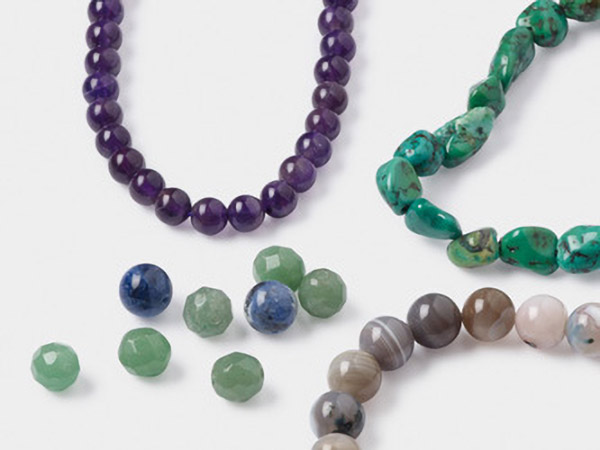
- Bronzite, rectangle bead natural 18x14mm
- Crimp, sterling silver, 3mm cut tube, 2.5mm inside diameter.
Instructions
Bracelet Instructions
Cut two 7-inch lengths of 20mm brown flat leather cord.
Cut one 12-inch length of Accu-Flex® 49-strand 0.024-inch diameter professional-quality beading wire.
Lay a metal ruler along the center one of the strips of leather on a self-healing mat. Starting at the 10mm mark, make a dot with an ultrafine permanent marker every 20 millimeters until you have eight dots. Remove the ruler and make sure the dots are centered side to side. Adjust them if they aren’t.
Use a medium-fine awl to punch a hole in the leather at one of the dots. Pick the leather up from the mat and punch the awl halfway through, then remove. Repeat for each of the eight dots.
Thread one end of the beading wire down through the first hole. The leather must be curved downward, like a rainbow with the ends sitting on your work surface. Use a rubber-tipped clamp to clamp the beading wire coming out the end on the opposite side, by about two inches. Leave the clamps in place until you permanently crimp the beading wire later.
On the top side of the leather, onto the long tail of beading wire, slide one 18x14mm bronzite rectangle bead. Thread the long tail of beading wire down through the next hole, up through a 7x3mm gold-plated figure 8 link, then back up through the same hole (down through one side of the figure 8 link and up through the other). Pull the beading wire tight, taking up all the slack.
Repeat until six beads have been added.
Thread on one more 18x14mm bronzite rectangle bead, then bring the tail of the beading wire through the last hole.
Flip the leather over. Then thread the tail of the beading wire through one of the holes in each 7x3mm gold-plated figure 8 link until you’ve gone through all six of them.
Thread a 3mm sterling silver cut tube crimp onto the end of the beading wire. Hold that end of the beading wire down with your fingers and unclamp the short tail of beading wire.
Thread the short tail of beading wire through the crimp in the opposite direction. Pull all the slack taut from both sides, then forcefully clamp the crimp tube flat with chain-nose pliers.
Lay the beaded strip of leather against the un-beaded leather strip so they match up, curving in the same direction. Apply a thin trail of Quick Hold® clear adhesive along one end of the leather between the layers, making sure none oozes out the sides. Let it dry for five minutes.
Using fine flat-nose pliers, slightly open a 19x5mm gold-plated rectangle ribbon crimp end, inserting the tip on one side from the bottom end and open up a couple of millimeters, then from the opposite side in the same fashion.
Apply the ribbon crimp end to the glued leather end and clamp it down with flat-nose pliers that have been dipped in Tool Magic® liquid coating.
Begin applying Quick Hold clear adhesive between the layers of leather, one inch at a time, making sure none escapes the edges. Clamp down the edges as you work, allowing each inch to dry for five minutes before proceeding to the next. Continue until the whole length is glued.
Apply the second ribbon crimp end as you did the first. Work quickly and sparingly with the glue, as it dries quickly.
Add the halves of an 8x8mm gold-plated flat puffed square tab clasp to the ends of the bracelet using 5.5mm 18-gauge gold-plated round jump rings.
Shop for Your Materials Here:
Copyright Permissions
The pieces featured in the Gallery of Designs are copyrighted designs and are provided for inspiration only. We encourage you to substitute different colors, products and techniques to make the design your own.
All works of authorship (articles, videos, tutorials and other creative works) are from the Fire Mountain Gems and Beads® Collection, and permission to copy is granted for non-commercial educational purposes only. All other reproduction requires written permission. For more information, please email copyrightpermission@firemtn.com.
