Stone Setting

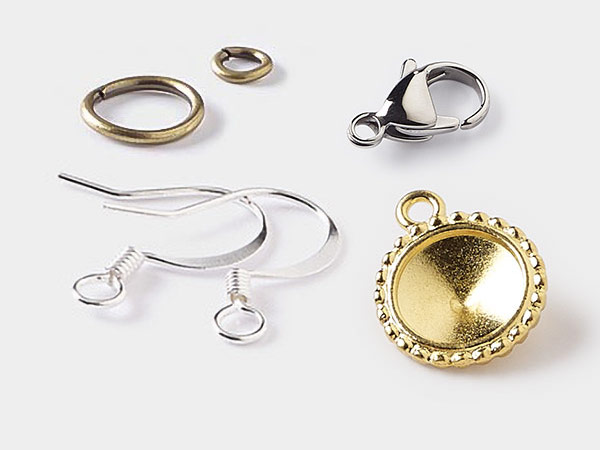
Bezelite settings take all the mystery and headache out of stone setting. Even a beginner can get great results in seconds! They are made for faceted stones and most cabochons.
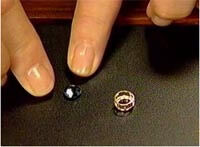
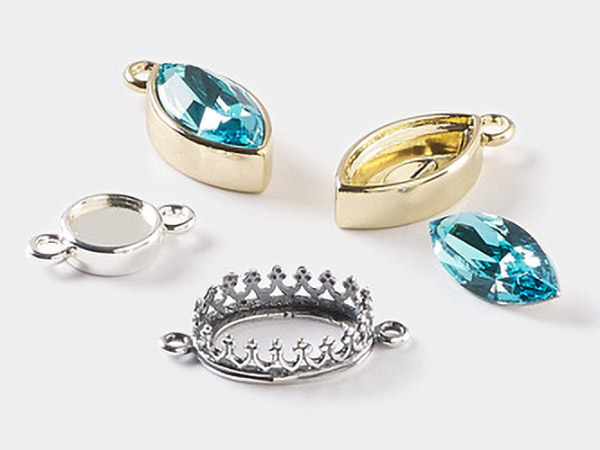
These mountings are called back-sets because they have a convenient design that allows the stone to be placed in the setting, face down. The tabs on the back of the mounting are soft and are easily pressed down onto the stone. It's really just that simple!
They come in a wide variety of Gold-Filled and sterling silver styles and can be used for earrings, pendants, charms, and for beading.
The best part is you don't need a lot of special tools to set them. The tools to use are simple, generally a chain-nose pliers, maybe a pencil eraser as well. Cabochons or faceted stones can be used in these mountings.
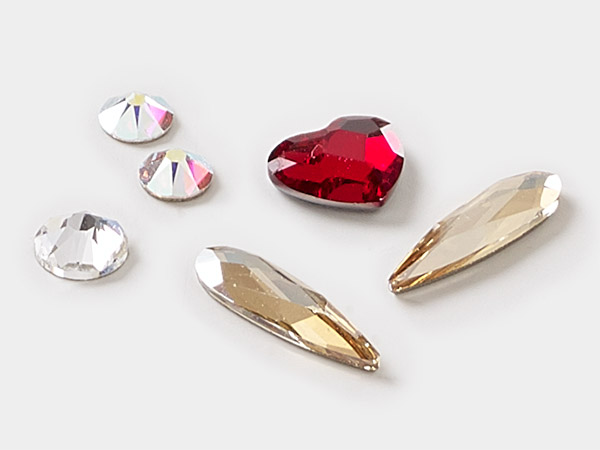
A cabochon (aka cab) is a stone or glass that is cut with a flat back and a domed top. These are made in calibrated sizes (standard measurements to fit pre-made mountings) as well as freeform sizes for custom wire wrapping and fabrication.
A faceted stone is cut with an intricate window of patterns on top and bottom. This creates a flashy play of light and reflection that make it sparkle. Most faceted stones are the clear variety; however opaque stones are also lovely with facets. Just like cabochons, they are cut in calibrated sizes (standard measurements to fit pre-made mountings) as well as freeform sizes for custom wire wrapping and fabrication.
Instructions
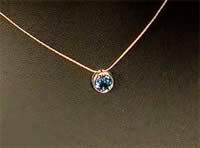
General instructions for creating a Bezelite slider necklace:
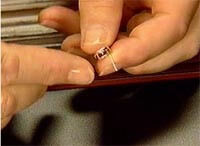
Place the stone upside down in the setting, lean pliers along the ridge of setting. Use VERY light pressure so you don't mar the metal.
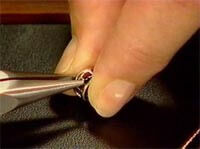
Bend the tabs in about half way.
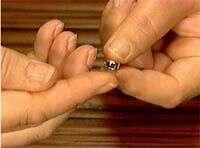
Check to make sure that the stone is sitting level in the mounting.
Turn back over and complete pushing the tabs snug against the back of the stone. Also check to make sure the stone does not wiggle in the setting. If so, press the prongs down again.
Pre-measure the chain to the desired length. 16 - 18 inches is a recommended length, longer or shorter dependant on your body size.
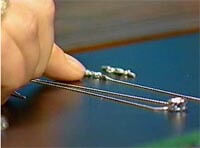
Thread the chain thru the top bar of the settings.
Thread the chain into the crimp clasp ends. Crimp down with chain-nose pliers. This will finish the slider necklace; no more beads can be added after the crimp ends are on.
Check if it's a secure hold, and you're done!
Instructions for matching earrings using Bezelite Earstuds:
Set the stones for the earstuds and drops using the above method. On the ear stud, be careful not to break the stud portion off when setting your stone.
Check to be sure they are level before securing the last prongs. Check that the stone does not shake.

Attach two jumprings to each other; now attach one jumpring to the top bar of the ear stud, and one to the loop on the dangle.
Shop for Your Materials Here:

Have a question regarding this tutorial? Email Customer Service.
Copyright Permissions
All works of authorship (articles, videos, tutorials and other creative works) are from the Fire Mountain Gems and Beads® Collection, and permission to copy is granted for non-commercial educational purposes only. All other reproduction requires written permission. For more information, please email copyrightpermission@firemtn.com.