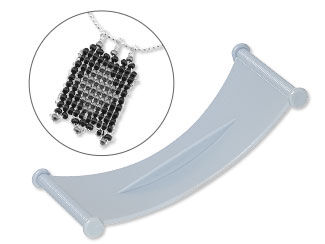
How to Create a Wire Woven Pendant Using the "Baby" Jewel Loom®
Enhance your jewelry-making skills with this step-by-step tutorial on using the Beadalon® “Baby” Jewel Loom® to create a charming necklace.
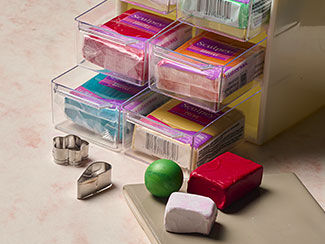
Top 5 Tips for Working with Polymer Clay
Polymer clay artist Elaine shares the top five tips for working with polymer clay including baby wipes, cornstarch and more.
Beautiful at Any Age: Jewelry for Everyone
Explore the evolving jewelry preferences across generations, from classic pearls to dazzling crystals, fast fashion to enduring elegance. Let this article guide you in the right direction.
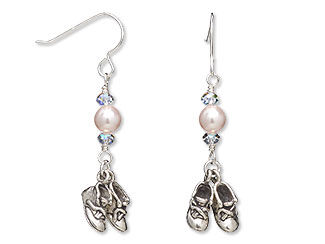
Earrings
Indulge in timeless elegance with these antiqued sterling silver earrings that showcase delicate baby shoe charms, lustrous Pearls, and Crystal Passions® Rosaline beads, complemented by the shimmering Crystal Passions® Crystal AB rondelles for a touch of exquisite sophistication.
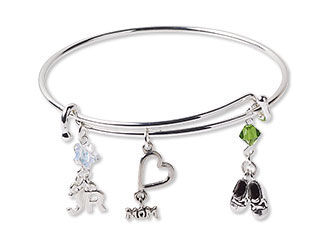
Bangle Bracelet
Simple and sweet, this bracelet celebrates the joys of motherhood. Easily customize this design by adding your favorite or customer-requested charms to the sleek adjustable bangle.
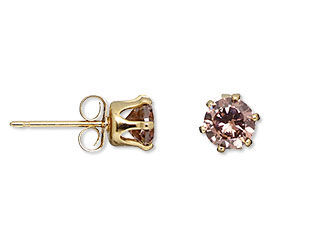
Earrings
Ideal for June babies, these classic and simple earrings are a perfect gift. Thanks to Snap-Tite® settings, crafting custom birthstone earstuds has never been easier!