Stitching an "X"

This stich was used to embellish a cabochon accented with a row of seed beads backstitched along the perimeter. The "X" is anchored to this row.
Instructions by Tammy Honaman, Author, Jewelry-Making Expert and Educator, Exclusively for Fire Mountain Gems and Beads®
Instructions
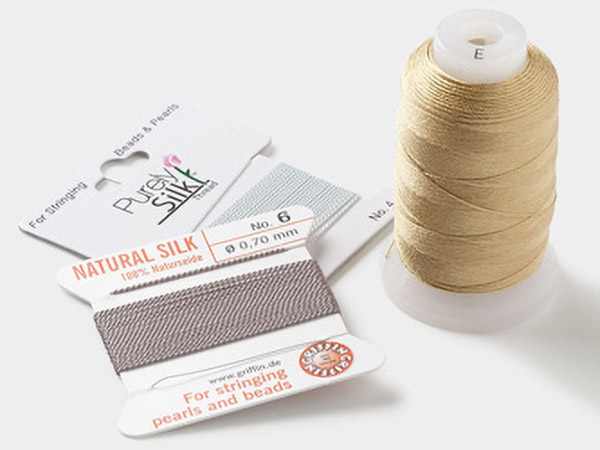
Your cabochon or flat back should be adhered to a beading medium with a row of seed beads backstitched around the perimeter before you begin.

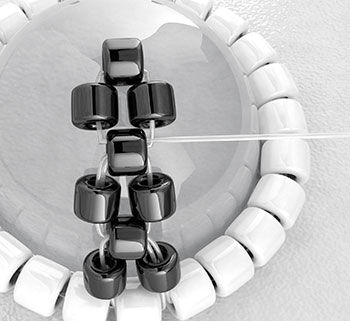
Exit your needle and thread through a bead in the seed bead row around a cabochon, working from left to right.

Pick up three size 15 seed beads. (You can use other size seed beads if it suits the scale of your design.) Working counter-clockwise, pass the needle back through the bead in the perimeter row, the first and second bead strung in Step 1, then exit the needle and thread.

Pick up three new size 15 seed beads. Working clockwise, pass the needle back through the second bead strung in Step 1 then back through the first two beads just strung in this step and so your needle exits the second bead.
String on three new seed beads. Working counter-clockwise, pass the needle back through the second bead strung in Step 2.

Pass the needle back through the first two beads just strung in this step and so your needle exits the second bead.
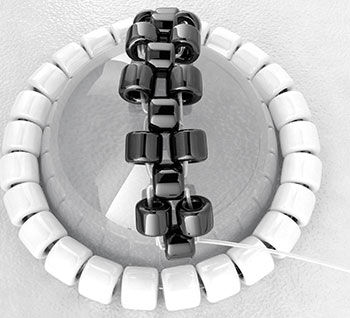
Repeat adding three beads and stitching them into place working in clockwise and counter-clockwise patterns until the beaded strip is one series of beads shy of reaching the other side of the perimeter bead row.

Pick up one bead, pass the needle through the bead in the perimeter row opposite of where you started. Pick up one bead then pass through the 2nd bead strung in the previous series of beads.

Weave your needle through the beaded strip so it exits a bead in a row in the center of the strip.
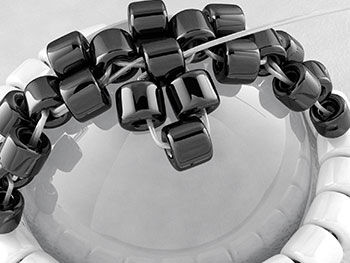
Pick up three new beads and stitch back through the bead you started in.

Weave the needle around so it exits the second bead in the new series of beads. Pick up three new beads and stitch into place. Continue until you almost reach the perimeter row, then repeat Step 6.
Weave the thread back through the beads until you reach the center of the beaded strip. Then create the last section needed to complete the "X."
Assess the "X" and weave your needle to any area that needs shoring up. Weave your thread back to the base and continue adding more design to your bead embroidery or pass to the back of the beading medium and knot the thread to secure. Trim the ends.
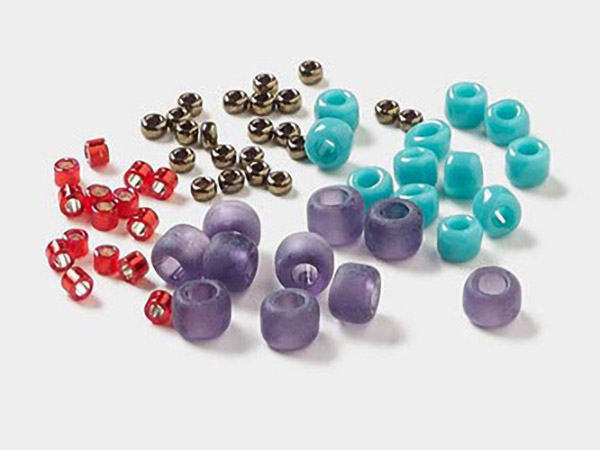
Shop for Your Materials Here:
Have a question regarding this project? Email Customer Service.
Copyright Permissions
All works of authorship (articles, videos, tutorials and other creative works) are from the Fire Mountain Gems and Beads® Collection, and permission to copy is granted for non-commercial educational purposes only. All other reproduction requires written permission. For more information, please email copyrightpermission@firemtn.com.