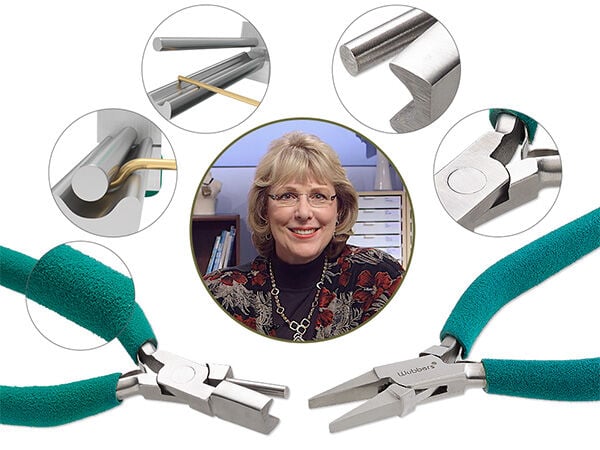
Learn to make consistent oval jewelry supplies from wire, bezel strips and sheet metal as you follow along with this oval mandrel pliers tutorial led by the inventor of Wubbers® Pliers, Patti Bullard, PhD.
Insert a length of wire inside the jaw of the large Wubbers® oval mandrel plier then close. Rotate the pliers to wrap the wire half-way around the jaw, creating a half-oval.
Pull the pliers out from the half-oval. Rotate the pliers, back to starting position, then insert the jaw inside the half-oval and rotate again.
Repeat to create as many jumprings as desired.
Remove the wire from the jaw of the pliers.
Tip: Working from the coil prevents wasted wire and allows for no measuring!
STEP 2
Firmly press the coil rings together then cut through all of the wire coils, separating the jumprings.
STEP 3
Using pliers, form the perfect jumpring shape.
Small Oval Jumprings
STEP 1
Insert a length of wire inside the jaw of the small Wubbers oval mandrel plier then close. Rotate the pliers to wrap the wire half-way around the jaw, creating a half-oval.
Pull the pliers out from the half-oval. Rotate the pliers then insert the jaw inside the half-oval and rotate again.
Repeat to create as many jumprings as desired, leaving a small space between each jumpring.
Remove the wire from the jaw of the pliers.
STEP 2
Set the one side of the last jumpring on the coil inside a pair of flush-cutters then trim the excess wire. Flip the flush-cutters, set the end of the coil inside the "V" then trim.
Repeat to trim each jumpring from the coil.
STEP 3
Using a pair of chain-nose pliers or flat-nose pliers, form the perfect jumpring shape.
Permission to copy this instruction sheet is granted for non-commercial educational purposes only. All other reproduction requires written permission. Please email copyrightpermission@firemtn.com for more information.