Secrets to Crimping with Crimp Tubes with Loop
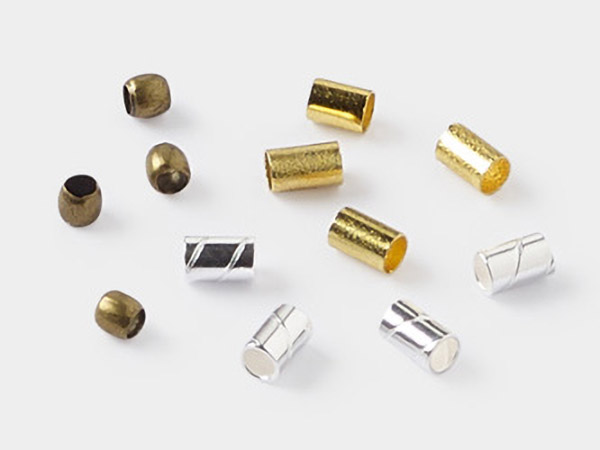
Crimping with crimp tubes is an essential technique for creating secure, professional looking jewelry. Crimp tubes are used to finish designs strung on beading wire like Accu-Flex® by anchoring clasps or connectors.
Instructions
Place one crimp tube onto one end of a length of beading wire.
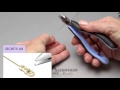
Use chain-nose pliers to compress the center section of the crimp tube.
Turn the crimp tube over then compress the center section of the crimp tube again for extra security.
Check the hold of the crimp by giving the wire a pull. If the wire slips, further tighten the crimp tube. If the wire is secure, use flush-cutters to trim the excess tail of beading wire resting in the crimp tube loop.
Shop for Your Materials Here:


Copyright Permissions
All works of authorship (articles, videos, tutorials and other creative works) are from the Fire Mountain Gems and Beads® Collection, and permission to copy is granted for non-commercial educational purposes only. All other reproduction requires written permission. For more information, please email copyrightpermission@firemtn.com.