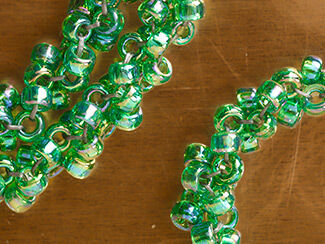
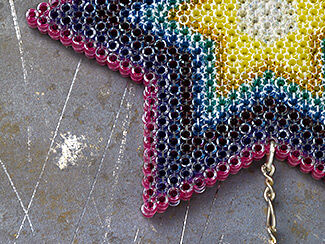
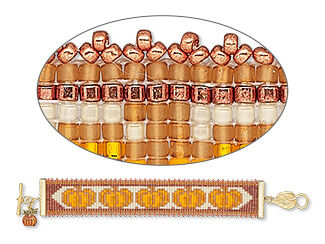
Right-Angle Weave (Single Needle) Stitch
The right angle weave (RAW) is a basic jewelry-making stitch often used with seed beads and crystal beads. String 4 beads and pass through them again to form the first unit. For the rest of the row, string 3 beads, pass through the last bead passed through in the previous unit, and the first two just strung; the thread path will resemble a figure-8, alternating directions with each unit. To begin the next row, pass through the last 3 beads strung to exit the side of the last unit. String 3 beads, pass through the last bead passed through, and the first bead just strung. *String 2 beads, pass through the next edge bead of the previous row, the last bead passed through in the previous unit, and the last 2 beads just strung. Pass through the next edge bead of the previous row, string 2 beads, pass through the last bead of the previous unit, the edge bead just passed through, and the first bead just strung. Repeat from * to complete the row then begin a new row as before.