How to Create the Tubular Netting Stitch


Both the tubular net stitch and filled tubular netting stitch might look complex, but they're actually quite simple! Jewelry designer Rose shows you how easy it can be to create luxurious-looking stitched jewelry with just three kinds of beads, a needle and thread, and some patience.
Instructions
Step 1
Cut a 3-foot length of thread. Thread a beading needle, leaving a tail.
Step 2
Pick up four groups of one color A and two color B seed beads. Move the beads to the end of the thread, leaving a 4-inch tail.
Note: The diameter of the finished weave can be altered by starting with more groups of seed beads on the first row.
Step 3
Pass through all the beads again and pull tightly into a circle. Using the working thread and the tail create a knot to secure the circle.
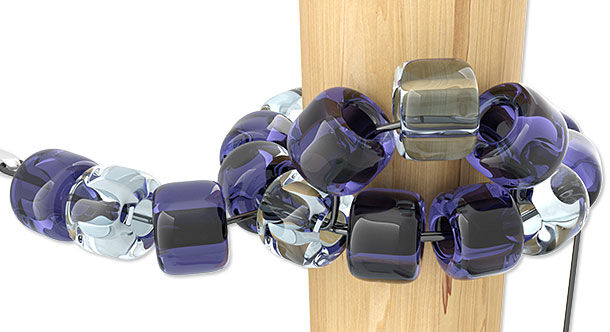
Tip: For additional stability while weaving, place the circle of beads over a cylindrical item, such as a pencil or a dowel.
Step 4
Pass through the first color A, then pick up one color B, one color A and one color B.
Step 5
Pass through the next color A in the first row, then pick up one color B, one color A and one color B.
Repeat until the second circular row has been completed.
Step 6

Pass through the first two beads added in Step 4 to move up into the next row.
Step 7
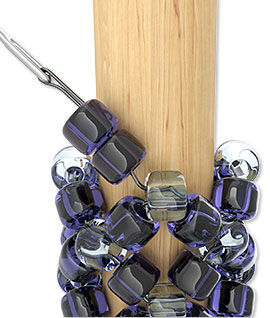
Repeat Steps 5 - 6 until the tubular netting is one row from the desired length.
Step 8

Pass up through the first color B and color A of the last row, then pick up two color B.
Step 9
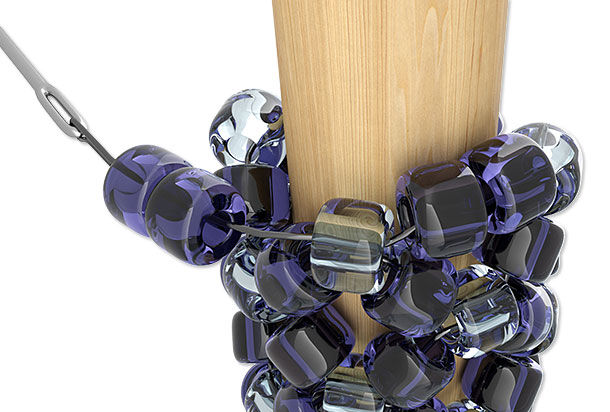
Pass through the next color A of the last row added, then pick up two color B.
Repeat until the last row has been completed.
Step 10
Pass back through adjacent beads in the weave to secure the thread. For additional security add a knot.
Shop for Your Materials Here:


Have a question regarding this project? Email Customer Service.
Copyright Permissions
All works of authorship (articles, videos, tutorials and other creative works) are from the Fire Mountain Gems and Beads® Collection, and permission to copy is granted for non-commercial educational purposes only. All other reproduction requires written permission. For more information, please email copyrightpermission@firemtn.com.