Memory Wire Bracelet

Have you tried Memory Wire yet? Memory Wire has 12 continuous loops and comes in sizes that can be used to create a necklace, bracelet or a ring. It is steel and is very strong. It will hold its shape and conform to your arm or neck. Don't let Memory Wire throw you for a loop. Follow Judi Hendrix through this step-by-step video tutorial.
Instructions
Step 1
Determine the number of loops you want to use for your project and cut the wire. 6 loops were used for the bracelet.
Step 2
Stretch the wire gently until it is comfortable on your arm and a little easier to work with. This does not mean stretch to finished size. It can be formed after you finish. That is why memory wire is used so much for gifts and pieces you sell, there is no need to know the size.
Step 3
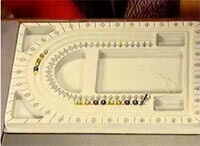
Determine if you will have a center motif (you would begin the design by taping off the other side and creating a pattern that would be mirrored on the other side. Or simply lay out the design on the board.
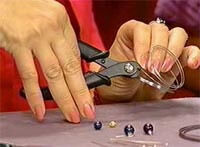
Step 4

Before adding the beads, bend a loop on one end by taking your round-nose pliers and bending the loop toward you (not closing it completely).
Step 5
Add the beads to the wire. Its just like stringing but with no needle. Add beads in the order of your pattern to the desired length.
Step 6
Add a loop on the other end, tightening up the beads to hold in place.
Step 7
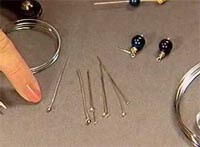
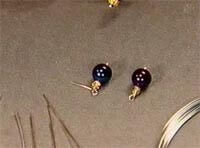
Add a headpin dangle. Add several beads and create a gallery wrap for a finished look.
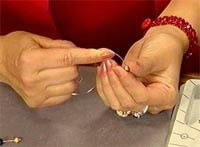
Step 8
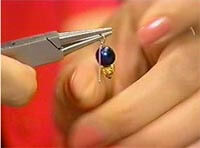
To create a gallery wrap, grasp the wire next to the bead and bend it at a 45 degree angle. Move the pliers so that one jaw is above the wire and one jaw below it. Bring the wire up and over the top jaw and bend it straight down. Move the pliers and put the bottom jaw in the loop. With your hand, wrap the bent wire around the straight piece laying them side-by-side and tightening the bead in place.
Step 9
Carefully snip off any excess wire and make sure it is smooth. Add the dangle to the loop and gently close the loop.
Step 10
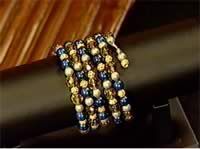
Enjoy the finished memory wire bracelet.
Shop for Your Materials Here:


Have a question regarding this project? Email Customer Service.
Copyright Permissions
All works of authorship (articles, videos, tutorials and other creative works) are from the Fire Mountain Gems and Beads® Collection, and permission to copy is granted for non-commercial educational purposes only. All other reproduction requires written permission. For more information, please email copyrightpermission@firemtn.com.