How to Use Molding Compound

Want to make replicas of some of your unique stations or other items? Learn how to use molding compound to duplicate even fragile items. This is an excellent way to duplicate hard-to-find vintage buttons.
Instructions
Step 1
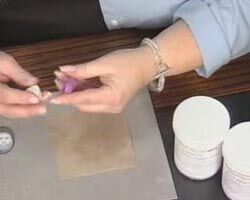
Take equal amounts of part A and B of the compound and mix together. The ''purple'' color should completely mix with the ''white'' color, to form a lighter purple--when there is no striation or differentiation between the purple and white, you know the compound is thoroughly mixed.
Step 2
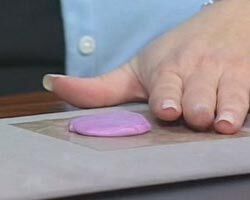
Roll the mixed compound into a ball and press into a pancake shape. Thickness should be level and even and of the correct amount to cushion the item you are molding.
Step 3
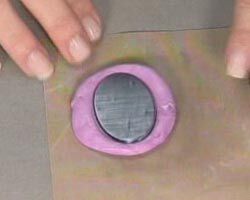
Press the item to be molded firmly and evenly into the compound; keep the item level. Allow the compound to cure. You can test to see if the compound is completely cured by pressing your fingernail into the edge; if it leaves a mark, its not cured. If no mark remains, compound is completely cured.
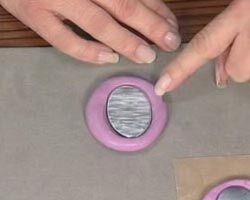
Step 4
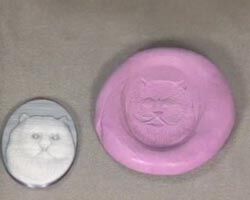
Remove object. Your mold is complete. Molds can be used over as many times as you'd like.
Step 5
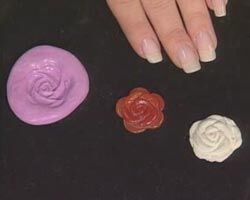
Press whatever molding medium you wish to use; Art Clay™ Silver, Kato Polyclay™, salt-yeast dough, etc. into the mold. Work according to the material--allow Art Clay Silver to dry thoroughly before removing from the mold; polymer clay can be removed immediately, etc.
Step 6
When dry, remove your object and finish according to directions for the mold material.
Suggested uses for molding compound: recreating Vintage buttons, fragile items that would break if used as an impression or mold, etc.
Shop for Your Materials Here:


Copyright Permissions
All works of authorship (articles, videos, tutorials and other creative works) are from the Fire Mountain Gems and Beads® Collection, and permission to copy is granted for non-commercial educational purposes only. All other reproduction requires written permission. For more information, please email copyrightpermission@firemtn.com.