Using the Kumihimo Plate to Create Flat Braids

The 3 to 1 Ratio--Determine the desired finished length of your braid then triple that amount.
Example: If you want a 20-inch necklace, each cord must be 60 inches long.
Finished braid sizes are approximate and will vary depending on the tension used when braiding. For best results, maintain a steady tension on the cords as you move around the wheel.
Instructions
Step 1
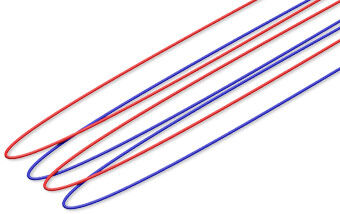
Using two colors, cut 4 strands of cord--2 strands of each color. Then fold in half. Cut another strand approximately 4 inches in length.
Step 2

Tie the 4-inch long strand around the folded ends to secure them together.
Step 3
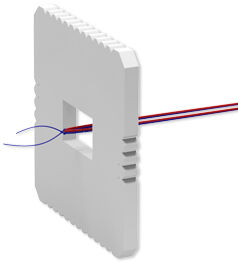
Insert the folded cord ends into the center of the plate.
Step 4

Plate Set-Up
Placement of strands on plate directly affects the pattern of the finished braid.
Strand Placement
Hold the folded cord end firmly in place on the underside of the plate while setting up the face of the plate. Make sure the cords are tight in their slots. A weight on a clip can be added to the tail to help maintain tension as you braid.
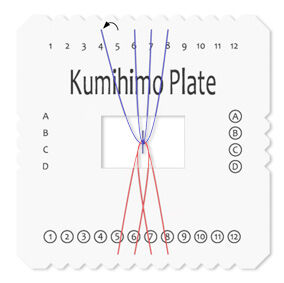
First color is Top 4, 5, 8 and 9. Second color is Bottom 5,6,7 and 8.
Begin Braiding
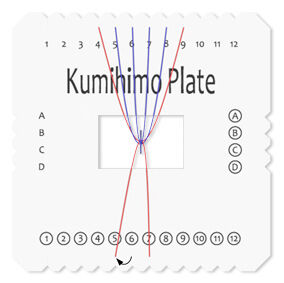
Step 5
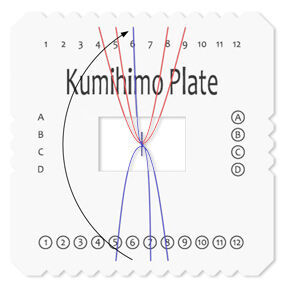
Bottom 6 to Top 6.
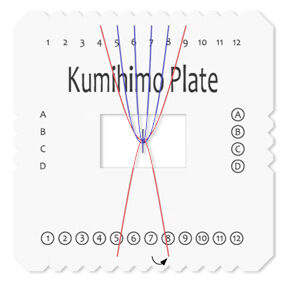
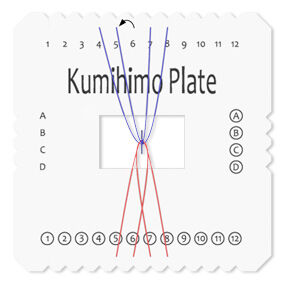
Step 6
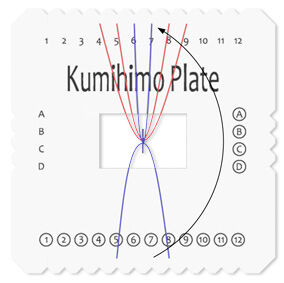
Bottom 7 to Top 7.
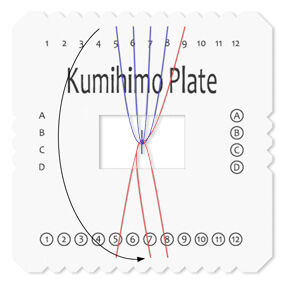
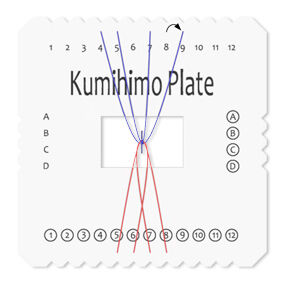
Step 7
Top 5 to Bottom 6.
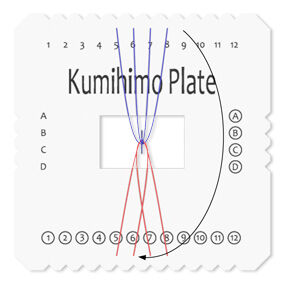
Step 8
Top 8 to Bottom 7.
Step 9
Bottom 5 to Top 5.
Step 10
Bottom 8 to Top 8.
Step 11
Reset Bottom 6 to Bottom 5.
Step 12
Reset Bottom 7 to Bottom 8.
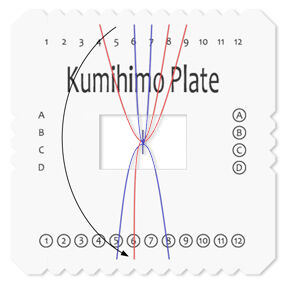
Step 13
Top 4 to Bottom 7.
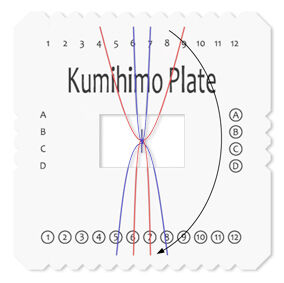
Step 14
Top 9 to Bottom 6.
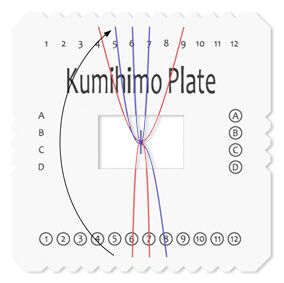
Step 15
Reset Top 5 to Top 4.
Step 16
Reset Top 6 to Top 5.
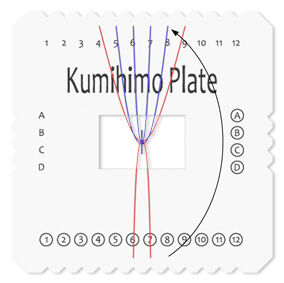
Step 17
Reset Top 8 to Top 9.
Step 18

Reset Top 7 to Top 8.
All cords should now be in original position from Step 4.
Repeat Steps 5 - 18 until braid reaches desired length.
Have a question regarding this project? Email Customer Service.
Copyright Permissions
All works of authorship (articles, videos, tutorials and other creative works) are from the Fire Mountain Gems and Beads® Collection, and permission to copy is granted for non-commercial educational purposes only. All other reproduction requires written permission. For more information, please email copyrightpermission@firemtn.com.