How to Use the Tri-Bead Roller™

Presented by Christi Friesen, Award-Winning Artist, Author and Educator, Exclusively for Fire Mountain Gems and Beads®
Instructions
Step 1
Place conditioned clay into the provided measuring ring to ensure the proper amount of clay is used in the Tri-Bead Roller.
Tip: If the incorrect amount of clay is used, beads may be poorly formed.
Step 2
Roll clay into a ball and place into desired shape on the base of the roller.
Step 3
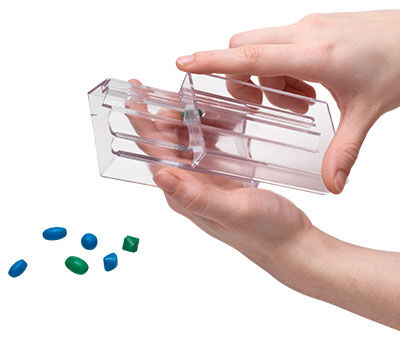
Place the alignment bar on the base of the roller into the small channel on the top of the roller.
Step 4
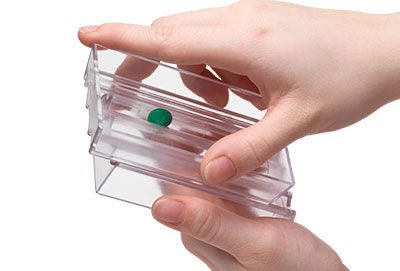
Holding the base portion of the roller stationary, slide the top portion approximately 1 - 2 inches back and forth until the clay forms the desired shape.
Note: Too rapid or long strokes may cause the shape not to form properly.
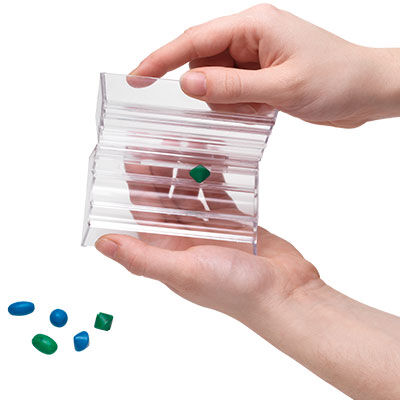
Use caution when removing to avoid finger prints and distorting the shape of the clay.
Shop for Your Materials Here:


Have a question regarding this project? Email Customer Service.
Copyright Permissions
All works of authorship (articles, videos, tutorials and other creative works) are from the Fire Mountain Gems and Beads® Collection, and permission to copy is granted for non-commercial educational purposes only. All other reproduction requires written permission. For more information, please email copyrightpermission@firemtn.com.