How to Make Silicone Molds

Presented by Christi Friesen, Award-Winning Artist, Author and Educator
Instructions
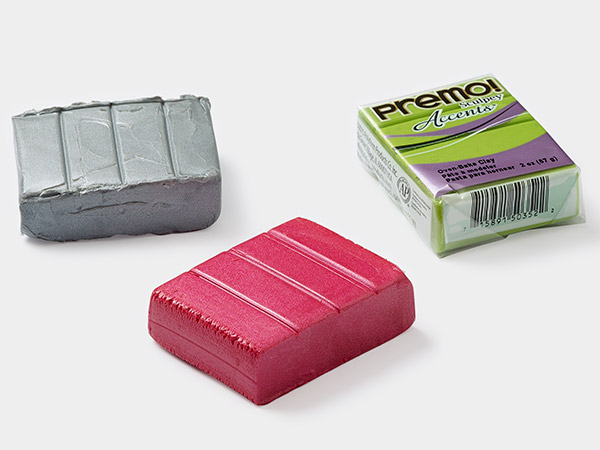
Lay out a 1/4 inch thick sheet of polymer clay on the workstation. The sheet should be large enough to comfortably accommodate the object to be molded.
Note: The color and brand of clay does not matter as it is only used to secure the object being molded in place.
Flatten the clay sheet using either a poly-roller machine or a clay roller.
Press the object to be molded into the clay. The clay will keep the molding putty from seeping through any holes or cracks in the object being molded.
Scoop two equal portions of molding material from their respective containers then kneed them by hand until thoroughly blended. When the molding materials form one solid color without streaks the molding putty is ready.
Press the putty over the object being molded making sure there is a tight seal between the two and all edges are sealed. There should be a consistent amount of putty covering the entire object.
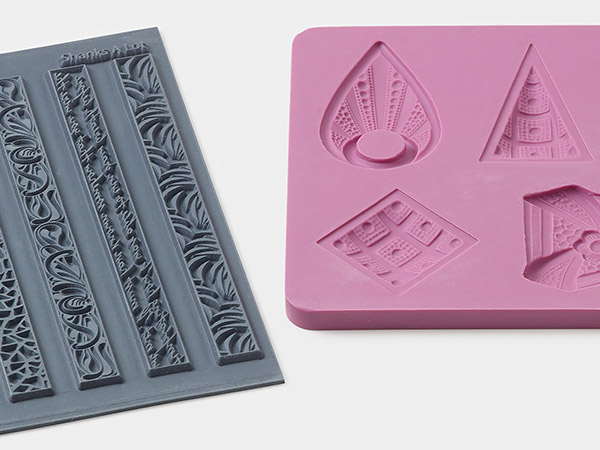
Let the molding material cure for five to ten minutes then carefully peel from the clay to complete the mold.
Shop for Your Materials Here:
Copyright Permissions
All works of authorship (articles, videos, tutorials and other creative works) are from the Fire Mountain Gems and Beads® Collection, and permission to copy is granted for non-commercial educational purposes only. All other reproduction requires written permission. For more information, please email copyrightpermission@firemtn.com.


