How to Create Steampunk Gears and Embellishments Using Metal Clay

Presented by Lisa Pavelka, Award-Winning Artist, Author and Educator
Instructions
Metal clay has a short working time and the less it is exposed to the air the longer working time you will have.
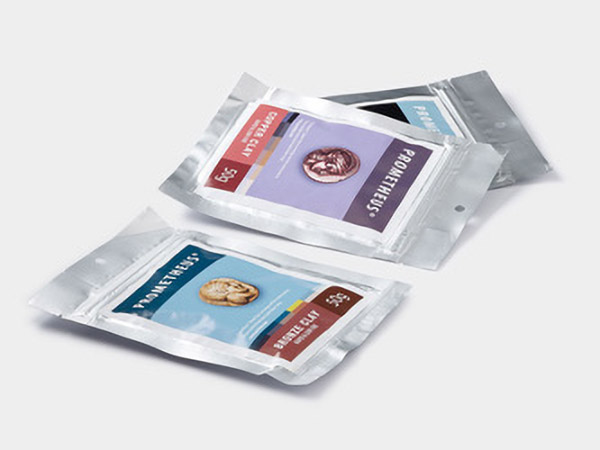
Fold a piece of saran wrap in half. Release the clay from its packaging then sandwich the clay inside of folded plastic.
Knead the clay, still inside the plastic, with your fingers to condition. Open the plastic to reposition or refold the clay then close the plastic to continue kneading. Repeat two or three times.
Make sure there are no pockets of air in the clay.
Tip: Try not to handle the clay too much to prevent sticking and wasted clay.
Add a small amount of olive oil to your hands to prevent the clay from sticking.
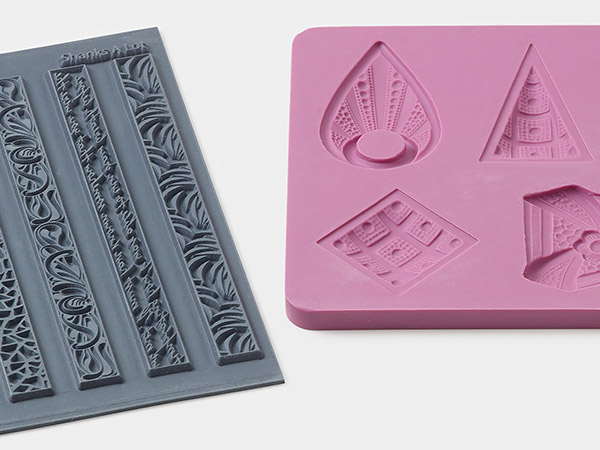
Take a small amount of conditioned clay then roll it into a small ball. Firmly press it into an "inny" cavity from one of the stamp designs.
Use a metal blade to carefully shave the clay from the surface of the rubber. Continue to shave until all of the clay is removed. Repeat if needed to remove all excess clay.
Repeat to create as many components as desired. Dehydrate components.
Tips:
- It is recommended to create three or four components to dehydrate at a time to prevent the components from breaking or drying out too quickly
- Keep the unused conditioned clay from hardening by resealing it inside the plastic when not working with it
Release the components from the stamp by gently bending the stamp in a way that allows the tips and ends to lift up from the cavity. With fine tip tweezer tool, gently pull each component from its cavity.
Note: The component is as fragile as a potato chip, so be sure not to squeeze with tweezers.
Tip: Even the most broken of pieces can be used as an opportunity for embellishments.
Place a heat-proof fire block on your work surface then place your components on top of the fire block.
Pull down the safety valve on the torch. Pull back the ignition switch to ignite the torch, locking the switch into place.
Aim the flame over your components. Fire your piece for approximately three minutes. (Begin timing the firing the minute you see a light pink or a deep salmon color.) Gently move the torch back and forth and closer and further away from your components to prevent red spots and burning.
Push the ignition switch off.
Tips:
- It's normal to see a little smoke then fire
- Torching too close to the components may burn or blister them
Notes:
- Work in a well-ventilated room
- Remove anything flammable. Be sure to pull back any loose hair or clothing.
- Be sure to set your torch far enough away when finished using so that you don't accidentally come in contact with it since the tip will remain hot for quite some time
Drop each piece into the bowl of water to cool. Remove each component from the bowl then dab dry.
Remove the heat-proof fire block by picking it up from the sides since it is still hot on the top.
Tip: When cooled and dried the components should look white.
Hold each component in place with a tweezer tool then brush each one with a wire brush then use an agate burnisher to create a shine.
Copyright Permissions
All works of authorship (articles, videos, tutorials and other creative works) are from the Fire Mountain Gems and Beads® Collection, and permission to copy is granted for non-commercial educational purposes only. All other reproduction requires written permission. For more information, please email copyrightpermission@firemtn.com.


