Torch Enameling by Dipping Into the Enamel
by Tammy Honaman, Author, Jewelry-Making Expert and Educator,
Exclusively for Fire Mountain Gems and Beads®
E51V

Dip heated metal into enamel for a quick and effective way to create enameled components and findings.
Instructions
Step 1
Working in a well-ventilated room, prepare the metal so it is the way you want it for your design--all work needs to be done before enameling or you risk damaging the enamel later.
Some copper components are treated with a coating by the manufacturer--the enameling works better when this coating is removed. To remove it, soak the component in acetone or heat the component and quench in water once coating is removed.
Clean the components with Penny Brite® then allow to dry before proceeding.
Step 2
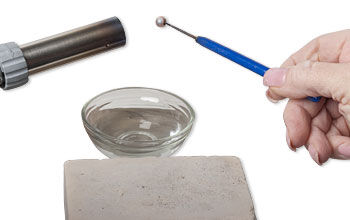
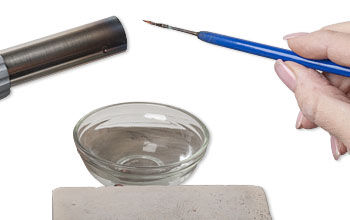
While wearing a dust mask, empty the contents of a jar of enamel powder into a glass jar or shallow aluminum container.
Step 3
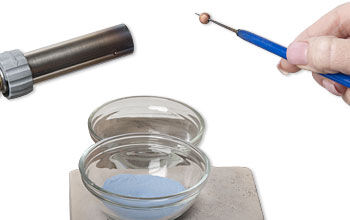
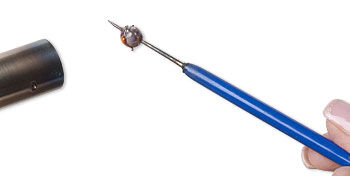
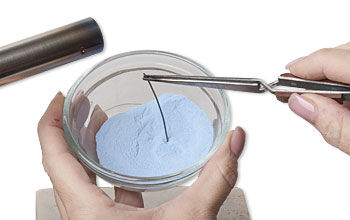
Place a prepared copper component onto the end of a solder pick. Try to keep the component as near to the end of the pick as possible through the entire process as it will make removal easier.
Ignite the torch and introduce the component into the flame.
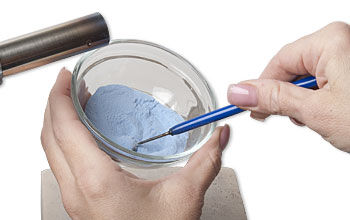
Once fully heated and glowing red all over, quickly dip into the enamel, coating the entire surface.
Step 4
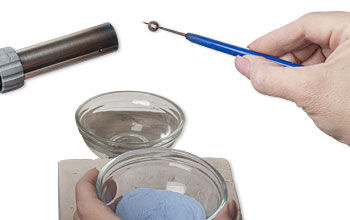
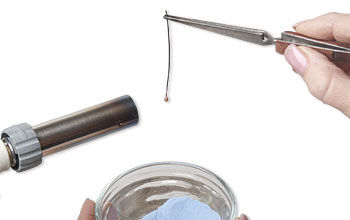
Tap the solder pick on the side of the container to remove any excess enamel then return to the flame to fully heat the component and melt the enamel.
Repeat 3 - 5 times to coat with enamel.
This is a great time to experiment with color. The colors won't blend to create a new color but adding transparent enamels over opaque enamels makes for great effects and color shifts; and dipping into different opaque colors to cover different parts of the component is also a fun technique to experiment with.
Step 5
After the last coating is heated, push the component against the edge of the aluminum container filled with vermiculite. You want the component to travel further down the solder pick toward the handle, just a little bit to break any glass threads connecting the component to the pick. Reverse the motion and pull the components against the edge of the container so the component comes off the pick into the vermiculite. This process is tricky and takes practice.
Things to keep in mind: the enamel will cool quickly and the component may become stuck on the pick. If that happens, heat the component and pick again and repeat pushing and pulling until it is removed. The pushing and pulling helps remove any lingering glass threads that may inhibit removal as well as those that will stay on the component. As much as you want to get the component off the pick and into the vermiculite, if it goes into the vermiculite too soon (while still glowing red) the vermiculite could stick to the component and/or leave a texture on the surface. Try to allow just enough time for the component to cool yet still be able to come off the pick and fall into the vermiculite.
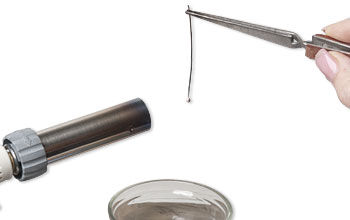
Once the component is removed from the pick and before starting a new one, heat the end of the pick then dip into water to remove any remaining glass.
Optional:
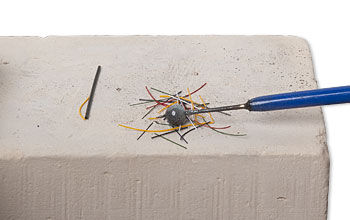
To create beads with colorful swirls, follow Steps 1 - 4. Place glass threads onto a fire block. Heat the component again then dip into the glass threads.
Heat the component until the threads are melted to the surface. Repeat as you like.
After the last layer is added and heated follow Step 5.
To create enamel-coated headpins, grip the end of a copper headpin in a pair of fiber-grip tweezers. Ignite the torch then heat the ball tip end until it glows red.
Dip the heated end into the enamel.
Return the ball-tip end to the flame to heat the enamel.
Repeat to coat with 3 - 5 layers of enamel.
Once the last layer is heated allow the glow to fade then place the ball-tip end of the headpin into the container with vermiculite. Allow to cool to room temperature.
Once the components are cooled, check them to be sure the enameling process worked properly. If you find spots that have cracked and/or parts of the enamel have broken off, you can try to salvage the component. Clean, dry and repeat Steps 3 and 4.
If you find there are glass threads left on any component, from removing the component from the pick, work carefully to remove them using an alundum stone and water.
Have a question regarding this project? Email Customer Service.
Copyright Permissions
All works of authorship (articles, videos, tutorials and other creative works) are from the Fire Mountain Gems and Beads® Collection, and permission to copy is granted for non-commercial educational purposes only. All other reproduction requires written permission. For more information, please email copyrightpermission@firemtn.com.