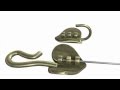
How to Use the Hidden Crimp End Clasp
Instructions
Add a rubberized coating to your pliers with non-permanent Tool Magic® to protect metal findings from being marred when crimped.
Step 1
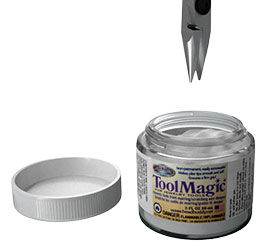
Open the jaws of the pliers to be protected.
Step 2
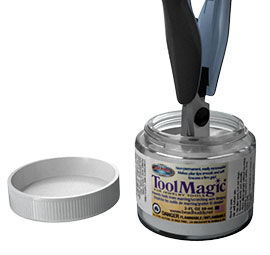
Dip the jaws of your pliers into the jar of Tool Magic just far enough in to cover most of the jaws.
Note: Do not dip the hinge of the pliers into the Tool Magic liquid.
Step 3
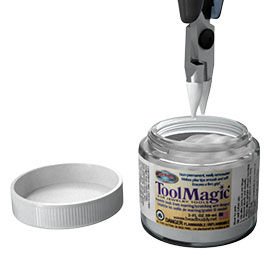
Pull the pliers out slowly, in an upward motion.
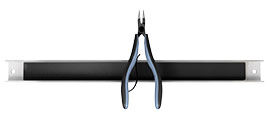
Turn the pliers so that the jaws are pointing upward, then set them into a tool holder or on a magnetic rack.
Step 4
Let the Tool Magic dry for 4 hours.
Note: It is best to let the Tool Magic dry undisturbed. Avoid air movement from wind or a fan, high heat and humid conditions.
Step 5
Repeat to apply two more coats of Tool Magic.
Note: The Tool Magic will dry in 4 hours, but it is recommended to let it cure for 24 hours for the best result.
Once the Tool Magic is cured, use the protected pliers for any wire-wrapping project.
Step 6
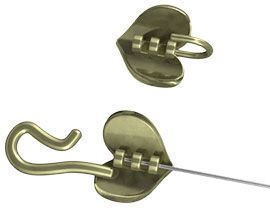
Insert 0.019 Accu-Flex® professional-quality beading wire into the crimp tube.
Step 7
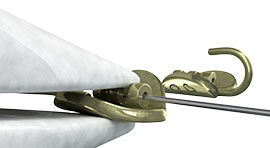
Using the Tool Magic protected chain-nose pliers, crimp the center section of the crimp tube flat to hold wire secure.
Step 8
Bead the wire strand and repeat Steps 6 and 7 to crimp off the other end.
Shop for Your Materials Here:


Have a question regarding this project? Email Customer Service.
Copyright Permissions
The pieces featured in the Gallery of Designs are copyrighted designs and are provided for inspiration only. We encourage you to substitute different colors, products and techniques to make the design your own.
All works of authorship (articles, videos, tutorials and other creative works) are from the Fire Mountain Gems and Beads® Collection, and permission to copy is granted for non-commercial educational purposes only. All other reproduction requires written permission. For more information, please email copyrightpermission@firemtn.com.