Creating and Using a Wet Paper Stencil with Dry Sifted Enamel

Instructions
Step 1
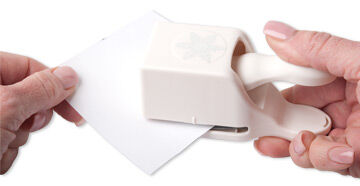
Draw or trace a pattern onto copy paper, brown craft paper or brown paper towels. Cut out the pattern using scissors or a craft knife; as an alternative, punch out the design using paper punches.
Step 2
Add a counter enamel layer and a top layer to your metal.
Step 3

Wet the paper stencil, squeeze out the excess water then carefully place it onto the front of an enameled blank.
Step 4
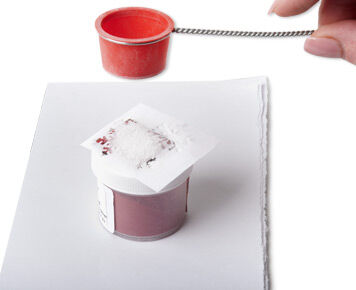
Place the blank onto a support so it is raised off of your worksurface. Choose a color of enamel that contrasts to the color already enameled on the blank then sift a layer onto the stencil.
Step 5
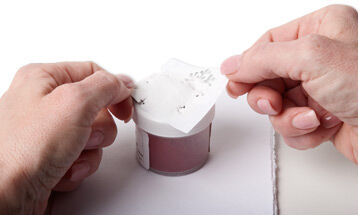
Carefully lift the stencil off of the blank, trying hard not to shift the paper as you lift it. Any excess motion might cause enamel to fall through the openings onto your stenciled blank.
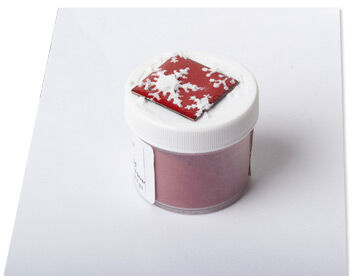
Check the surface. If needed, clean off the blank, brushing the wet enamel onto a scrap piece of paper and try again.
If you are happy with the stencil, carefully transfer the blank to a trivet then allow any remaining moisture to dry. Once dry, place the trivet into the kiln or onto a tripod and fire as before. Remove once fired to your liking and allow to cool to room temperature.
Tip: You can try to reuse the stencil; allow the paper to dry then assess its condition. You can allow the excess wet enamel to dry and use it throughout the making of your project. However, keep the wet enamel separate from the main container of enamel then discard any leftover once your project is complete. Enamel that gets wet will degrade over time and if returned to the enamel container it could contaminate the "good" enamel, affecting the overall look of your enamel at a later time.
Have a question regarding this project? Email Customer Service.
Copyright Permissions
All works of authorship (articles, videos, tutorials and other creative works) are from the Fire Mountain Gems and Beads® Collection, and permission to copy is granted for non-commercial educational purposes only. All other reproduction requires written permission. For more information, please email copyrightpermission@firemtn.com.