How to Use a Bead Board
Have you ever wished there was a way to lay out designs and fiddle around with them before committing to stringing? Have you ever strung a design only to realize you forgot a bead in your pattern? Have you ever wondered how multi-strand jewelry has such evenly spaced strands? The answer to all of these questions, and more, is the bead board.

Discover the convenience of bead boards for effortless jewelry design. This video highlights different options and techniques to elevate your jewelry-making journey.
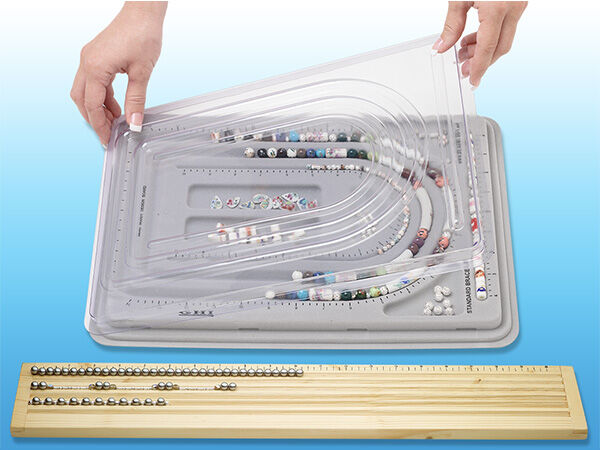
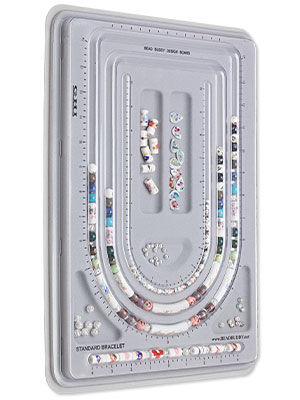
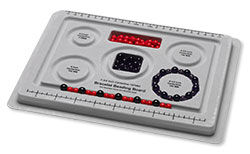
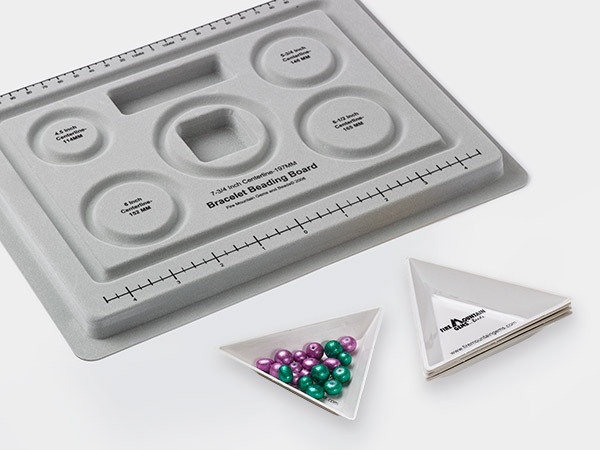
These handy boards are made to make your life easier when creating strung designs. Each necklace bead board features various channels in either a "U" shape or straight line. Typically, the U-shaped channel is for designing necklaces while the straight recess is for bracelets. Of course, the necklace recess is long enough to also design a bracelet or earrings if you so choose. Sometimes it's handy to design these all directly next to each other in the U-shaped channels so you see how the pattern lines up. Bracelet styles include circular recesses for seeing the design exactly how it will look on your wrist.
The first thing you'll notice about bead boards is the measurements. The outside measurements are inches and the inside is centimeters. When designing a single-strand necklace, use the outermost channel, since this is the channel that corresponds to the inch measurements. For a 16-inch, princess length, necklace you'll want to design from the 8-inch mark to the other 8-inch mark. For a standard 18-inch necklace work from the 9-inch to 9-inch mark. However long you'd like your necklace to be, divide that by two and you'll know the inch measurements you'll be working between. When designing multiple strands, work to the same inch mark and you'll have perfectly spaced strands that won't overlap when worn.
Once you've laid out your necklace remember your clasp will add some length. Depending on the size of clasp you'd like to use it can add a quarter of an inch to one inch in length.
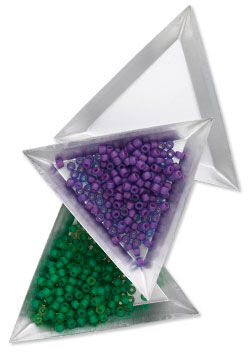
When first designing, start at the zero since often your main focal piece will be in the middle of the necklace. Work outward on both sides from the zero up. The multiple compartments in the bead board are for storing beads and tools you're working with so you have them right in front of you while designing. Another handy tray often used in conjunction with bead boards is the triangle sorting tray and its shape is ideal for scooping beads out from the corners of your bead board.
Especially handy for beginners, the bead board ensures you have the right amount of beads to complete a necklace or bracelet since you're able to visually lay it out before stringing. Laying the design out on a bead board also helps reduce errors when stringing a particular pattern since you pick up each bead in order, to string it. For those with more experience in beading, the bead board is still a useful tool to have on hand. Especially if producing multiple versions of a jewelry piece, you're able to lay more than one out, fiddle as you see fit and finish them all in one fell swoop.
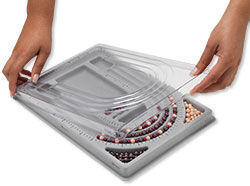
Also, if you have an idea for a design, but not enough time to actually finish it, lay it out on the bead board or place the beads in the compartments and come back to finish when you have the time. Some bead boards have specially designed covers so you can take your work with you, too.
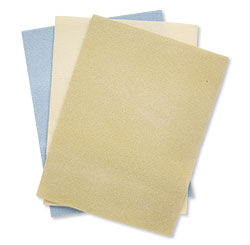
The dark-colored bead boards are handy for designing with light-colored beads and vice versa, making the design stand out against the background so you're better able to see the impact of the beads with each other. Bead mats, while they don't have channels, are another favorite tool for designers since beads won't roll off the foam surface and they are also available in a range of colors for visual impact when designing.
Shop for Your Materials Here:
Have a question regarding this project? Email Customer Service.
Copyright Permissions
All works of authorship (articles, videos, tutorials and other creative works) are from the Fire Mountain Gems and Beads® Collection, and permission to copy is granted for non-commercial educational purposes only. All other reproduction requires written permission. For more information, please email copyrightpermission@firemtn.com.
