All About Rhinestones
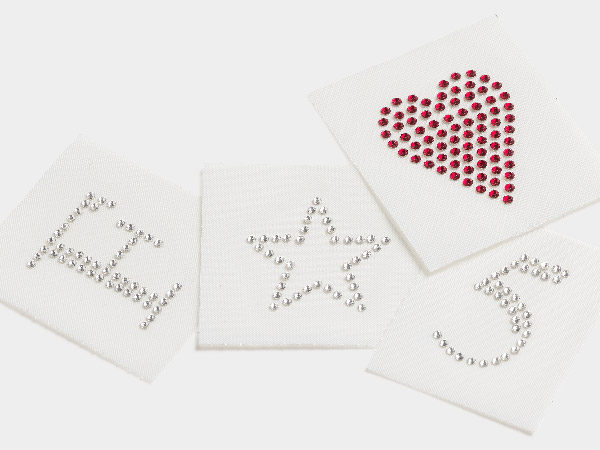
Rhinestone embellishment is a huge trend across all fashion fronts, and it's one you'll want to take note of. Rhinestones can be flat back or have a pointed back (known as chatons). This article covers mostly flat backs, though the information applies to chatons as well except for designing on flat surfaces such as clothing. Get the lowdown on types, application, tools and more to make sure you're ready to get decorating jewelry, clothing and any surface your heart desires.
Types
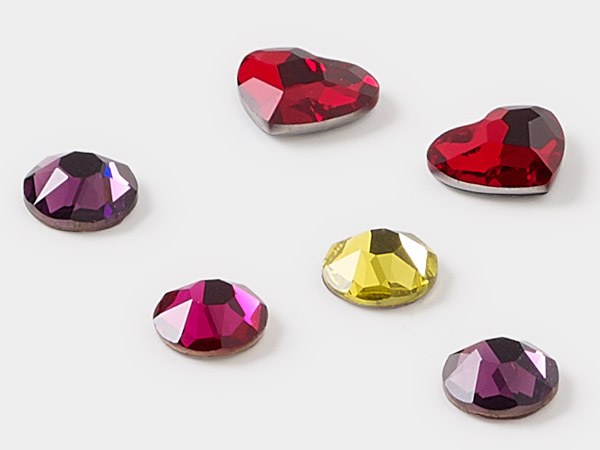
To begin with, there are two categories all flat back rhinestones fall under: standard or hot fix. Neither of these have drill holes and either can have a foil back, which increases sparkle after being set. Standard rhinestones have a smooth back that requires the designer to add glue for adhesion. Hot fix rhinestones have a layer of hot-melt glue that needs to be activated with heat in order to stick. While standard are quicker to design with, hot fix tends to be just a touch more secure after the glue has melted and dried. Chatons are always standard and are often put in self-curing epoxies such as Apoxie® Sculpt to create hugely popular pavé jewelry with little effort.
Materials
Rhinestones are available in multiple materials, each with their benefits. We'll start with the most economical: plastic and acrylic. Acrylic rhinestones are handy because of how extremely lightweight they are, but they are also highly susceptible to scratches. The step up from acrylic is glass. Glass flat back rhinestones have more sparkle than acrylic and are more durable.
Lastly, high-end rhinestones are made from crystal-quality glass such as world-renowned Crystal Passions® crystals. These have noticeably more sparkle and are highly durable, but do cost a pretty penny more than glass rhinestones in most cases. You'll want to determine the price point that works for your projects and stick with one material. When looking at regular glass and Crystal Passions rhinestones in packages, the difference may not be noticeable at first; however, if they are placed directly next to each other in a project, the distinction in light refraction becomes obvious.
Sizes
Rhinestones aren't measured to be exact, instead receiving a small range. These measurements can either be PP (Pearl Plate) or SS (Stone Size) and are attributed to the most common shape: round. PP was originally used for--you guessed it--measuring pearls and has a variance allowance of about 1/10 of a millimeter. Determine the millimeter size when you know the PP or SS with our Rhinestone Conversion Chart that also gives a visual representation of size differences in the image column.
The second part of sizing is figuring out how many rhinestones you actually want for a project. Below, you'll see some tricks for figuring out how many rhinestones you may end up needing if you're using any of these typical sizes.
Number of rhinestones needed per square inch:
- 12SS about 67 stones
- 16SS about 42 stones
- 20SS about 29 stones
- 30SS about 15 stones
- 34SS about 12 stones
Number of rhinestones necessary to create a straight line across so many inches:
- Inch amount x 25.4
- Then divide result by:
- 3.1 for 12SS
- 3.9 for 16SS
- 4.7 for 20SS
- 6.41 for 30SS
- 7.17 for 34SS
Of course, you can group the rhinestones you're using in a square inch and then multiply by the surface area you want to cover in inches if you're not using the example sizes. Most designers tend to use more than one size in any given project. In fact, jewelry artists recommend this to create dimension and varying sparkle, as size does affect light refraction for differences in glint. The number of rhinestones also depends on the type of coverage you want (i.e. clustered, lines, etc.).
Formulas don't always work, but it does become easier to guesstimate the amount you'll need as you get more practice. As our in-house jewelry designers say, it takes more than you think and Rose recommends, ''Get twice as many crystals as you think you need.'' It's always better to have too many than not enough.
Application
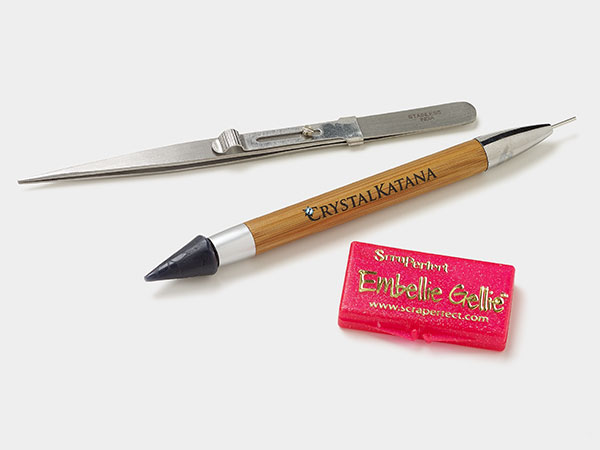
Now you'll want to know how to apply flat backs. There are a number of tools for positioning rhinestones exactly where you want:
- Embellie Gellie™ covered in the how-to video "Creating a Polymer Clay Punk Turtle" with award-winning artist Christi Friesen
- Tweezer-Vac™ explained in the how-to video "Pave-Style Setting Using the Tweezer-Vac™" led by our own Tim Cronkhite
- Crystal Katana demonstrated by in-house jewelry designer Rose in the how-to video "How to Use the Crystal Katana Embellishment Positioner"
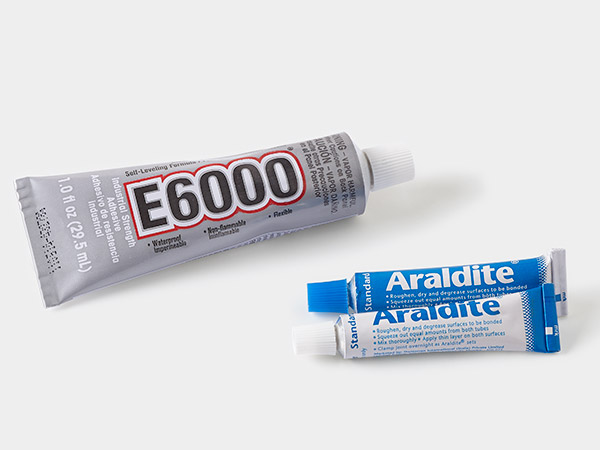
Standard rhinestones require a jewelry-making adhesive to be applied to the back. It's important to get the right glue or your crystals could end up cloudy with little to no sparkle. Before applying your favorite glue, search for the adhesion product in our "Glue Types and Information" chart to make sure it will work with rhinestones.
There are two different tools to choose from when it comes to activating heat on the bottom of hot-fix rhinestone varieties. Either Hot-Fix Heater™ works great. One is cordless while the other comes with eight interchangeable tips to match rhinestone sizes and make it easier to see as you place your design. Christi Friesen, polymer clay artist extraordinaire mentioned earlier, loves to use hot-fix rhinestones in her clay designs because the glue is activated when the clay goes into the oven to bake. No extra tools necessary. You also have the option of using hot-fix transfer sheets. Print out an image or draw a design then lay your hot-fix rhinestones on a transfer sheet. Use an iron to activate the heat on all the rhinestones at once. For more detailed instructions follow the steps in "How to Use a Hot-Fix Transfer Sheet".
How do you know whether to use standard or hot fix? Most of the time usage will be preference. However, you will need to consider the materials you're placing the rhinestones on--including whether or not the piece could singe or be ruined from heat.
Designing
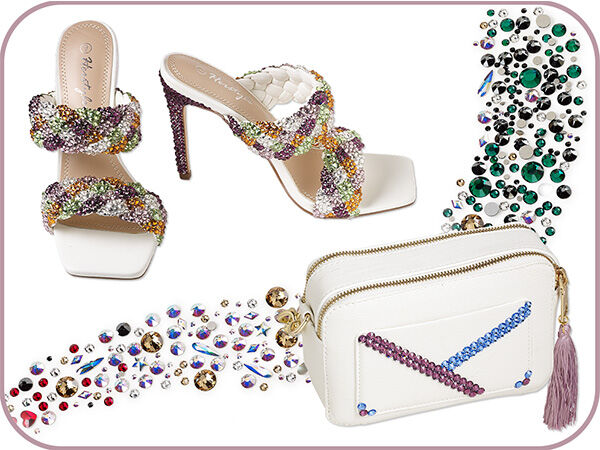
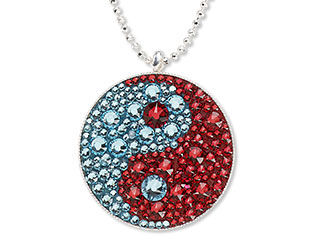
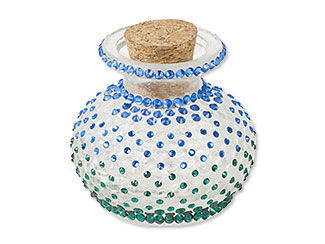
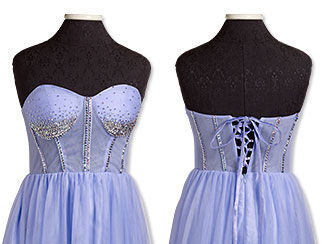
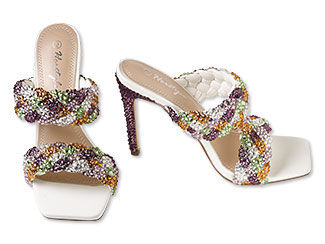
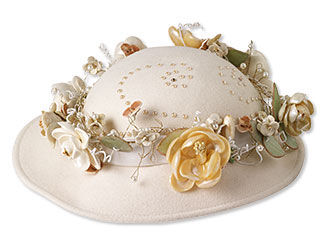
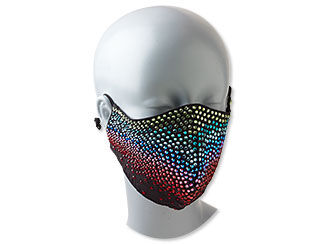
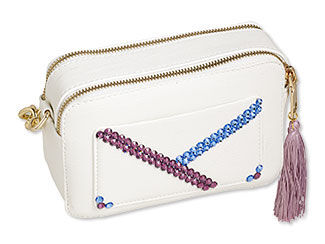
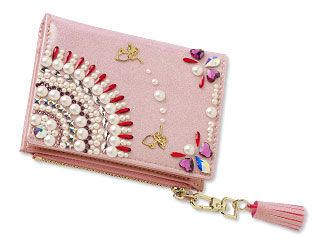
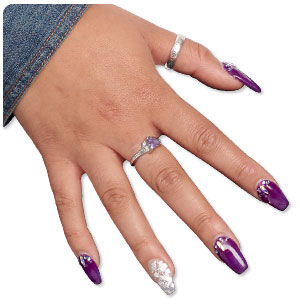
Now the fun part! Get designing and leave no surface unembellished. Runways are seeing an increase in rhinestone embellishment on every article of clothing imaginable, as well as accessories and jewelry. Rhinestones make it easy to personalize nearly anything, including:
- Clothing and costumes
Note: When designing on stretchy fabrics, make sure the material is pulled taught as you apply the rhinestones; otherwise they have a possibility of popping off when the garment is stretched out. Be sure you know ''How to Care for Your Embellished Garments'' as well so your designs stay put.
- Shoes and heels
- Hats
- Face masks
- Purses
- Cell phone (and other media) cases
And so much more! There's little limit to the possibilities of rhinestone embellishment. Even if the design didn't turn out how you envisioned, or you're working on a design you didn't even plan on adding rhinestones to, remember mixed media artist Lisa Pavelka's words: "A mistake is just an opportunity for embellishment." Discover your opportunities for embellishment by shopping for rhinestones via size, shape, materials to use with them and more on the Rhinestones shopping page.
Shop for Your Materials Here:
Have a question regarding this project? Email Customer Service.
Copyright Permissions
All works of authorship (articles, videos, tutorials and other creative works) are from the Fire Mountain Gems and Beads® Collection, and permission to copy is granted for non-commercial educational purposes only. All other reproduction requires written permission. For more information, please email copyrightpermission@firemtn.com.
