How to Make Survival Paracord Watchbands and Bracelets
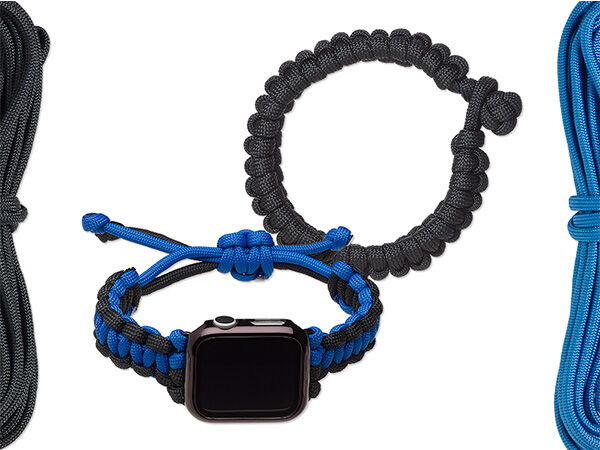
A survival bracelet is a useful item to have on an outdoor adventure. They can be quickly taken apart and used for anything from making a fishing line to lashing together shelter.
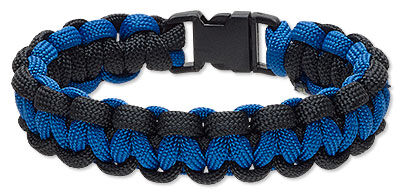
DIY survival bracelets are great gifts, and you can customize the size and the colors for a personalized touch. You can even make them as collars for four-legged friends. We gathered everything you need to get started including an instructional video, design ideas and step-by-step projects for creating a two-tone survival-style bracelet and a smartwatch band.
Picture this: you're out hiking on a beautiful mountain trail, and things couldn't be better. But suddenly, you trip and injure your arm. You immediately move to give yourself first aid, but you aren't carrying first aid gear. Just as panic begins to take hold, you focus enough to remember you're wearing a survival-style bracelet. Any other piece of jewelry would be worthless in this situation, but not this. You quickly disassemble it and use the parachute cord to tie a makeshift splint. While this situation is unlikely, survival-style jewelry is a fashionable way to prepare for the unexpected.
Make a square knot using the two outside strands (working strands 1 and 4) over the two inside strands (anchor strands 2 and 3).
Basic square knot pattern:
Pass strand 1 over the anchor strands then pass strand 4 over strand 1, under the anchor strands and up through the loop (created by strand 1) then pull snug. (This is a half knot.)
Reverse the pattern by passing strand 4 over the anchor strands then pass strand 1 over strand 4, under the base strands and up through the loop then pull snug.
Note: It's important to alternate strands to get a flat pattern. Starting consistently with the same strand will cause the pattern to twist.
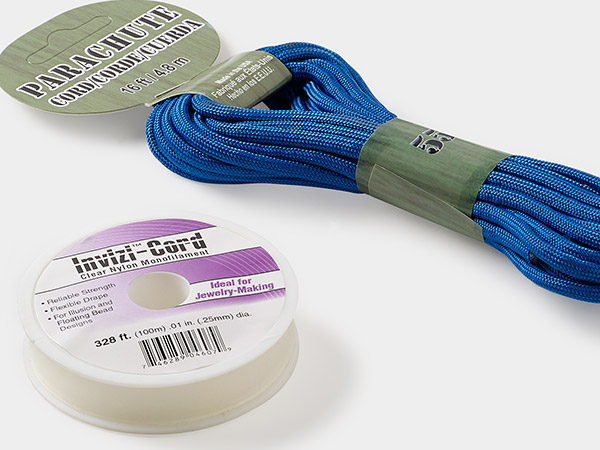
The survival style utilizes parachute cord in a manner quite contrary to its original purpose. Parachute cord, also called 550 cord, was originally used in World War II by American paratroopers as suspension lines for their parachutes. However, once they had landed in the combat zone, the airborne troops discovered the 550 cord could be reused as anything from sewing thread or fishing line, to a boot lace or a tourniquet. Eventually, the entire military made the cord standard-issue gear and it's still in service today.
Military-issued 550 cord is composed of 7 nylon strands of 3 nylon braids, covered in a sturdy nylon sheath. The name 550 comes from the rated breaking strength of 550 pounds. Even the individual strands inside the sheath possess enough strength to have practical uses.
Have fun creating survivor bracelets that are sure to be fashionable and practical gifts for anyone that appreciates the outdoors.

Follow along with this video to make paracord survival bracelets with our parachute cord. These bracelets are an essential tool for adventurers and make great gifts for outdoor enthusiasts.
How to Create a Two-Tone Survival-Style Bracelet
Step 1
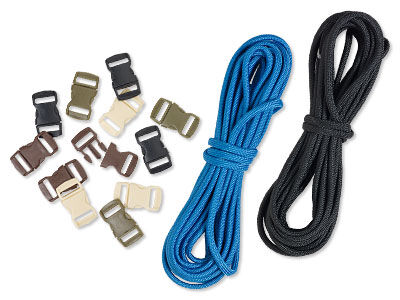
Using scissors, cut one 6-foot length of black and one 6-foot length of blue parachute cord.
Tip: The general rule for cord length is 1 foot for every inch in the diameter of your wrist. This also depends on the diameter of your cord.
Step 2
Trim approximately 1/2 inch of the white center from one end of one length of cord then trim the outer colored nylon from one end of the second length of cord. Insert the white center into the outer nylon then use a heat source to fuse the two lengths of cord together.
Step 3
Fold the joined lengths of cord in half (not at the connected center, but slightly off center) and pass the folded loop through the top slot of the buckle clasp.
Step 4
Pass the ends of the joined cord through the loop creating a lark's head knot then pull snug against the buckle clasp.
Pass the ends of the cord through the top slot of the second portion of the buckle clasp. Pull the ends until the space between the two portions of the clasp is approximately the diameter of your wrist.
Step 5
Make a square knot using the two outside strands (working strands 1 and 4) over the two inside strands (anchor strands 2 and 3).
Basic square knot pattern:
Pass strand 1 over the anchor strands then pass strand 4 over strand 1, under the anchor strands and up through the loop (created by strand 1) then pull snug. (This is a half knot.)
Reverse the pattern by passing strand 4 over the anchor strands then pass strand 1 over strand 4, under the base strands and up through the loop then pull snug.
Note: It's important to alternate strands to get a flat pattern. Starting consistently with the same strand will cause the pattern to twist.
Step 6
Continue creating square knots until the two anchor strands have been covered.
Step 7
Trim the remaining ends of the cords to approximately 1/8 inch then, using the heat source, seal the raw ends of the cord. Press the ends into the previous square knot to secure them in place and conceal them.
Shop for Your Materials Here:
Have a question regarding this project? Email Customer Service.
Copyright Permissions
All works of authorship (articles, videos, tutorials and other creative works) are from the Fire Mountain Gems and Beads® Collection, and permission to copy is granted for non-commercial educational purposes only. All other reproduction requires written permission. For more information, please email copyrightpermission@firemtn.com.
