Designing and Finishing a Mesh Ribbon Necklace

Not sure how to design with mesh ribbon? This tubing is surprisingly easy to use in jewelry-making. Just let jewelry designer Rose walk you through the steps in this quick necklace project.
Instructions
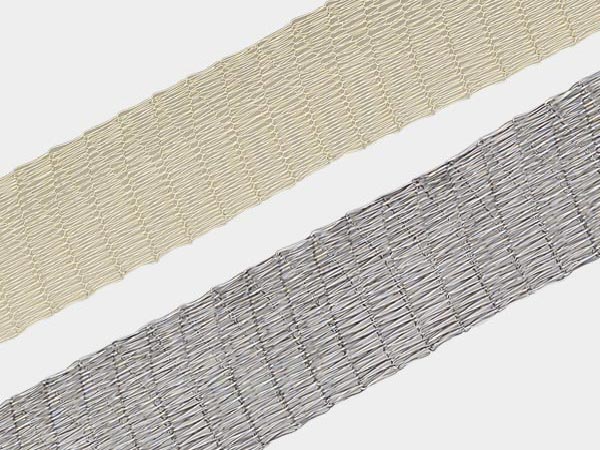
Select your tubular mesh ribbon then cut it to the desired length.
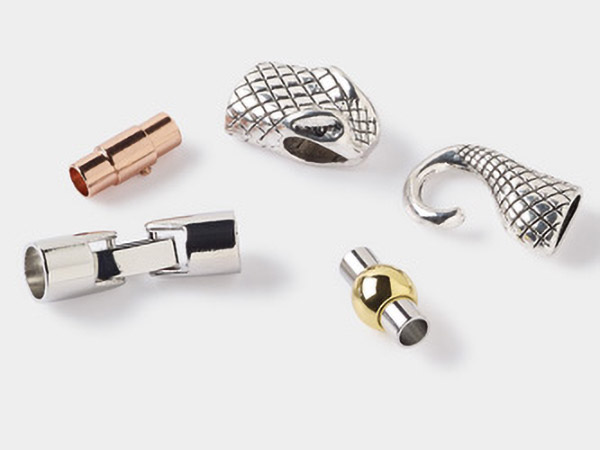
Select a clasp that will fit the end of the mesh ribbon.
Tip: Mesh ribbon can be made of different materials so use caution when selecting your cutting tool.
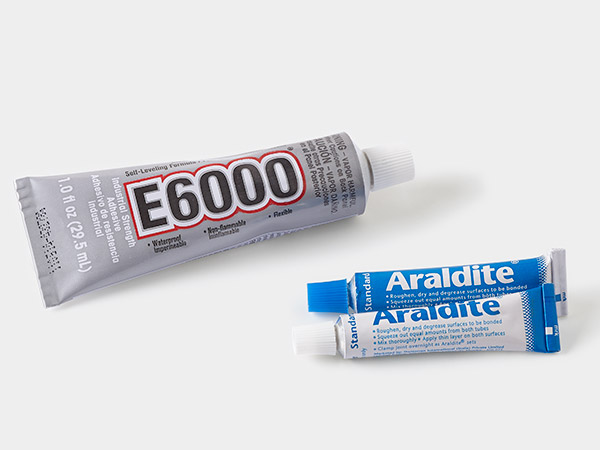
Apply a generous amount of E6000® Jewelry and Craft adhesive inside the open end of the clasp.
Press the mesh together with your fingers, allowing it to compress to fit inside the open end of the clasp. Insert the mesh into the clasp then release the ribbon allowing it to expand. Allow the ribbon to cure completely.
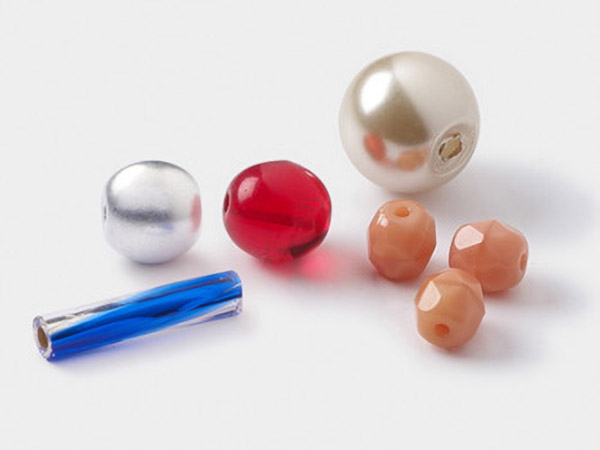
Once dry, fill the tubular mesh ribbon with your desired beads.
Tip: Larger hole beads can be strung over the mesh ribbon allowing you to create little compartments of bead-filled mesh.
Compress the mesh around the beads to expand it and allow them pass down the tube to the opposite end (like a Chinese finger trap).
Once the tube is filled as desired, trim off the end if it has begun to fray. Repeat Step 2 to secure the loose end of the mesh ribbon into the clasp then allow to cure fully.
Have a question regarding this project? Email Customer Service.
Copyright Permissions
All works of authorship (articles, videos, tutorials and other creative works) are from the Fire Mountain Gems and Beads® Collection, and permission to copy is granted for non-commercial educational purposes only. All other reproduction requires written permission. For more information, please email copyrightpermission@firemtn.com.


