Metal Jewelry: Finishing and Polishing
by Tammy Honaman, Author, Jewelry-Making Expert and Educator,
Exclusively for Fire Mountain Gems and Beads®
Finishing and polishing a metal jewelry design can mean a highly-polished surface to one designer or a finish that is matte and darkened with patina to another. The design itself may help make that decision for you. A surface with deep textures may beg for patina in the recesses and a bright polish on the high spots and a smooth surface may want a matte finish with a lustrous glow. Regardless of the type of finish you want to achieve, working with finishing media from the coarsest to the finest will bring you the desired results--well, that and a few tools and techniques.
The first step to a nice finish is ensuring the surface of your design is ready for polishing.
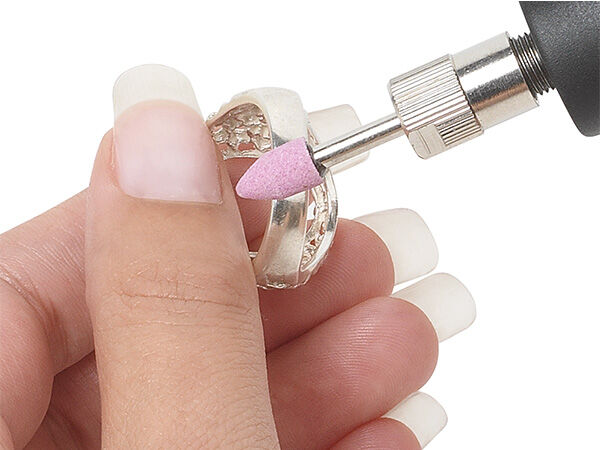
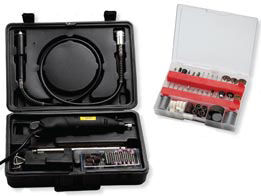
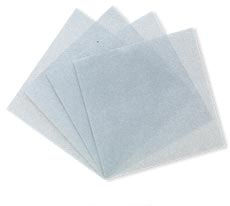
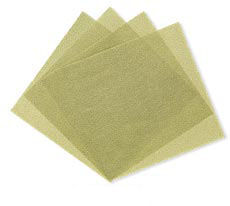
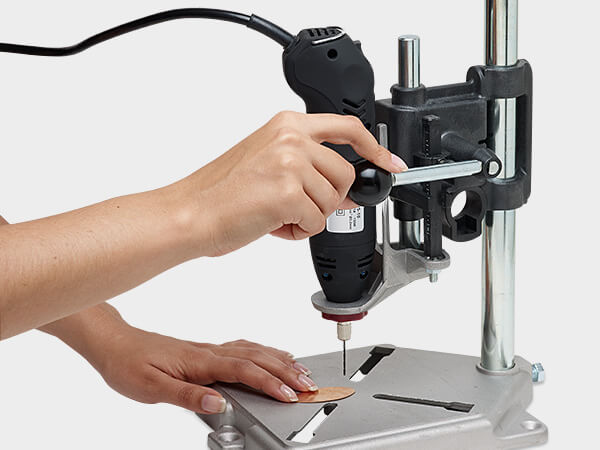
Determine which grit of sandpaper will get to the heart of any unwanted marks made while forming the design or, in general, bring the surface to an even finish. When using sandpaper, it can be worked by hand or by mounting a sanding drum into the flex shaft of your rotary drill. When sanding with a motorized tool, use caution as you do not want to remove more metal than needed. While working with motorized equipment, use protective eye wear as well as a dust mask.
Once the surface is as you'd like, move into the next higher grit sandpaper. Progress through to the highest level of sandpaper you have or to about 320-grit. Polishing papers are a good next step and the grit, or microns, begin at 400 and go up to 6000 (measured in microns).
After sanding, the polishing begins.
Following the polishing papers it's time for polishing compounds, which are finer grits mixed with wax (to bind the media together). When you begin to use the buffing wheels, be sure to start with the compound that is a higher grit than the last level of polishing papers used, or you will be working backwards and possibly removing more metal than you intended.
Polishing compounds are added to muslin buffing wheels which are mounted on either the flex-shaft of the rotary drill or on a bench lathe.
These compounds, used in progressive levels and ensuring the piece is cleaned between each level, will bring the finish all the way to a high polish.
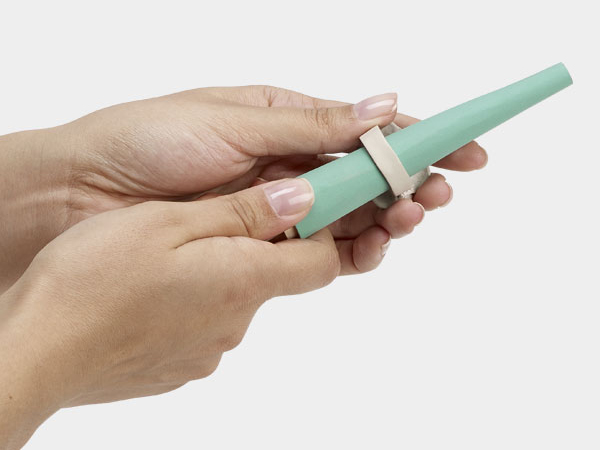
Hand burnishing with a highly polished tool will press the surface to a smooth reflective finish--no material is removed with this method. Steel and agate burnishers are the tools for this polishing technique.
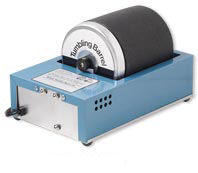
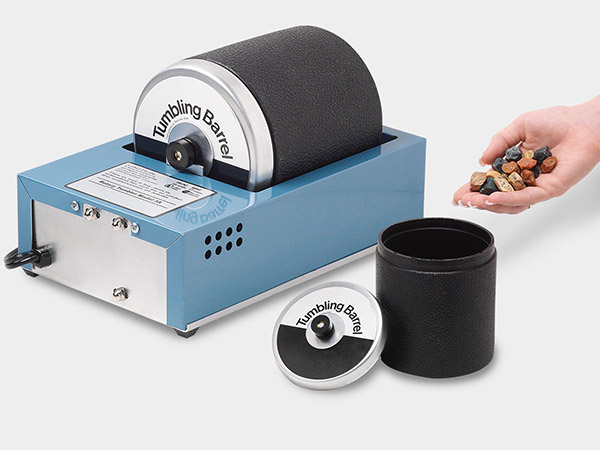
Tumbling finished metal designs with stainless steel shot in a rotary tumbler is another option for bringing a smooth reflective surface. The stainless steel shot burnishes the surface of the metal and the burnishing compound, a mixture of water and dishwashing detergent, keeps the media moving around inside the barrel as it rotates.
Cleaning after polishing is a must.
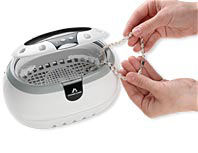
Once the finish you desire is achieved, the pieces need to be cleaned to remove the compounds or other materials that may leave residue behind. An ultrasonic machine is ideal for this task.
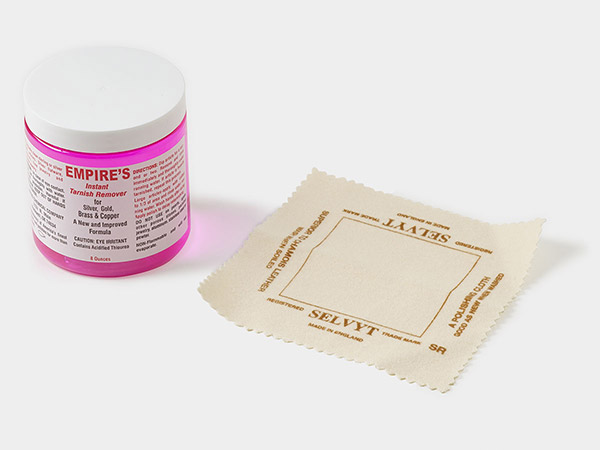
There are other cleaners and polishing cloths that will also help with the cleaning process.
To add patina or not?
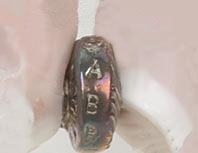
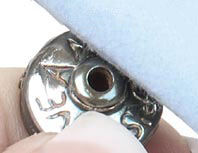
Patinas will enhance textures as well as alter the color of the metal, bringing it warmth. A piece can be completely colored and left as is or you can leave the color in the recesses of a textured area and then polish the high points with a polishing cloth.
How you finish a design is your choice. Have fun exploring all the options.
Have a question regarding this project? Email Customer Service.
Copyright Permissions
All works of authorship (articles, videos, tutorials and other creative works) are from the Fire Mountain Gems and Beads® Collection, and permission to copy is granted for non-commercial educational purposes only. All other reproduction requires written permission. For more information, please email copyrightpermission@firemtn.com.
