Here's My Heart Necklace

Instructions
Metal clay air dries so make sure that all tools and equipment are available before opening the package.
Remove the clay from its packaging then peel the folded seam of the final plastic foil package apart. Peel the foil from the clay.
Condition the clay by folding it over inside a piece of plastic then press out any trapped air several times.
Notes:
- It's easier to handle the clay without plastic if needed
- Gently scrape any clay from fingers and tools if handled without the plastic and save for later use
Form the clay into a heart, making it easier to roll into the desired shape.
Place a non-stick Teflon® sheet on top of the work station. Place a slat, or spacer (the thickness of 4 or 5 playing cards), on either side of the sheet to get an even sheet of rolled clay.
Note: If the clay is rolled too thinly the stamp design may tear through the clay, making the necklace too flimsy and fragile when fired
Apply a light coating of slikbaby to the Teflon sheet and other tools, including the texture and clay cutters, to prevent the clay from sticking.
Note: Slikbaby is not harmful if touched and can be applied without a sponge.
Remove the clay from the plastic then place it onto the Teflon sheet, in between the slats. Roll the clay flat, using the slats to roll onto, until the clay can't get any thinner. Gently remove the clay from the roller.
Tip: Dehydrate the clay for a few seconds if the clay is too fresh.
Remove the slats and Teflon paper then place the texture onto the workspace with the texture facing upwards. Very gently roll the clay roller over the clay, using even pressure throughout the roll. Monitor through the roller to determine the depth of the impression while rolling.
Tips:
- If the texture obtained is not the desired look, recondition the clay, making sure to fold the clay with the texture on the outside of the fold to prevent air from trapping inside. Repeat a few times if needed.
- Dab a small amount of water with a finger to rehydrate the clay if needed. Spraying it with water can cause the clay to be too hydrated, turning it into mud.
Gently press the large clay cutter as desired into the clay then press the small clay cutter askew toward the mid-section of the large heart.
Wiggle each clay cutter back and forth to remove it from the clay. Remove the excess clay from the outer edges of the large heart.
Tips:
- If the clay sticks inside the cutter, dehydrate the clay inside the cutter to prevent distortion before firing.
- Place excess clay in food wrap as quickly as possible for later use. Add a wet paper towel for moisture. Check on the clay once a week, using the dabbing method to keep it moist. This technique will keep the clay workable for up to several weeks.
Cut a coffee-stirring straw at an angle to differentiate which end of the straw is the cleanest. Poke a hole using the straightedge of the straw, creating a hole to string later.
Insert a needle tool through the straw to remove excess clay.
Repeat to create holes for stringing at the top-left hump above the small heart and one at the left mid-section of the large heart.
Note: Feel free to embellish the back of each heart since they will be hanging and may flip when worn as a charm.
Dehydrate overnight.
Note: A hair-dryer or other heat-tool may be used but use caution since the clay can prematurely shrink if over-heated.
Fire Mountain Fix
Dehydrate the clay using one of these methods: allow the piece to sit overnight, place in a food dehydrator for 20-60 minutes, use a hair dryer for 10-15 minutes (4 inches away), or place in a 230 degree Fahrenheit over for 15-20 minutes.
Dehydrating Tip: Firing clay that isn't completely dry will cause the clay to crack. Use a mirror or piece of clean glass to check the clay for moisture. While still very warm from the over or dehydrator, place the clay on a mirror and slide it a little bit very quickly. It you see moisture condensation on the mirror, the clay is still wet.
Place a rubber block on top of a Teflon sheet then place the large heart piece onto the rubber block. Smooth the edges with a file then smooth the inside and outside curves with a round file. Smooth the front and back with fine-grit sandpaper for a shiny finish if desired.
Repeat for the small heart.
Tips:
- After dehydration, avoid holding the clay to prevent breakage as it is as fragile as a potato chip
- If desired, save excess clay filed from the piece using the Teflon sheet
Fire with a torch or inside of a kiln for 30 mins at 1,472 degrees or according to manufacturer's instructions.
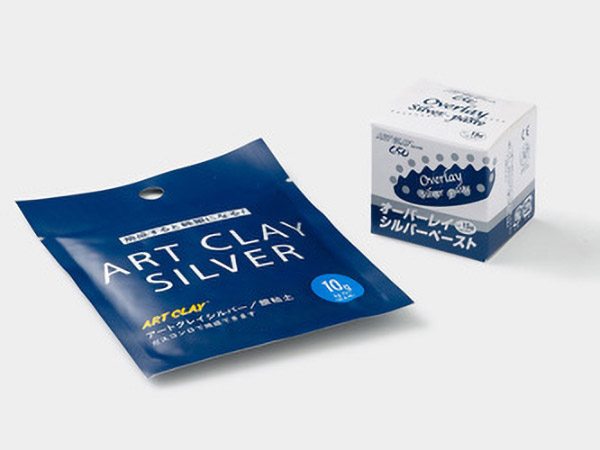
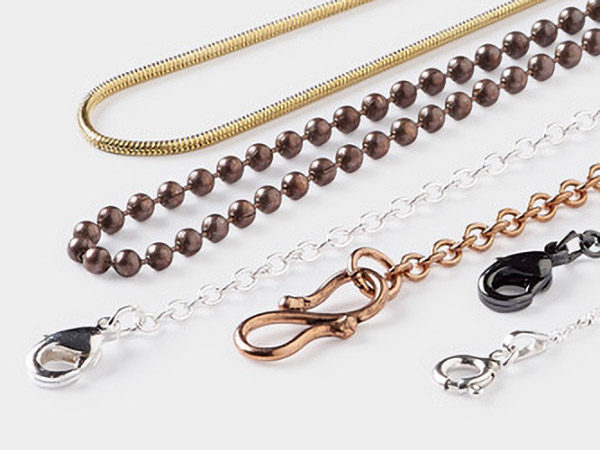
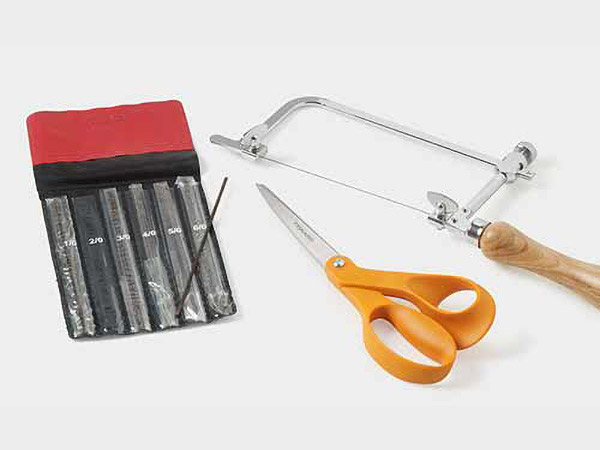
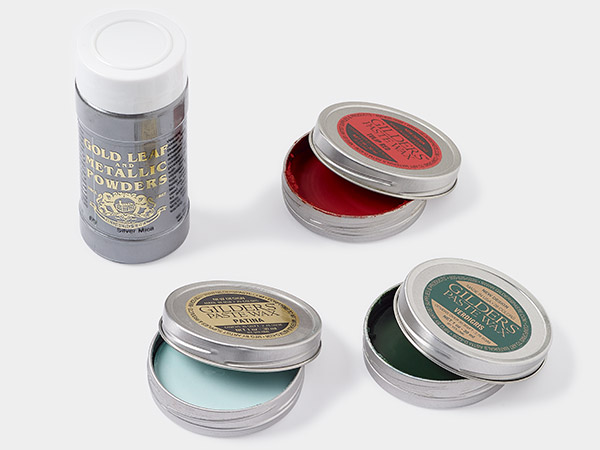
Shop for Your Materials Here:
Copyright Permissions
All works of authorship (articles, videos, tutorials and other creative works) are from the Fire Mountain Gems and Beads® Collection, and permission to copy is granted for non-commercial educational purposes only. All other reproduction requires written permission. For more information, please email copyrightpermission@firemtn.com.


