How to Weave Beads on a Mirrix Loom

Courtesy of Mirrix
Instructions
Weaving Beads Without the Shedding Device
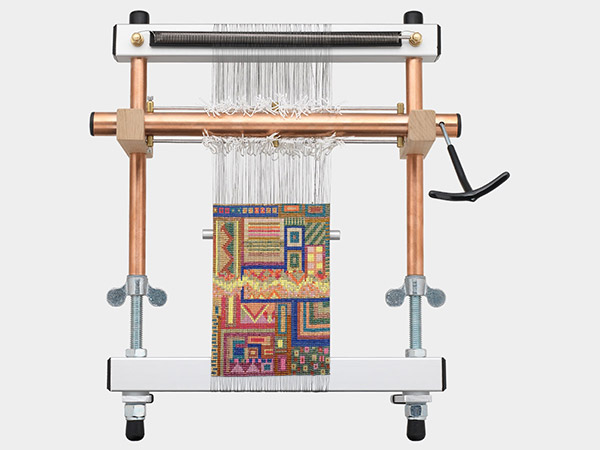
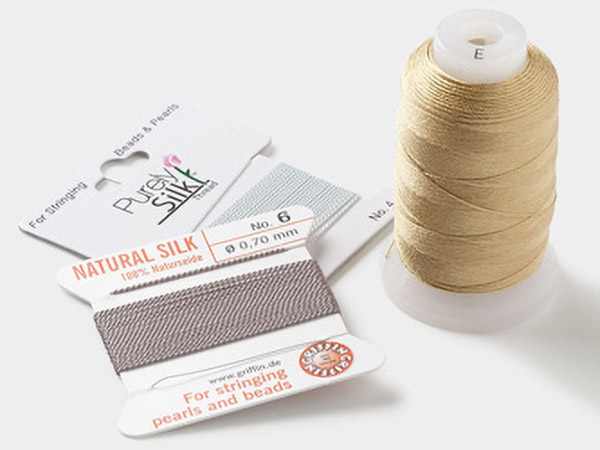
Load the Mirrix weaving loom with warp thread, adding one more thread than the number of beads you will be using in the design.
Apply tension to the warp threads by rotating wing nuts counterclockwise. Verify there is enough tension on the warp so none of the threads are baggy or loose. If the threads are too loose the needle may slide behind one while weaving beads.
Tip: If you will be weaving a very wide piece, it's a good idea to use an extra warping bar which allows you to not have thread on the back of the loom.
Cut an approximately 4-foot length of thread.
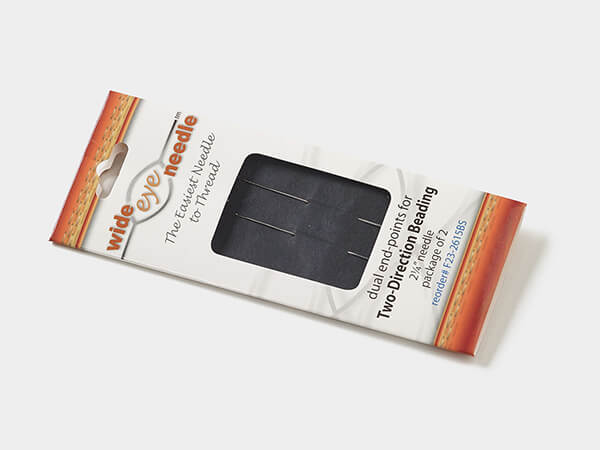
Thread a beading needle almost doubling the thread (to make it easier to work with) but leaving a tail so you are working with only one thread. Temporarily tie the tail to the bar on one side of the loom.
Note: It may be necessary to cut additional lengths of thread later in the design. If there are 6 inches or less of thread remaining in the previous length simply weave the remainder through and start a new length of thread.
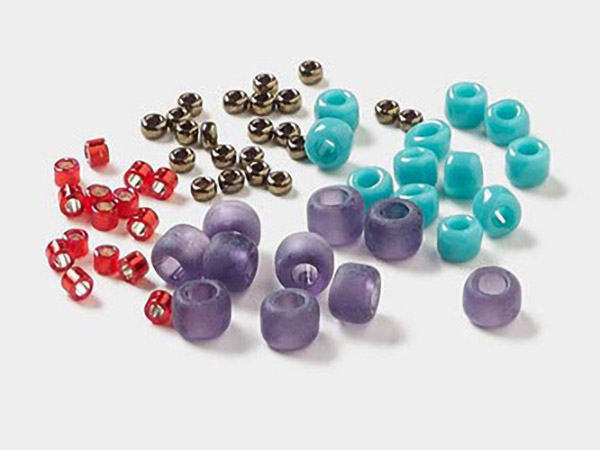
String the desired number of seed beads onto the needle. Pass the needle around the back side of the warp threads. Use your index finger to press the seed beads so one sits between each thread. Pull the thread through the seed beads keeping them in place with your finger.
Bring the needle around the front side of the warp thread then pass through the seed beads in the opposite direction, over the warp threads, sandwiching them. This establishes the beginning width of the piece.
Notes:
- If weaving a wide piece and the needle won't go through the entire row at once, work along the row passing the needle through smaller groups of beads.
- If the needle passed behind a seed bead it will be visible by pushing back from the row. If this happens it can be corrected with a needle and thread.
Tip: A bottom coil is not necessary but is helpful for larger pieces to help keep warp threads organized. If you do use a bottom coil use a 14 dense spring for size 11 seed beads.
Untie the knotted tail then tie the tail and the working thread in a knot close to the seed beads to secure them in place.
Repeat Step 3 to add the desired number of rows in the seed bead pattern of your choice. Because the Mirrix loom is vertical and the tension is so easy to adjust, the design is what matters in loomwork.
Note: The threads on the loom are being stretched by the tension. The resulting piece will be slightly smaller than when on the loom. When you remove the design from the loom you're going to want to let the piece rest, to avoid puckering.
Weaving Beads With the Shedding Device
Attach the shedding device while preparing the Mirrix loom for weaving.
Tip: The shedding device is excellent for weaving wider pieces.
Load the loom with two warp threads in each dent on the warp coil, adding two more threads than the number of beads you will be using.
Apply tension to the warp threads by rotating wing nuts counterclockwise. Verify there is enough tension on the warp so none of the threads are baggy or loose. If the threads are too loose the needle may slide behind one while attaching beads.
Cut an approximately 4-foot length of thread.
Thread a beading needle almost doubling the thread (to make it easier to work with) but leaving a tail so you are working with only one thread. Temporarily tie the tail to the bar on one side of the loom.
Note: It may be necessary to cut additional lengths of thread later in the design. If there are 6 inches or less of thread remaining in the previous length simply weave the remainder through and start a new length of thread.
String the desired number of seed beads onto the needle. Pass the needle around the back side of the warp threads. Use your index finger to press the seed beads so one seed bead sits between each pair of warp threads. Pull the thread through the seed beads keeping them in place with your finger.
Bring the needle around the front side of the warp thread then pass through the seed beads in the opposite direction, on top of the warp threads, sandwiching them. This establishes the beginning width of the piece.
Tip: A bottom coil is not necessary for smaller designs but is recommended for larger designs to help keep warp threads organized. If you do use a bottom coil use a 14 dense spring for size 11 seed beads (there are 14 seed beads in one inch).
Untie the knotted tail then tie the tail and the working thread in a knot close to the seed beads to secure them in place.
Make a shed by moving the handle to the top or bottom of the loom then securing the handle behind the side bar.
Tip: It doesn't matter which side the handle is moved to first, but it will alternate while weaving.
Verify the warp threads do not cross during weaving by passing your fingers across the front of the threads, like strumming a guitar, and through the shed. This will work itself out after the first couple of rows.
String a second row of beads then slide them down the needle onto the thread. Bring the needle through the shed, between the raised and lowered warp thread. Form a loop with the thread to hold while placing the beads. Hold thread in one hand, close to the beads, and the loop in the other so the beads are taught.
Use your index finger to press the seed beads so one sits between each raised thread. Use the thread to press the seed beads down on top of the previous row then pull the thread the rest of the way through.
Alternate the shed by moving the handle then repeat Step 6 to add another row passing the needle through the shed in the opposite direction.
Continue to add the desired number of rows in the seed bead pattern of your choice, alternating the shed with each row.
Tip: The design will not unweave if you forget to change the shed, but it will be obvious they are not attached to the correct warp threads. To verify you have changed the shed, simply check if the beads rise easily. If so, the shed hasn't been changed.
Repeat Step 4 to create the last row in the design.
Optional if you have a wide piece:
String a group of beads then slide them down the needle onto the thread. Bring the needle through the shed then slide them in place. Bring the needle around to the front of the loom then pass between the next two warp threads, next to the last bead. Use the needle to pull a loop of thread to the front of the loom (as a placeholder), between the warp threads.
String the next group of beads then use the loop and the thread on the opposite side to place the beads, beginning just after the last bead from the previous group. Pull the thread through the rest of the way.
Repeat to create the entire row.
Put the shedding device in the neutral position by removing the handle from behind the side bar. (There should be one bar on the top and one on the bottom.)
Put the woven beads in between and behind the double strands of warp then sew through the beads to secure them in place.
Note: The threads on the loom are being stretched by the tension. The resulting piece will be slightly smaller than when on the loom. When you remove the design from the loom, allow the piece rest before tying off to avoid puckering.
Shop for Your Materials Here:
Copyright Permissions
All works of authorship (articles, videos, tutorials and other creative works) are from the Fire Mountain Gems and Beads® Collection, and permission to copy is granted for non-commercial educational purposes only. All other reproduction requires written permission. For more information, please email copyrightpermission@firemtn.com.


