Designing with Wire Coils

by Sandra Lupo, Jewelry Designer and Instructor, Exclusively for Fire Mountain Gems and Beads®
Instructions
"Going, Going, Gone Fishing" Earring Instructions
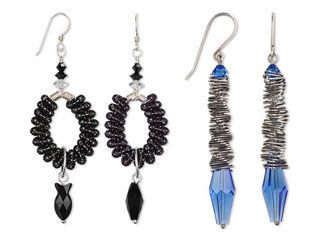
Coils made following the section "Coils Made with a Coiling Mechanism," from within the instructions and the how-to video "Forming Wire Coils" were used to create the "Going, Going, Gone Fishing" earrings. These are a whimsical way to use a pair of identical coils.
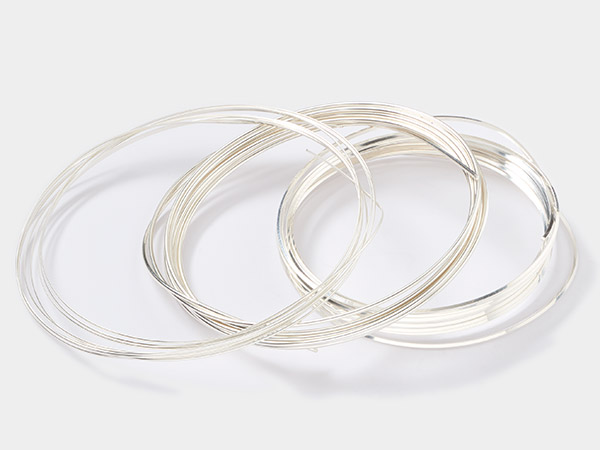
Thread one premade wire coil, onto a 7-inch length of 22-gauge silver wire. Twist the ends of the 22-gauge silver wire just above the ends of the coil to form a hoop.
Repeat to form the second identical coil into a hoop.
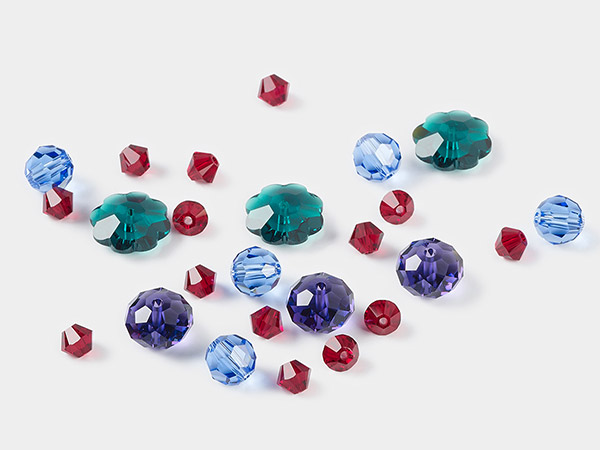
Thread onto the wire, one Crystal Passions 6mm clear rondelle, one Crystal Passions 4mm jet rondelle and one Crystal Passions 4mm jet bicone to finish the top of the earring in a nice tapered or graduated design.
Create a wrapped loop above the Crystal Passions beads.
Thread the 1-1/2 inch ball headpin through the Crystal Passions fish bead. Finish the end with a simple loop. Open a jumpring then pass the open jumpring through the simple loop and the hoop of the coil. Close the jumpring.
Using a pair of chain-nose pliers, open the loop on an earwire then slip onto the wrapped loop. Close the loop on the earwire. Repeat for the second coiled hoop.
Repeat Steps 1 - 5 for the second coiled hoop earring.
"Twist and Turn Coil" Earring Instructions
The "Twist and Turn Coil" earrings were made using coils formed following the section "Using Mandrels to Create Coils" in the "Forming Wire Coils" how-to video. This design in particular was made using coils formed on an 11-inch triangle bezel mandrel graduated with a range of sizes from 2.5 to 9.5mm. When forming coils on triangular, square and hexagonal mandrels, the coil will spring into unexpected and fun shapes. Try them all!
Using a pair of chain-nose pliers, lift the top wire from a "sprung" coil to form a loop (you will add an earwire to this later). Tuck the loop end into the coil. Repeat to form the loop on a second matching coil.
This loop will resemble the shape of the mandrel used; in this case that is a triangle.
Design tips:
- As an alternate design and method, rather than form a loop from the coil, top each coil with a 6mm sapphire Crystal Passions bicone, later in this project, to create a cohesive design with matching colors on the top and bottom of the sprung coil.
- To highlight the corners and edges of the sprung shape, oxidize with liver of sulfur and then polish in a tumbler or with a soft bristle brush, soap and water.
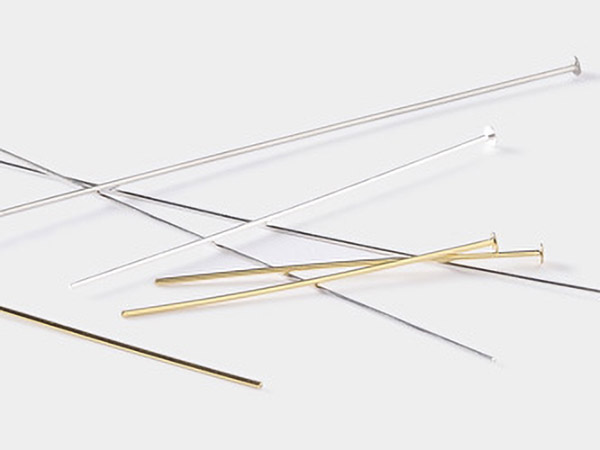
To assemble a "beaded sprung coil dangle," thread a 3-inch headpin through a Crystal Passions double cone bead and then through the sprung coil.
Design Tip: If the headpin wobbles within the coil, thread a few small beads up to the top of the coil to "fill" the space. Crystal bead colors may show through the coil for added interest. In this design, Crystal Passions 4mm round clear crystal and sapphire beads were used.
With a pair of chain-nose pliers, form a loop to anchor the headpin to the bottom side of the triangle loop at the top of the coil. Using a pair of chain-nose pliers, open the loop on an earwire then slip on the top of the triangle loop. Close the loop on the earwire.
OR
Alternate Design: Thread on a Crystal Passions 6mm bicone then form a simple loop in the headpin to secure the dangle.
Repeat Steps 1 - 3 for the second earring.
Shop for Your Materials Here:
Copyright Permissions
The pieces featured in the Gallery of Designs are copyrighted designs and are provided for inspiration only. We encourage you to substitute different colors, products and techniques to make the design your own.
All works of authorship (articles, videos, tutorials and other creative works) are from the Fire Mountain Gems and Beads® Collection, and permission to copy is granted for non-commercial educational purposes only. All other reproduction requires written permission. For more information, please email copyrightpermission@firemtn.com.
