Artistic Wire® 3D Bracelet Jig
Courtesy of Beadalon®
Instructions
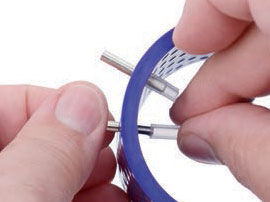
Step 1
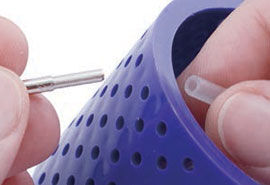
Insert the narrow portion of the peg into one of the holes in the jig.
Step 2
Make sure the peg goes all the way in.
Step 3
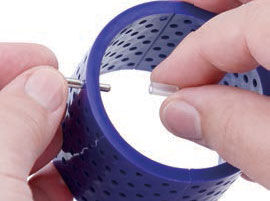
Push one of the fasteners onto the peg protruding inside the jig to secure.
Step 4
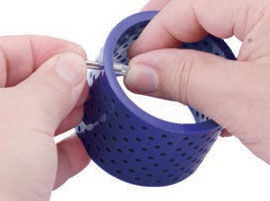
Continue to insert pegs and attach fasteners to create the desired design.
Tip: A zig-zag design creates an easily sizeable bangle bracelet, or cuff bracelet.
Step 5
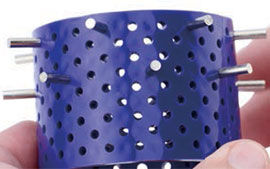
Use as many pegs as necessary to create the desired design.
Step 6
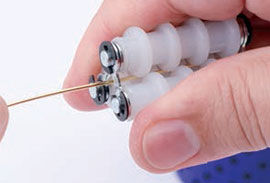
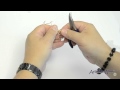
Select the desired wire thickness, suggested sizes are 16, 18, and 20 gauge, however other sizes can be used. Slide the wire through the Artistic Wire Straightener (sold separately) as shown to straighten the wire before shaping it on the 3D Bracelet Jig.
Step 7
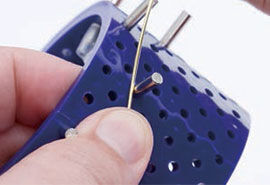
This design uses 14 pegs, evenly spaced in a zig-zag pattern, approximately 22 inches of wire is necessary, more pegs will require more wire.
Lay the wire on the inside of one of the pegs as shown leaving approximately 1 inch of wire to hold with your thumb.
Step 8
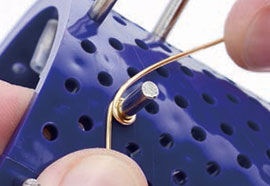
Wrap the long portion of the wire around the peg in a clockwise rotation.
Step 9
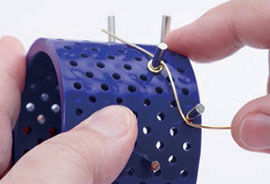
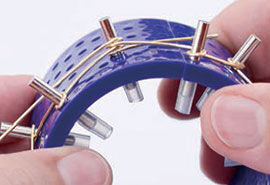
Pull the wire to the inside of the next peg and begin to wrap counter-clockwise around it.
Step 10
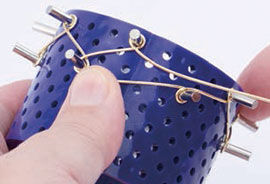
Continue around the circumference of the jig from the inside and wrapping around each of the pegs to keep the loops pointing out of the center of the bracelet. Variation: Wrap the loops in the same direction for a different look. Wrapping the wire with the loop pointing inside is also a different look. Experiment for many different variations.
Step 11
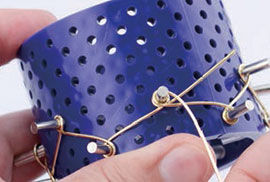
End by wrapping a final loop over the top of the first loop made. These will be the connection loops.
Step 12
Check to see if the loops are at against the base of the 3D Bracelet Jig.
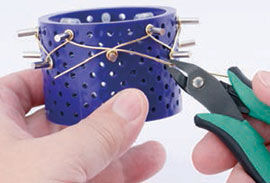
Step 13
If some of the loops are not flush with the 3D Bracelet Jig, use a pair of opened bent chain-nose pliers and push the wire down to the surface of the jig.
Step 14
Cut the long end of the wire to match the starting wire.
Step 15
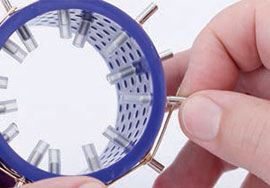
Pull the peg from the double-loop to remove it from the jig.
Step 16
Pull all the pegs to release the wire form from the 3D Bracelet Jig.
Step 17
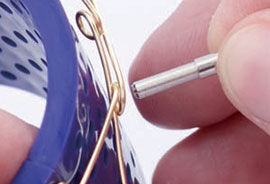
Insert a single peg into an edge hole in the jig and insert the beginning and ending loop over it.
Step 18
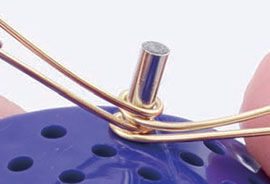
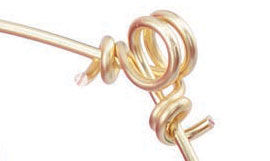
Use the bottom loose end to wrap up and over the wire above it as shown.
Step 19
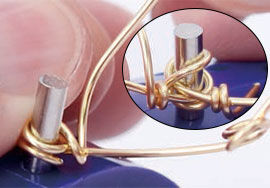
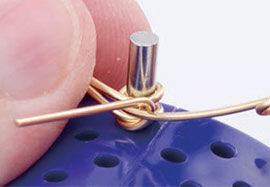
Make two revolutions with the loose end, then do the same with the other end. This will secure the bangle bracelet.
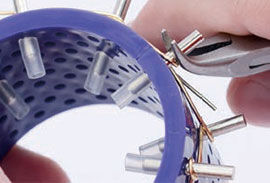
Step 20
Cut the ends of the wrapped end wires leaving about 2mm of the wire pointing out.
Step 21
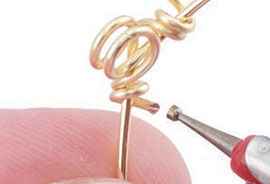
Use a wire rounder to round the sharp edges of the cut piece. Repeat this step on the other cut wire. It is important to round the ends of these wires so there are no sharp edges on the bracelet.
Step 22

Bend the rounded ends down onto the surface of the wire. The bangle bracelet is ready for wear, or for further decoration. Use thinner wire to attach beads, charms, tassels or other items. To make the bracelet smaller, bend the angles of the wires to a smaller angle. Do the opposite to enlarge the bracelet.
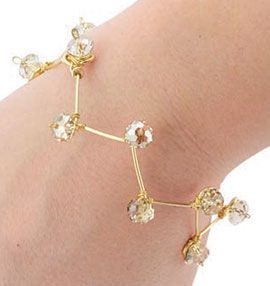
Tip: Another method to make the bangle smaller is to grasp the loops and twist some or all of them. To make a cuff bracelet use two lines of pegs, but do not use the wire all the way around the jig.
To make curved components, use only a portion of the jig and arrange pegs in desired grouping.
Shop for Your Materials Here:
 12x4mm fasteners and (20) 23x3.5mm pegs")


Have a question regarding this project? Email Customer Service.
Copyright Permissions
All works of authorship (articles, videos, tutorials and other creative works) are from the Fire Mountain Gems and Beads® Collection, and permission to copy is granted for non-commercial educational purposes only. All other reproduction requires written permission. For more information, please email copyrightpermission@firemtn.com.