How to Create a Chainmaille Love Knot

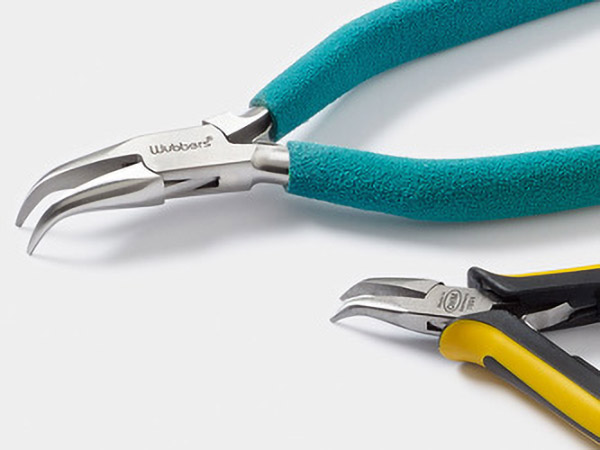
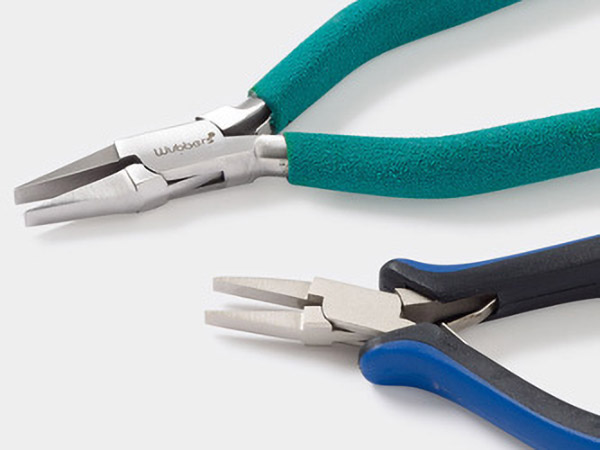
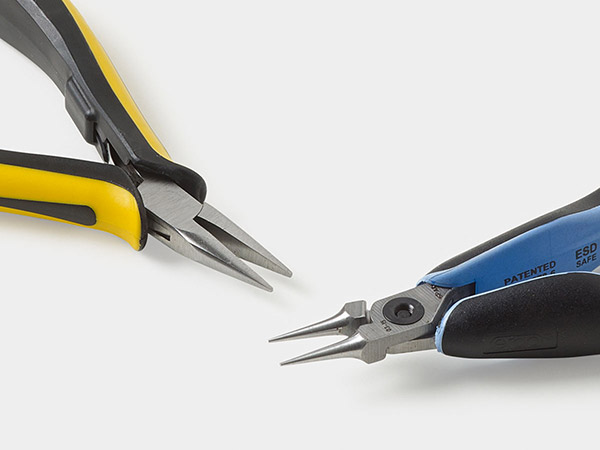
Renowned chain mail artist Sue Ripsch shares how to make a chainmaille love knot to create earrings, bracelets and other jewelry designs, using only Lindstrom® jewelry-making pliers and your favorite jump rings.
Instructions
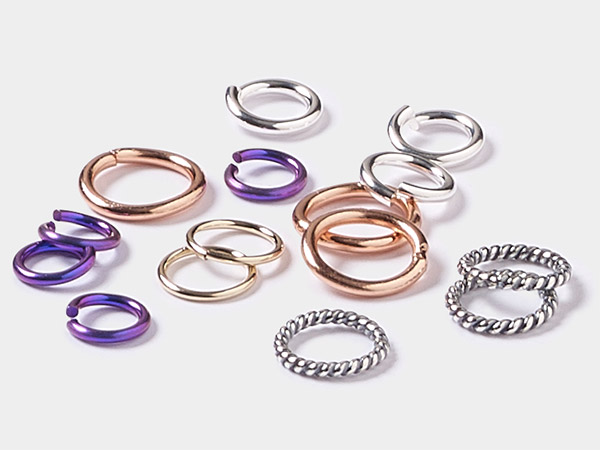
Count out 15 large jump rings. Open 14 jump rings and leave the last one closed.
Note: Depending on the size and gauge of the jump rings, 15 jump rings may not fit in the design. Take note of the number of jump rings used so that any additional love knots use a consistent number.
Pass one open jump ring through the closed jump ring and close then lay both jump rings flat on your working surface. Nest the jump rings, pushing them together.
Attach another open jump ring by passing it through the center of all previous jump rings and close. Nest the jump rings, pushing them together.
Note: Do not flip the jump rings over each time another one is added.
Continue attaching jump rings, always passing the newest one through the center of all previous jump rings and then nesting the stack.
Note: As more jump rings are added to the love knot, each consecutive jump ring added will need to be opened up more in order to fit through the center of the stack.
Tip: When adding a new jump ring, try passing it through the nest from the top. This may make it easier to ensure that the newly added jump ring is being passed through the center of all previous jump rings.
Finish by passing a small jump ring through two nested jump rings in the love knot and the loop on a leverback earwire.
Tip: The Love Knot design allows for other possibilities, such as connecting multiple love knots to form a necklace.
Shop for Your Materials Here:
Copyright Permissions
All works of authorship (articles, videos, tutorials and other creative works) are from the Fire Mountain Gems and Beads® Collection, and permission to copy is granted for non-commercial educational purposes only. All other reproduction requires written permission. For more information, please email copyrightpermission@firemtn.com.


