How to Make a Spiral Kumihimo Braid
In this style of braid, the numbers change position as the disc is turned in a counter-clockwise direction. The kumihimo disk has 32 numbered slots and 4 dots indicating North, East, South and West.
To determine strand length needed, multiply desired finished length by 3.
Example: If you want a 20-inch necklace, you will need 60 inches of cord. Because you are folding four cords in half to make eight cords, you will need to cut four strands 120 inches each.
Instructions
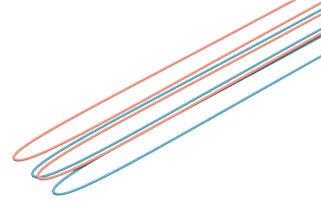
Cut four strands of cord to desired length (2 each of 2 different colors) then fold in half. Cut another strand approximately 4 inches in length.
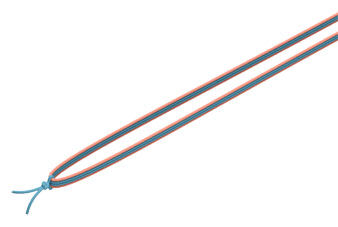
Tie the 4-inch long strand around the four folded ends to secure them together.
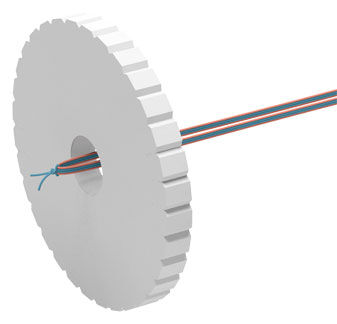
Insert the folded cord ends into the center of the disc.
Hold the folded cord end firmly in place on the underside of the disc while setting up the face of the disc. Make sure the cords are tight in their slots.
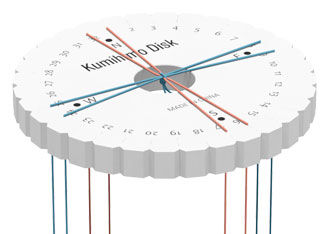
To set up the disc, insert strands into the slots on either side of the dots with one color in top slots #32 and #1 and bottom slots #17 and #16 and the second color in right side slots #8 and #9 and left side slots #24 and #25.
With North at the top of the disc, you are ready to start your braid. Always start your braid with the bottom left strand using the following braiding pattern:
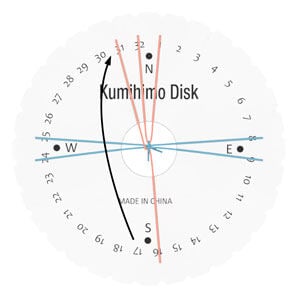
Bottom left #17 up to top left #31--now there are three strands at the top.
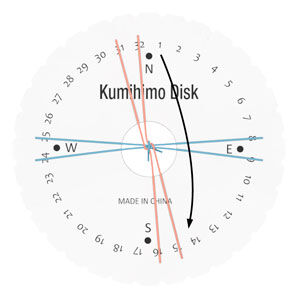
Move top right #1 down to bottom right #15.
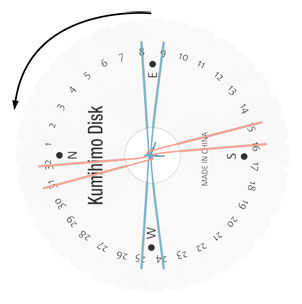
Rotate disc counter clockwise 1/4 turn. The East slots #8 and #9 are now at the top.
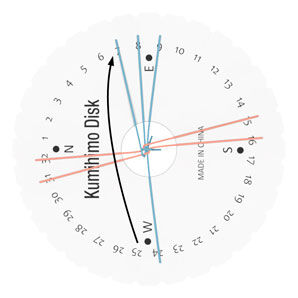
Move strand from slot #25 up to slot #7.
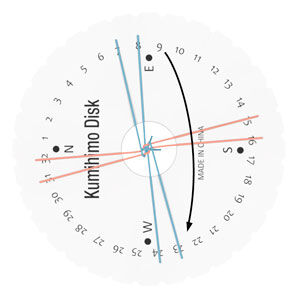
Repeat to move strand from slot #9 down to slot #23.
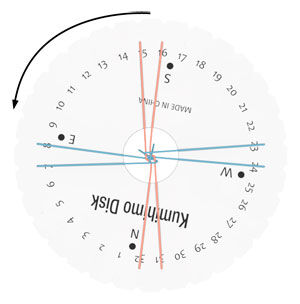
Rotate disc counter clockwise 1/4 turn. South slots #16 and #17 are now at the top.
Repeat this pattern of "left up, right down, rotate" until you reach desired braid length.
Helpful Hint: To pause in your braiding, always remember to stop when you have three strands at the top.
Have a question regarding this project? Email Customer Service.
Copyright Permissions
All works of authorship (articles, videos, tutorials and other creative works) are from the Fire Mountain Gems and Beads® Collection, and permission to copy is granted for non-commercial educational purposes only. All other reproduction requires written permission. For more information, please email copyrightpermission@firemtn.com.
.jpg)