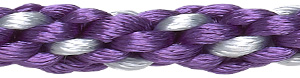
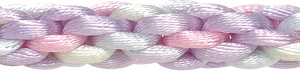
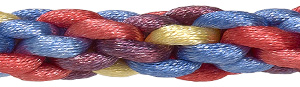
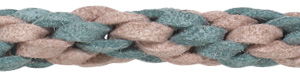
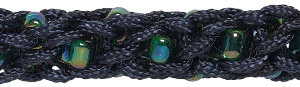
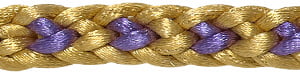
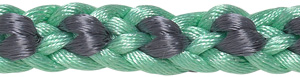
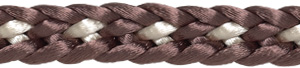
Kumihimo Braids
This helpful reference chart offers basic cord sizes to finished braid sizes for kumihimo--and includes additional tips for successful braiding.
| Example | Finished Shape | Cord Type | Strand Count | Finished Size |
 |
Round | 1mm Satinique™ | 8 Strand | 6mm round |
 |
Round | 1.5mm Satinique™ | 8 Strand | 7mm round |
 |
Round | 2mm Satinique™ | 8 Strand | 8.5mm round |
 |
Round | 3mm Faux Suede | 8 Strand | 10mm round |
 |
Round | 1mm Hemp | 8 Strand | 5mm round |
 |
Round | 1mm Imitation Silk | 8 Strand | 5mm round |
 |
Half-Round | 1mm Satinique™ | 8 Strand | 10mm flat |
 |
Half-Round | 1.5mm Satinique™ | 8 Strand | 12mm flat |
 |
Half-Round | 2mm Satinique™ | 8 Strand | 25mm flat |
 |
Flat | 2mm Satinique™ | 8 Strand | 11mm flat |
 |
Square | 2mm Satinique™ | 8 Strand | 7mm square |
Additional Tips:
- Finished braid sizes are approximate and will vary depending on the tension used when braiding. For best results, maintain a steady tension on the cords as you move around the wheel.
- The 3 to 1 Ratio--Determine the desired finished length of your braid then triple that amount.
- Example: If you want a 20-inch necklace, each cord must be 60 inches long.
- Smooth cord accentuates the shape of the braid. Textured cord accentuates the color of the braid.
- You don't have to use the same type or size of cord in a project, you can mix and match. When blending thick and thin cords, thin cord rolls to the inside of the braid and thick cords stay to the outside of the braid.
- Remember where you stopped by ending with the three strands at the top. When you pick up to start again, you will know that the three strands are at the top of the wheel and you will resume by bringing your top right strand down to the bottom right slot.
- What end caps to use? You can use cone-style clasps with attached loops, or any appropriate size beading cone and add your own wire-wrapped loop.
- We suggest using E-6000® Jewelry and Craft Adhesive or Loctite® 409 Gel adhesive.
How did you like this resource? Your feedback helps us provide resources that matter to you most.
Copyright Permissions
All works of authorship (articles, videos, tutorials and other creative works) are from the Fire Mountain Gems and Beads® Collection, and permission to copy is granted for non-commercial educational purposes only. All other reproduction requires written permission. For more information, please email copyrightpermission@firemtn.com.