How to Assemble and Use a Pin Vise Twisting Wire and Rounding Wire Ends Using a Pin Vise

What is a Pin Vise?

A pin vise is a small, handheld tool designed to grip tiny components with precision. Similar to a miniature drill, it can hold a variety of fine bits for tasks like making or enlarging holes in beads and pearls. It’s also invaluable for securing slender jewelry-making materials, such as wire, so you can easily round the ends, twist wire evenly or perform other delicate techniques with control and accuracy.

Assembling a Pin Vise

video

Instructions

Step 1
deconstructed Pin vise

Select desired 2-sided collet and set aside. Insert other collet into handle.

Step 2
Chuck sleeve on collet

Slip chuck sleeve over collet and screw tighten chuck sleeve in handle.

Step 3
Collet in chuck sleeve

Insert desired collet into opposite end of chuck sleeve.

Step 4
Drill bit in collet

Insert desired drill bit into collet.

Step 5
Fully assembled tool

Slip chuck tip over drill bit and screw tighten into chuck sleeve.


How to Twist Wire with a Pin Vise

Twisted wire can add both strength and a decorative element to jewelry designs, whether for creating bezels, wire wrapping or creating custom findings. While pre-twisted wire is available, twisting your own wire has some distinct advantages. When you twist your own wire, you are in control—metal type, gauge, wire shape are all in your power, as well as how tightly to twist the wire. In addition to control over your creative vision, twisting your own wire may be more cost-effective than buying pre-twisted wire, and it will give you the satisfaction of creating completely handcrafted jewelry pieces. Take care, however, as twisting wire will work harden it. Start with a softer wire than you intend to finish with.

video

Instructions

Step 1
Chuck tip removed from tool

Unscrew chuck tip.

Step 2
Wire inserted through chuck tip and into collet.

Insert cut length of wire through chuck tip and into collet.

Step 3
Wire sticking out of chuck

Tighten chuck tip to secure wire in collet.

Step 4
Wire strung between pin vise and table vise

Secure straight end of wire into bench vise.

Step 5
Wire twisted between pin vise and table vise

Hold chuck handle in non-dominant hand. With your other hand, grasp knurled chuck sleeve with thumb and forefinger and twist.

Step 6
Wire strung between pin vise and open table vise

Open bench vise to release wire end.

Step 7
Chuck tip being unscrewed from the tool

Unscrew chuck tip to release wire from pin vise.

Pin Vise FAQ

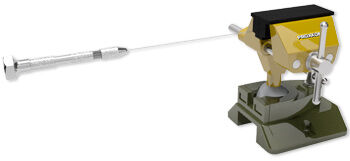
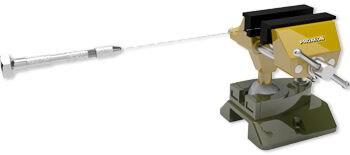
Q: Can I use a pin vise to twist different gauges of wire?
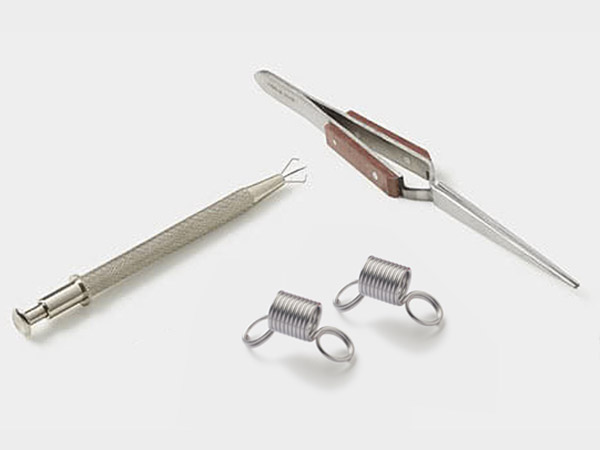
A: You can twist different gauges and shapes of wire together. In fact, that is one of the primary reason jewelry designers opt to create their own twisted wire.

Q: Can I use a pin vise for other jewelry projects besides twisting wire?
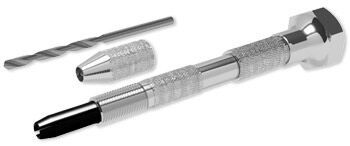
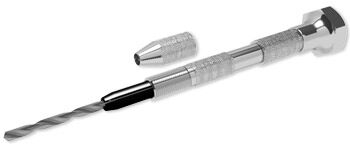
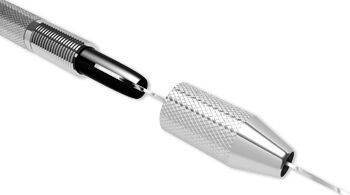
A: A pin vise can have many useful applications. Use it to grip any wire you need to manipulate or use it as a drill to create holes in jewelry-making components.

Q: Is a pin vise the same as a hand drill? 
A: A pin vise is designed for smaller, more delicate work than a hand drill. When you need to prioritize accuracy over speed, use a pin vise. 

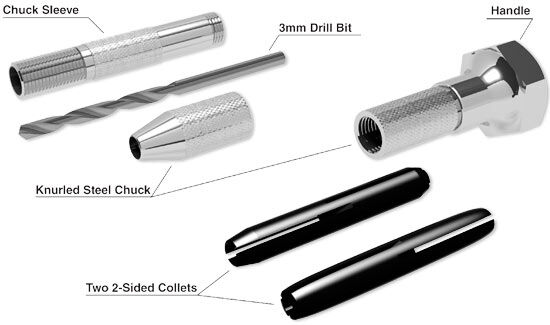
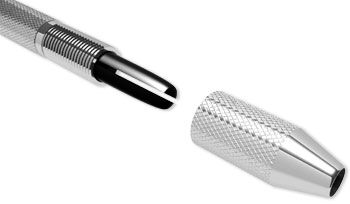
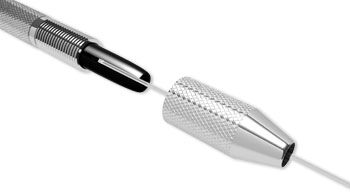
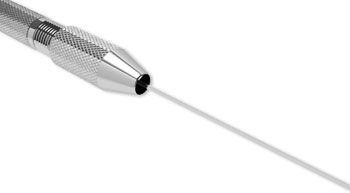
Q: What is the difference between a single-ended and double-ended pin vise? 
A: A single-ended pin vise has a chuck at one end. A double-ended pin vise has chucks of different sizes at either end. While a double-ended pin vise may offer more versatility, it will also be bulkier.

Q: How is a pin vise different from using pliers to twist wire? 
A: A pin vise will give you accuracy and control—much more so than using pliers for the same task.

Shop for Your Materials Here:


Have a question regarding this project? Email Customer Service.