

How to Use the Artistic Wire® CONETASTIC™ Mandrels
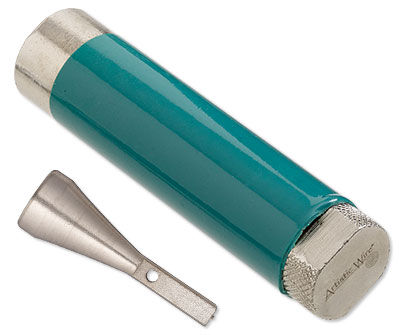
Instructions for the Inverted Mandrel
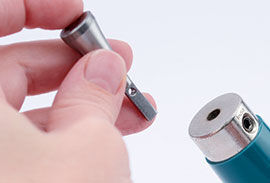
Insert the inverted mandrel into the base of the CONETASTIC Tool (sold separately) with flat side of the mandrel shank aligned with the set screw.
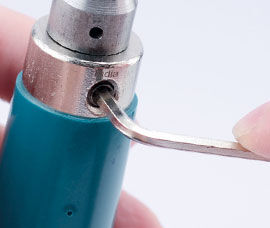
Use an Allen wrench to tighten the inverted mandrel into place.
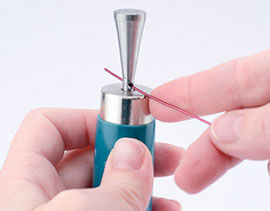
Insert wire into the hole at the base of the mandrel to secure the wire for wrapping.
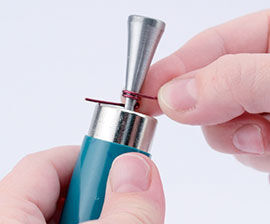
Holding and guiding the wire with your fingers, turn the CONETASTIC tool to wrap the wire around the mandrel.
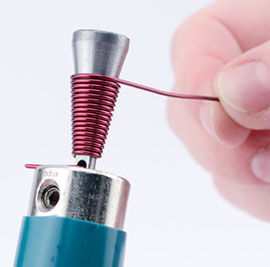
Continue turning the tool to wrap the wire around the mandrel.
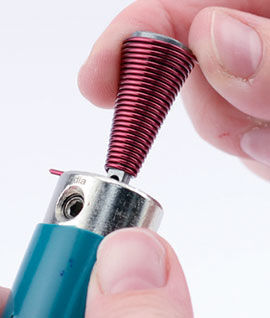
Finish wrapping when you reach the desired length of your cone.
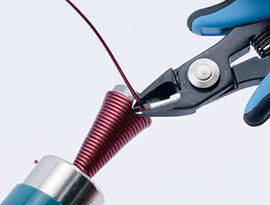
Use the flush side of a cutter to snip the end of the wire.
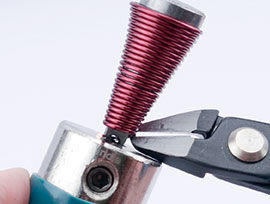
Use the flush side of a cutter to snip the wire at the bottom to release it from the hole.
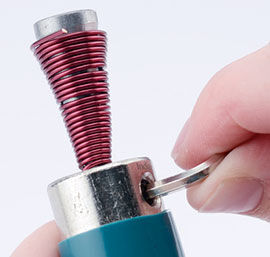
Use the allen wrench to loosen the mandrel and remove it from the CONETASTIC tool.
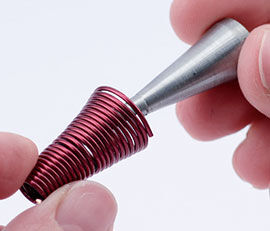
Remove the cone from the mandrel.
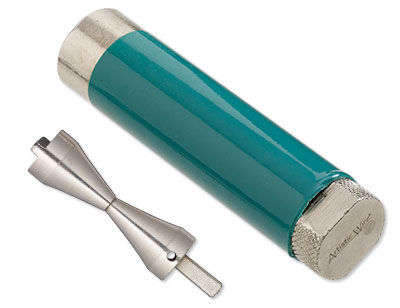
Instructions for the Hourglass Mandrel
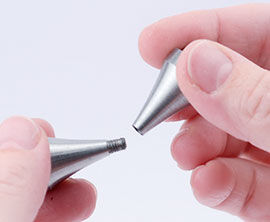
Screw both sides of the hourglass mandrel together.
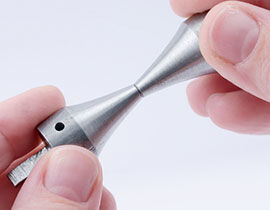
The mandrel should have the narrow parts together with the wide parts on the sides.
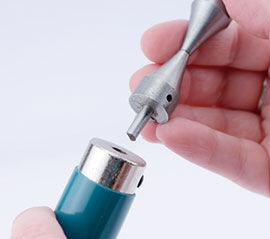
Insert the hourglass mandrel into the CONETASTIC tool (sold separately) with the flat side of the mandrel shank aligned with the set screw.
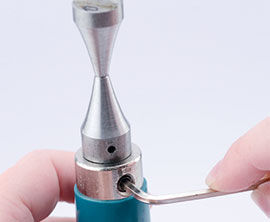
Use an Allen wrench to tighten the hourglass mandrel into place.
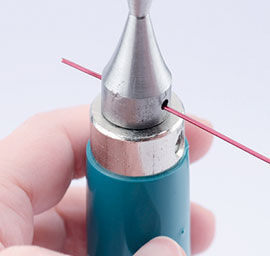
Insert wire into the hole at the base of the mandrel to secure the wire for wrapping.
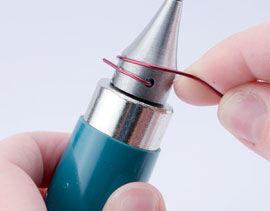
Turn the CONETASTIC tool to wrap the wire around the bottom portion of the mandrel.
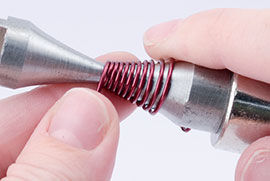
Continue turning the tool to wrap the wire around the hourglass mandrel to its narrow midpoint and up towards its widest point at the other end.
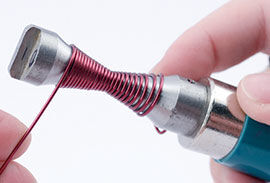
Finish wrapping when you reach the desired size for your hourglass shaped double cone.
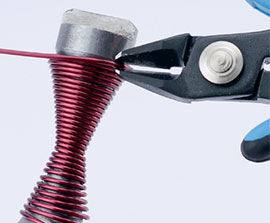
Use the flush side of a cutter to snip the wire.
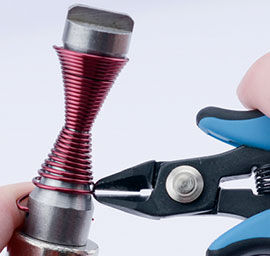
Use the flush side of a cutter to snip the wire at the bottom to release it from the hole.
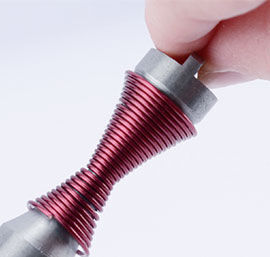
Unscrew the double mandrel to release the cone at one end.
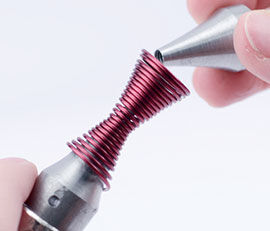
Lift the double cone away from the mandrel to remove the hourglass shaped double cone.
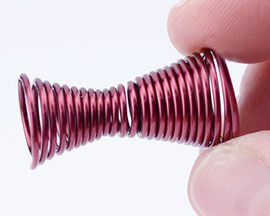
Finished double-cone accessory.
Have a question regarding this project? Email Customer Service.
All works of authorship (articles, videos, tutorials and other creative works) are from the Fire Mountain Gems and Beads® Collection, and permission to copy is granted for non-commercial educational purposes only. All other reproduction requires written permission. For more information, please email copyrightpermission@firemtn.com.