How to Make a Multi-Strand Crystal Bracelet
Follow along step-by-step as we show you how to craft a professional-quality bracelet using sparkling crystals and easy techniques. Whether you're growing your jewelry business or just love to design, this project will help you build your skills and confidence.

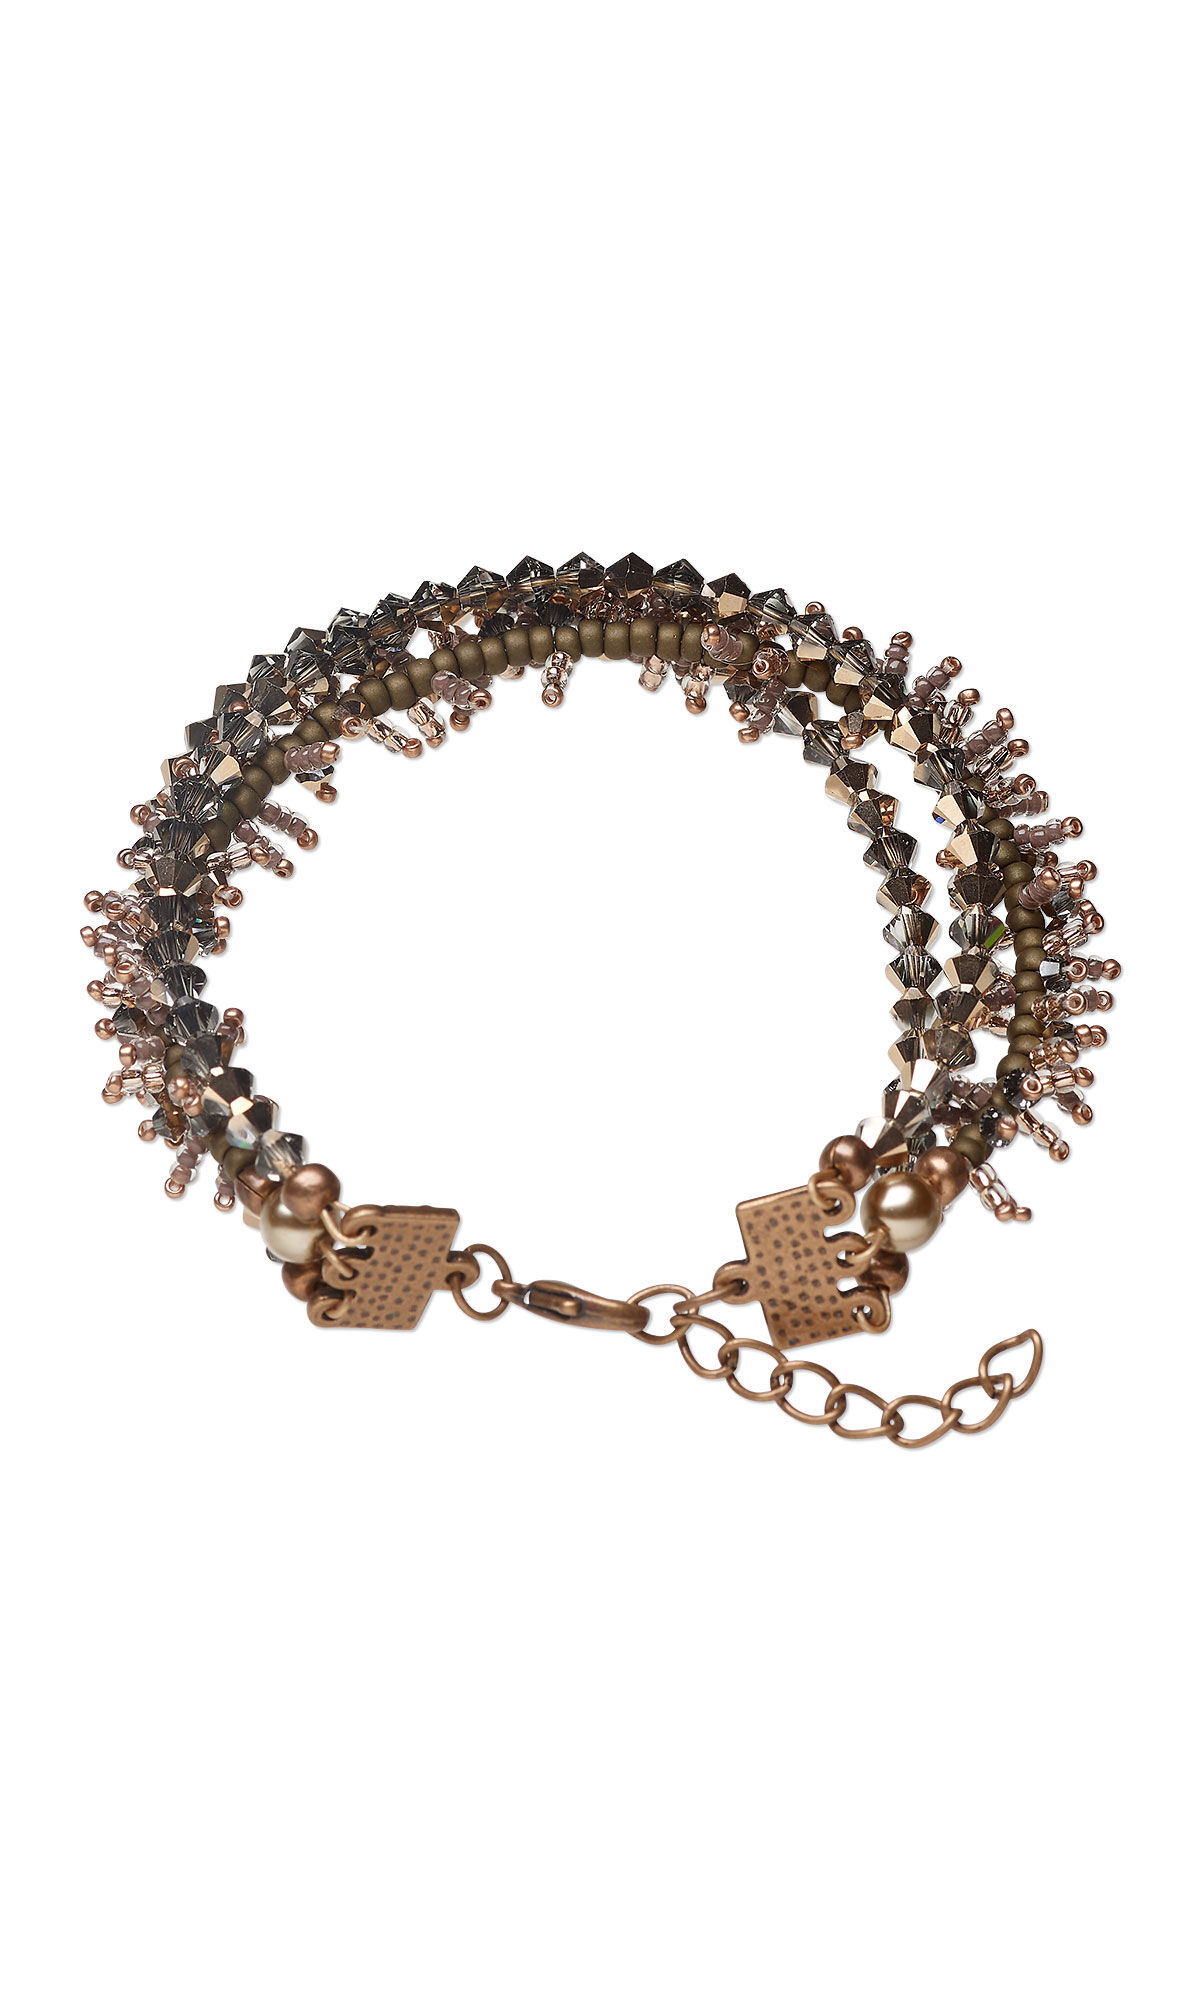


Design Idea RA2G
-- Designer --
Elaine, Jewelry Designer, Exclusively for Fire Mountain Gems and Beads®
To learn more about Elaine Young, read her jewelry artist success story here.
: : : Materials : : :
Click here to view a full list of materials used in this design.
Please take the creative opportunity to select the products of your choice for this design, offered here at Fire Mountain Gems and Beads. Some materials may not be available or listed.
- Bead crystal rose gold 18Kt gold plate, Crystal Passions® 3mm bicone 5328
- Bead crystal rose gold 18Kt gold plate, Crystal Passions® 4mm bicone 5328
- Bead, Czech pearl-coated glass druk, opaque light brown, 6mm round
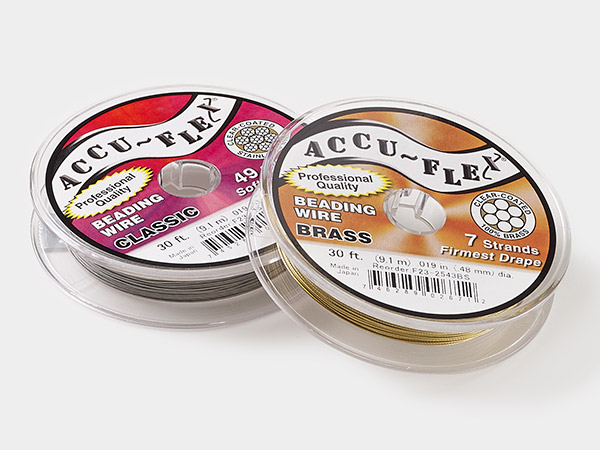
- Beading wire, Accu-Flex®, nylon and stainless steel, rose gold, 49 strand, 0.024-inch diameter
- Crimp cover, antique copper-plated brass, 4mm smooth round
- End bar, antique copper-finished "pewter" (zinc-based alloy), 32x13mm with 13x6mm 3-strand rectangle and 3-inch extender chain with lobster claw clasp
- Seed bead, Miyuki, glass, #15 rocaille, opaque copper-plated, (RR-187).
- Seed bead, Miyuki, glass, #8 rocaille, opaque matte metallic dark bronze, (RR-2006).
- Seed bead, Preciosa Ornela Czech glass, #11 rocaille, transparent terra intensive chocolate-lined clear, (08A19).
- Seed bead, TOHO BEADS®, glass, #11 round, transparent copper-lined crystal clear (TR-11-740).
- Sterling silver, cut tube crimp, 2mm / 1.3-1.4mm inside diameter
- Thread, Nymo®, nylon, white, size O
Instructions
Cut three 12-inch pieces of 0.024-inch diameter rose gold Accu-Flex® beading wire. Take one of the 12-inch segments of Accu-Flex and string it through a 6mm pearl-coated druk bead and 2mm crimp tube. With crimping pliers, crimp the tube. Then cover it with a 4mm crimp cover.
String seventy (70) #8 seed beads onto the Accu-Flex beading wire. When you reach the end of the wire, thread on another crimp tube and 6mm pearl-coated druk bead. Then thread it back into the druk bead and crimp tube. Crimp and cover it with a 4mm crimp cover. Then trim off the excess beading wire.
Cut off 2 yards of size #O beading thread. Using a #11 needle, thread on the first #8 seed bead on the strand of beading wire. Leave a 4-inch length for tying off the strands. Add three #11 seed beads, followed by a #15 seed bead. Thread the needle through the three #11 seed beads, skipping the #15 bead. The #15 bead will be the stopper bead.
Thread your needle through the second #8 seed bead. Continue the pattern as above until you reach the end of the bracelet.
Turn the bracelet around and start making fringe going in the other direction. Complete the fringe on the first two seed beads as above.
Starting on the third #8 seed bead, the pattern changes. Add three #11 seed beads, then a 3mm crystal bicone bead, and then the #15 seed bead. Thread the needle through the three #11 seed beads and the crystal bicone, skipping the #15 bead. As above, the #15 bead will be the stopper bead. Continue this pattern until you reach the end of the bracelet.
When you finish the fringe, string the Accu-Flex beading thread through another crimp bead and pearl-coated druk bead. Thread the beading thread through the clasp. Then put it through the bead and crimp bead again. Using crimping pliers, crimp the crimp bead and add a crimp cover.
Take another 12-inch piece of Accu-Flex and thread it through a hole in the clasp, then through a crimp bead. Using crimping pliers, crimp it and then add a crimp cover.
String on forty-one (41) 4mm bicone beads. Then add a crimp bead. Thread the beading wire through the other end of the clasp. Crimp the crimp bead and add a crimp cover.
Repeat Step 6, using the third loop on the clasp.
Shop for Your Materials Here:
Copyright Permissions
The pieces featured in the Gallery of Designs are copyrighted designs and are provided for inspiration only. We encourage you to substitute different colors, products and techniques to make the design your own.
All works of authorship (articles, videos, tutorials and other creative works) are from the Fire Mountain Gems and Beads® Collection, and permission to copy is granted for non-commercial educational purposes only. All other reproduction requires written permission. For more information, please email copyrightpermission@firemtn.com.
