Secrets to Kumihimo Project 4: 10-Strand Flat Braid
Unlock the secrets to creating a 10-strand flat kumihimo braid in this step-by-step tutorial. Perfect for both beginners and experienced braiders, this video guides you through the process of crafting flat, elegant braids using traditional Japanese techniques. Whether you're making bracelets, necklaces, or other woven designs, this braid style adds a bold, structured look to your jewelry. Follow along, discover tips for consistent tension and clean finishes and add a new skill to your kumihimo repertoire.


Design Idea RC3K
-- Designer --
Elaine, Jewelry Designer, Exclusively for Fire Mountain Gems and Beads®
To learn more about Elaine Young, read her jewelry artist success story here.
: : : Materials : : :
Click here to view a full list of materials used in this design.
Please take the creative opportunity to select the products of your choice for this design, offered here at Fire Mountain Gems and Beads. Some materials may not be available or listed.
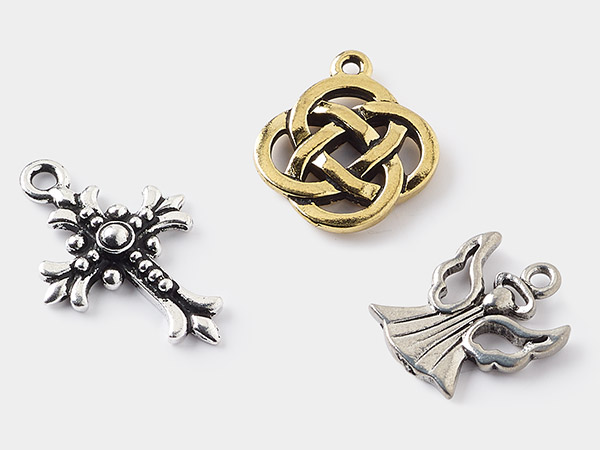
- Charm, antique silver-plated "pewter" (zinc-based alloy), 25x21mm single-sided heart with multiple "LOVE."
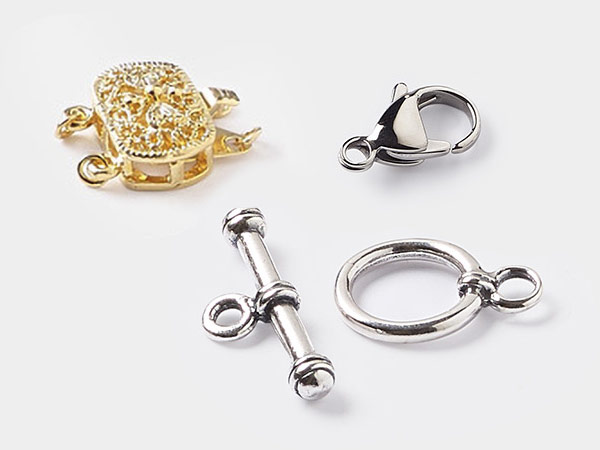
- Clasp, lobster claw, silver-plated brass, 11x7mm
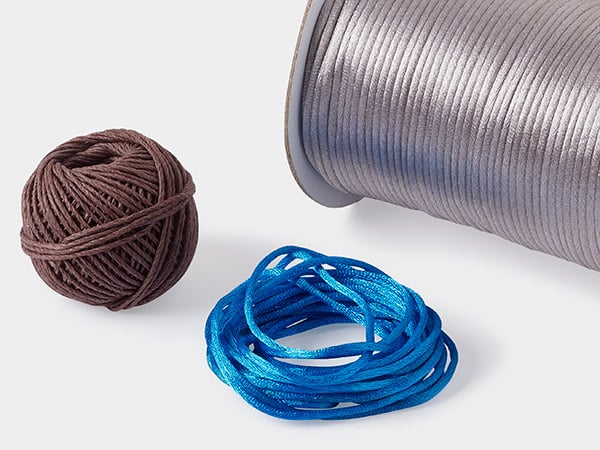
- Cord, Satinique™, satin, dark grey, 1mm
- Cord, Satinique™, satin, navy blue, 1mm
- Cord, Satinique™, satin, white, 1mm
- Jump ring, silver-plated brass, 4mm round, 2.4mm inside diameter, 20 gauge
- Jump ring, silver-plated brass, 9mm round, 7mm inside diameter, 18 gauge
- Ribbon crimp end, silver-plated brass, 13x5mm rectangle
- Thread, Nymo®, nylon, white, size OO
Instructions
Cut ten strands of cord 96 inches in length. Wrap each strand around a huggy spool.
Tie all ten strands together in one knot. Insert the knotted end through the center hole of the kumihimo disk.
Hold the knot firmly against the underside of the disk. Attach a kumihimo weight to the knot.
Top (6 Cords):
- Slot 8 – 1 cord
- Slot 7 – 1 cord
- Slot 6 – 1 cord
- Slot 5 – 1 cord
- Slot 4 – 1 cord
- Slot 3 – 1 cord
Bottom (4 Cords):
- Slot 7 – 1 cord
- Slot 6 – 1 cord
- Slot 5 – 1 cord
- Slot 4 – 1 cord
Move the cord in Top 5 to Right B.
Move the cord in Top 6 to Left B.
Move the cord in Bottom 5 to Top 5.
Move the cord in Top 4 to Bottom 5.
Move the cord in Bottom 4 to Top 4.
Move the cord in Top 3 to Bottom 4.
Move the cord in Bottom 6 to Top 6.
Move the cord in Top 7 to Bottom 6.
Move the cord in Bottom 7 to Top 7.
Move the cord in Top 8 to Bottom 7.
Move the cord in Right B to Top 8.
Move the cord in Left B to Top 3.
Repeat the braiding pattern, working top to bottom on the right side, then the left.
Continue braiding until you reach your desired length.
Remove all strands from the disk.
Tie a secure knot at the end of the braid.
Sew the strands together with a needle and thread, stitching back and forth three times.
Apply glue to the end of the braid. Let it dry.
Gently tug on the braid to ensure it’s secure before trimming the knot.
Apply more glue to the trimmed end and the end of a ribbon crimp.
Use pliers to crimp closed. Let it dry completely.
Trim off any excess cord with scissors.
Attach the clasp and jump ring. Add a charm if desired.
Helpful Hint
If you need to pause, stop when you have three strands at the top.
This makes it easier to remember where to resume.

Have a question regarding this project? Email Customer Service.
Copyright Permissions
All works of authorship (articles, videos, tutorials and other creative works) are from the Fire Mountain Gems and Beads® Collection, and permission to copy is granted for non-commercial educational purposes only. All other reproduction requires written permission. For more information, please email copyrightpermission@firemtn.com.