How to Make Your Own Clay Cutters
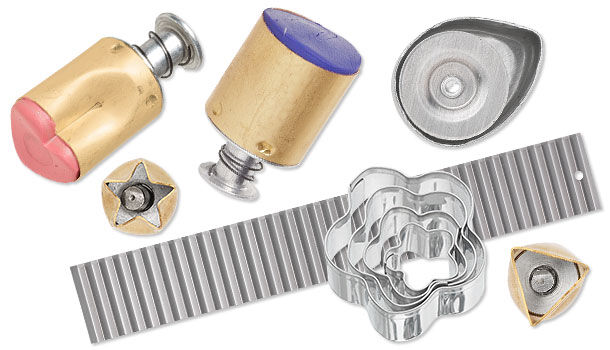
Clay Cutter
Making your own clay cutters allows you to create custom shapes and sizes using metal sheet and polymer clay. Attaching polymer clay to your unique cutter secures it without having to drill holes and secure the ends of the cutter with brads or screws.
Trace the desired shape, in the full-scale size, onto a sheet of paper. Cut the shape out creating a template.
Use metal sheet cutter shears to cut a strip of metal sheet approximately 10mm wide and the length equaling the circumference of the template.
Tip: It may be necessary to cut additional strips of metal sheet to equal the circumference of the template.
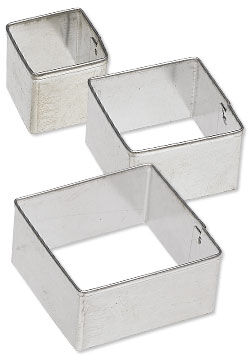
Use pliers to carefully bend the strip/s to the desired shape according to the template.
Cutter Handle
Condition a section of scrap polymer clay by hand or running through a polymer clay roller until soft and pliable. Roll the clay sheet through once more on an approximately 8mm thickness.
Use a hard, flat surface to press the strips evenly approximately halfway into the clay sheet. Making sure the ends of the strips match up, forming the complete shape, and the edges are level in the clay.
Use a blade to cut the clay sheet extending approximately 1/4 inch or larger around the circumference of the embedded strip, creating a border.
Apply Poly Bonder™ around the edge of the strip, where the clay meets the strip, to secure it in place.
Bake according to the manufacturer's instructions, and allow it to cool completely.
Note: Attaching a handle is recomended to conceal the sharp edge of the clay cutter and protect your hands, as well as securing the shape of the cutter.
Have a question regarding this project? Email Customer Service.
Copyright Permissions
All works of authorship (articles, videos, tutorials and other creative works) are from the Fire Mountain Gems and Beads® Collection, and permission to copy is granted for non-commercial educational purposes only. All other reproduction requires written permission. For more information, please email copyrightpermission@firemtn.com.