Earrings with Sculpey® Soufflé™ Polymer Clay and Czech Pressed Glass Beads

Design Idea RJ2J
-- Designer --
Elaine, Jewelry Designer, Exclusively for Fire Mountain Gems and Beads®
To learn more about Elaine Young, read her jewelry artist success story here.
: : : Materials : : :
Click here to view a full list of materials used in this design.
Please take the creative opportunity to select the products of your choice for this design, offered here at Fire Mountain Gems and Beads. Some materials may not be available or listed.
- Wire, Zebra Wire™, color-coated copper, green, round, 28 gauge.
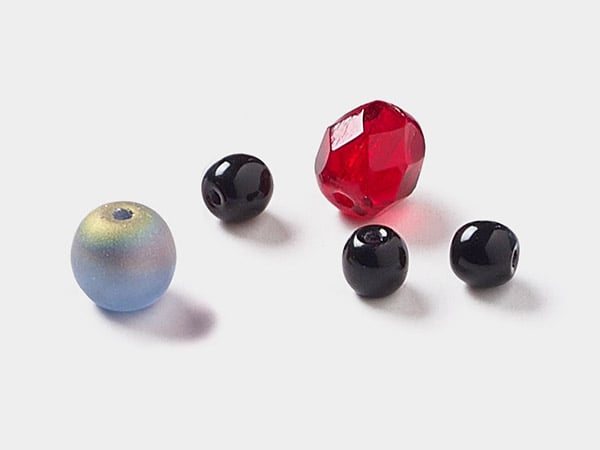
- Bead, Czech pressed glass, emerald green, 9x8.5mm top-drilled leaf.
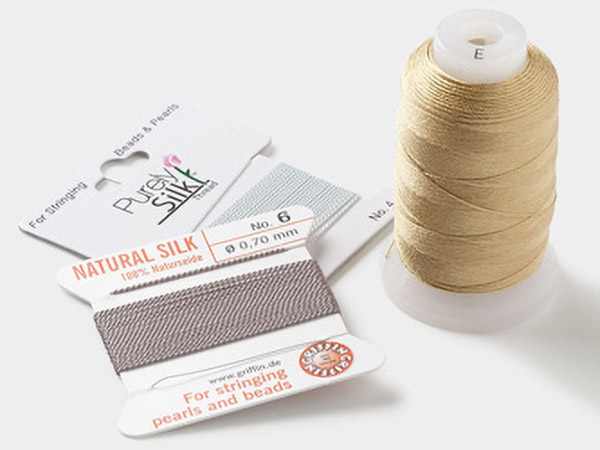
- Thread, Purely Silk™, gold, size FFF.
- Jump ring, gold-plated brass, 8mm round, 6.4mm inside diameter, 20 gauge.
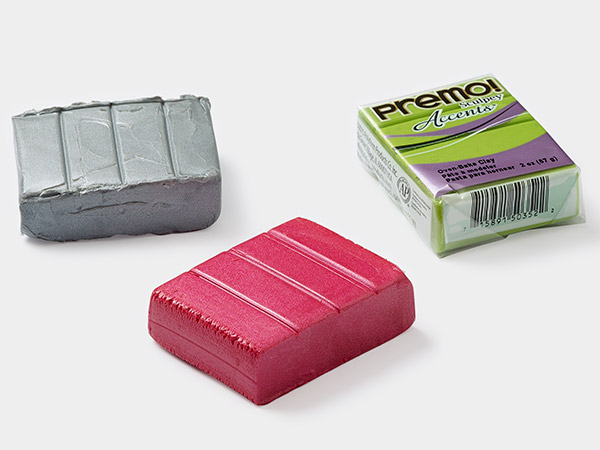
- Polymer clay, Sculpey® Soufflé™, pumpkin.
- Polymer clay, Sculpey® Soufflé™, poppy seed.
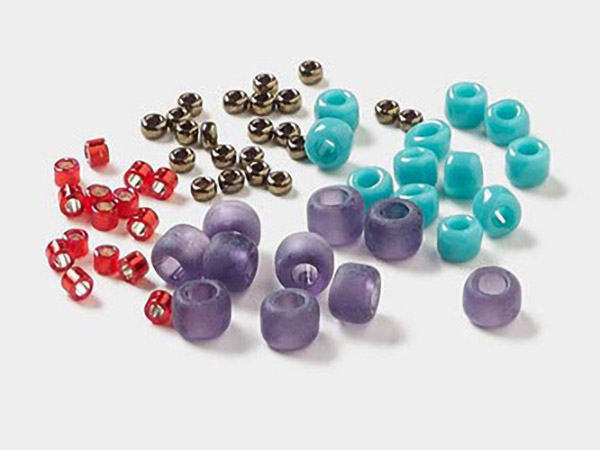
- Seed bead, Miyuki, glass, #11 rocaille, transparent silver-lined green, (RR-16).
- Ear wire French hook gold-plated, 20mm / open loop, 20 gauge brass.
- Adhesive, E6000®, clear.
"Pots" Instructions
Cut one 1/4 of a package of Sculpey® Soufflé™ pumpkin polymer clay. Cut the clay in half and add a pinch of Sculpey Soufflé poppy seed polymer clay to give it a true terra cotta color. Roll the clay into two balls. Shape the balls into flowerpots.
Cut one 1/4 of a package of Sculpey Soufflé pumpkin polymer clay again. Roll the clay to a thickness of 1/16 inches. Cut two strips to be the outer rims of the pots.
Using a toothpick, create a small hole in the center of the base of each pot.
Bake at 275 degrees Fahrenheit (135 degrees Celsius) for 20 minutes.
"Plants" Instructions
Cut four 6-inch and four 4-inch lengths of 28-gauge green Zebra Wire™.
String a green leaf bead onto one of the 6-inch wires, then fold the wire in half with the leaf bead at the bend. Place a green rocaille seed bead on each end of the wire. Slide the seed beads up against the leaf. Bring the wires back together and string on another green leaf bead. Repeat this pattern three more times, then twist the ends of the wire together.
Repeat Step 2 for the remaining three 6-inch wires.
Repeat Step 2 for the 4-inch wires, using one fewer leaf bead than on the 6-inch wires.
Gather all the plant wires together. Cut the wires so that they each have a 1-inch length of wire at the bottom.
Mix 2-part epoxy and put it in the hole in the pot. Then place the wire ends in the hole. Let it dry.
Apply more 2-part epoxy to the surface of the inside of the pot. Cover the epoxy with green rocaille seed beads.
"Macramé" Instructions
Cut six 16-inch and one 8-inch strand of size FFF Purely Silk™ gold thread.
Gather the strands and place them through a 8mm 20-gauge gold-plated round jump ring and fold them in half. Take the 8-inch strand and wrap it around all 12 folded half-strands just below the jump ring.
Make a gathering knot as follows:
Lay the loop: Place the 8-inch wrapping thread alongside the bundle of threads so the short tail points upward, toward the top of the bundle. Form a U-shaped loop with this short tail pointing up and the long working end pointing down.
Start wrapping: Take the long end of the wrapping thread and begin wrapping it tightly around the bundle of threads just below the loop. Work downward, making each wrap snug and flat against the previous loop. Wrap about eight times.
Finish the knot: Once you’re done wrapping, pass the working end through the loop at the bottom of the folded wrapping thread.
Tighten: Pull gently on the short tail sticking out at the top. This will draw the loop—with the working end inside it—up and under the wrapped section, hiding it securely.
Trim excess: Snip the loose ends of the thread close to the knot so they disappear under the wraps.
Divide the 12 threads into three groups of four strands. The two middle threads, called filler threads, will stay in place. The left and right threads will be the working threads. They will do the knotting.
Take the left working cord and pass it over the filler threads and under the right working thread. Then take the right working thread and bring it under the filler threads and up through the loop made by the left cord on the left side. Then pull the cords snug. This is a half knot—one half of a square knot.
Keep tying on the same side: left over first, right under second, every time. As you repeat the pattern, the knots will naturally begin to twist. The spiral effect will be more obvious as you proceed. Weave until you have a 1-inch length of macramé.
Tip: Keep tension even for a neat, consistent spiral.
Repeat Step 4 for the other two groups of four threads.
Select two of your three macramé strands. Tie a square knot using the right strand from one and the left strand from the other. Don’t pull the knot tight against the macramé—leave about an inch between the macramé and the square knot.
Take the macrame strand with the left side tied. Tie the right side of that strand to the left side of the loose strand, using a square knot as you did above.
Repeat to tie the last two macramé strands together.
Place the clay pot into the macramé plant hanger and gather all strands at the bottom to secure the pot. Tie an overhand knot to secure the threads.
Add a drop of E6000® clear adhsive on bottom of the pot to secure the threads.
Attach a French hook ear wire to the jump ring at the top of the design.
Repeat Steps 1 – 9 for the second earring.
Shop for Your Materials Here:
Copyright Permissions
The pieces featured in the Gallery of Designs are copyrighted designs and are provided for inspiration only. We encourage you to substitute different colors, products and techniques to make the design your own.
All works of authorship (articles, videos, tutorials and other creative works) are from the Fire Mountain Gems and Beads® Collection, and permission to copy is granted for non-commercial educational purposes only. All other reproduction requires written permission. For more information, please email copyrightpermission@firemtn.com.