Earrings with Sculpey® Souffle™ and PREMO Polymer Clay


Design Idea SA2C
Fresh Squeezed
-- Designer --
Elaine, Jewelry Designer, Exclusively for Fire Mountain Gems and Beads®
To learn more about Elaine Young, read her jewelry artist success story here.
: : : Materials : : :
Click here to view a full list of materials used in this design.
Please take the creative opportunity to select the products of your choice for this design, offered here at Fire Mountain Gems and Beads. Some materials may not be available or listed.
- Slats, acrylic, assorted colors, 6 inches
- Roller set, acrylic, clear, (1) 7-3/4 x 1-1/4 inch round and (1) 7-3/4 x 1-inch round
- Sanding file, abrasive and foam, dark purple and light purple, 100 and 150 grit, 6-1/2 x 1/4 inch rectangle
- Bead reamer, Beadalon®, plastic and diamond-coated steel, blue and black, 5-1/2 x 1-1/4 inches with 2-inch tips
- Jump ring, gold-plated brass, 8mm round, 6.4mm inside diameter, 20 gauge
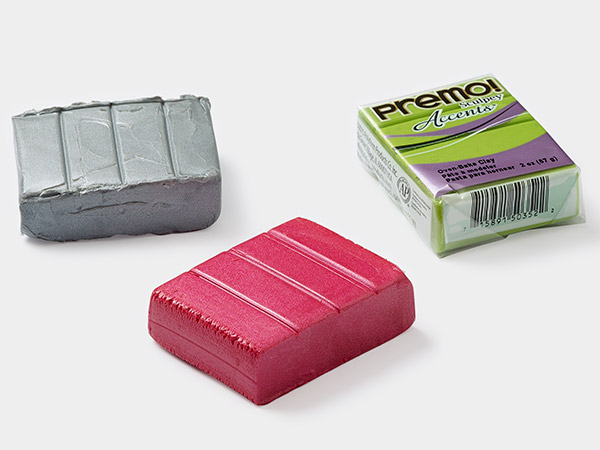
- Polymer clay, Sculpey® PREMO, white.
- Polymer clay, Sculpey® PREMO, forest green
- Polymer clay, Sculpey® Soufflé™, cowboy
- Polymer clay, Sculpey® Soufflé™, honey mustard
- Polymer clay Sculpey® Soufflé™ thistle
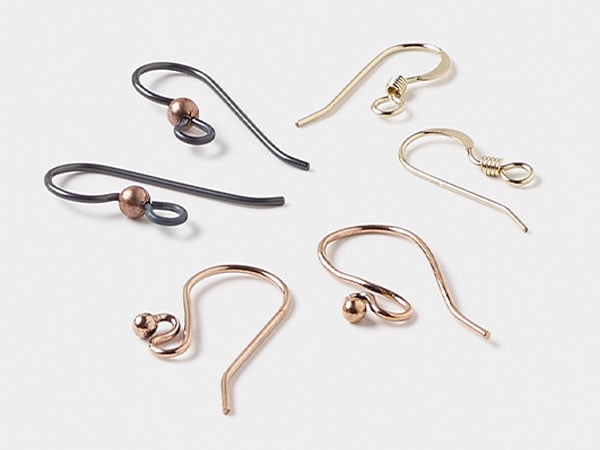
- Ear wire fishhook, gold-plated, 18mm / 10x8mm fleur-de-lis / hidden open loop, 21 gauge brass
- Glaze, Sculpey®, acrylic emulsion, satin
Instructions
Earrings Instructions
Condition cowboy (brown) Sculpey Soufflé™ polymer clay. Roll it out with a roller, using the red acrylic slat. Form it into an approximately 4-inch square.
Tip: For more instructions on using polymer clay, read “Polymer Clay—Basics and Techniques.”
Condition a small piece of white Sculpey PREMO polymer clay. Place it through a clay extruder, using the plate with 3 small holes. Extrude the clay into long ropes.
Repeat Step 2 with thistle Sculpey® Soufflé polymer clay.
Line up the ropes of white and thistle polymer clay until you have covered the cowboy (brown) clay square you created in Step 1.
Place the red 1.5mm (0.6 inch) acrylic slats on both sides of your clay. Using an acrylic roller, slowly roll in one direction to flatten the clay. Be careful not to put too much pressure on the clay so you don’t distort your lines.
Condition and roll out a small amount of both honey mustard Sculpey Soufflé polymer clay and forest green Sculpey PREMO polymer clay. Carve the shapes of lemons out of the honey mustard polymer clay. Carve leaves out of the forest green polymer clay.
Make a lemon slice by making a cane, using white polymer clay around ropes of honey mustard polymer clay. Secure them by wrapping a sheet of honey mustard polymer clay around the ropes. Roll the bundle into a rope and cut slices.
Tip: Watch “Learn How to Create a Polymer Clay Leaf Cane” for a more thorough explanation of polymer clay caning.
Make flowers by rolling a tiny piece of white polymer clay and using a dotting tool to make petals. Attach 4 petals together and place a small dot of honey mustard polymer clay in the center.
Arrange the lemons, lemon slices and flowers in your desired position. Use a clay cutter to cut out two of the shape of the bottom part of the earrings.
Using a cutter, cut out a smaller shape for the top part of the earring.
With a toothpick, make holes in the top of the lower parts of the earring. Make holes in both the upper and lower edges of the top part of the earring.
Bake your creations at 375 degrees Fahrenheit (190 degrees Celsius) for 15 minutes. Let your designs cool. File off any rough edges if necessary.
Glaze the back side of the lower parts of the earrings and both sides of the top parts of the earrings with Sculpey satin glaze.
Using an 8mm 20-gauge gold-plated round jump ring, join the top and bottom parts of the earring.
Open the loop on the back of a gold-plated fleur-de-lis fishhook ear wire and attach it to the top part of the earring. Close the loop. Repeat for the second earring.
Shop for Your Materials Here:

Copyright Permissions
The pieces featured in the Gallery of Designs are copyrighted designs and are provided for inspiration only. We encourage you to substitute different colors, products and techniques to make the design your own.
All works of authorship (articles, videos, tutorials and other creative works) are from the Fire Mountain Gems and Beads® Collection, and permission to copy is granted for non-commercial educational purposes only. All other reproduction requires written permission. For more information, please email copyrightpermission@firemtn.com.