How to Create Tubular Brick Stitch
Follow along with FMG jewelry designer Rose as she demonstrates how easy it is to create the tubular brick stitch. With just a few supplies, you can turn this stitch into necklaces, bracelets, clasps and more!

Instructions
Cut a 5-foot length of stringing material.
Thread a beading needle, almost doubling the thread to make it easier to work with, but leaving a tail so you are working with only one thread.
Leaving a 4-inch tail, string a stop bead.
Create a length of ladder stitch with the number of beads needed to span the circumference of the planned tubular brick stitch.
Note: View the ''Ladder Stitch, How-To'' how-to video and illustrated instructions for additional details.
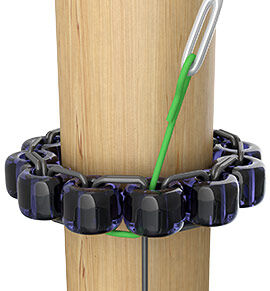
Pass through the first bead then back through the last bead of the length of ladder stitch. Pull taut to create a closed circle; this is row 1.
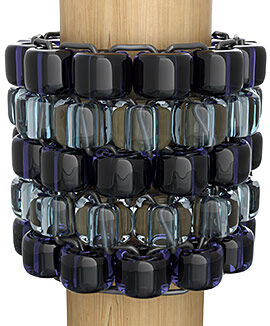
Tip: For more stability during stitching, place the circle of seed beads around a base, such as a pencil or dowel.
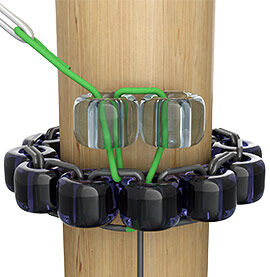
Pick up two seed beads. Pass under the thread between the first and last beads of row 1 and back through the second bead added.
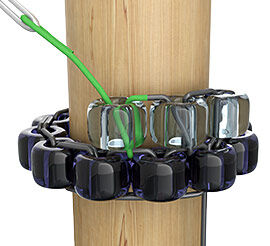
Pick up one seed bead. Pass under the thread between the next two beads of row 1, then pass back through the seed bead just added. Repeat to complete adding beads to row 2.
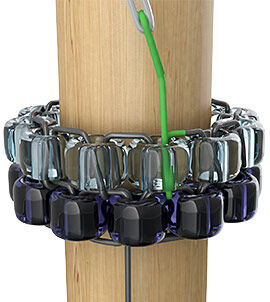
Pass through the first bead added to row 2, under the thread between the first and last bead of row 1 and back through the first bead of row 2.
Repeat Steps 5 - 7 to add the desired number of rows.
Weave the thread through adjacent seed beads several times, then pull the thread tight to secure. Trim excess thread.
Thread a beading needle onto the tail created in Step 2. Weave the tail through adjacent seed beads then pull the thread tight to secure.
Have a question regarding this project? Email Customer Service.
Copyright Permissions
All works of authorship (articles, videos, tutorials and other creative works) are from the Fire Mountain Gems and Beads® Collection, and permission to copy is granted for non-commercial educational purposes only. All other reproduction requires written permission. For more information, please email copyrightpermission@firemtn.com.