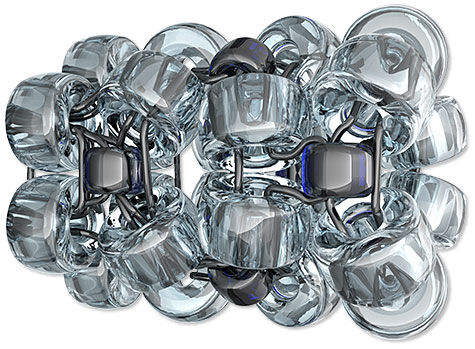
How to Create the Tubular Chenille Stitch
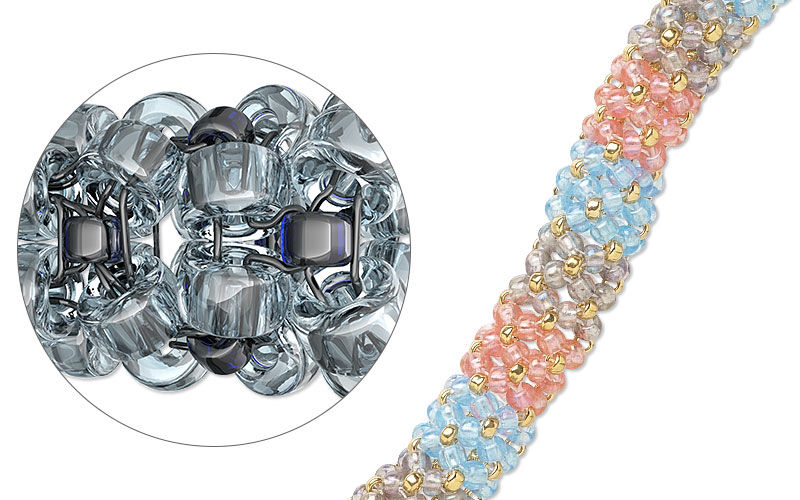

The tubular chenille stitch is a simple beadwork technique that creates a lovely floral pattern within a tubular strand. Incorporate it into your handmade jewelry with the help of this step-by-step tutorial with jewelry designer Rose.
Instructions
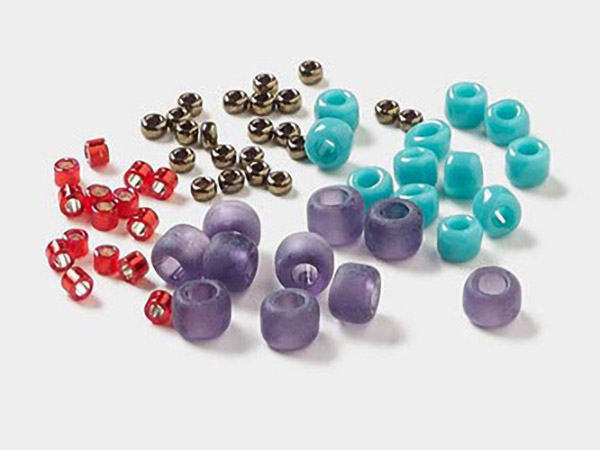
Note: This stich uses two beads, with variations in color and/or size. The illustrations are created with size 8 (A bead) and size 11 (B bead) rocailles.
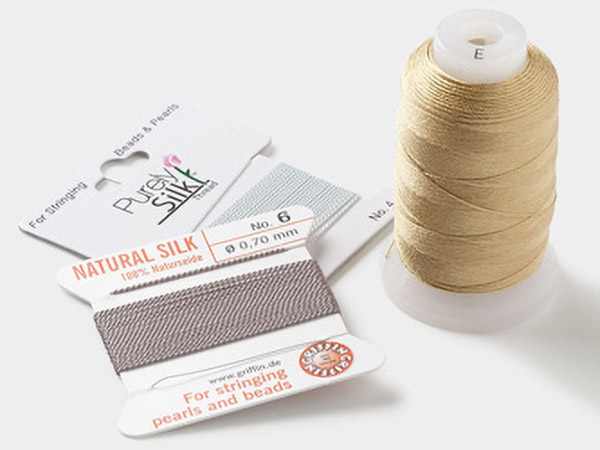
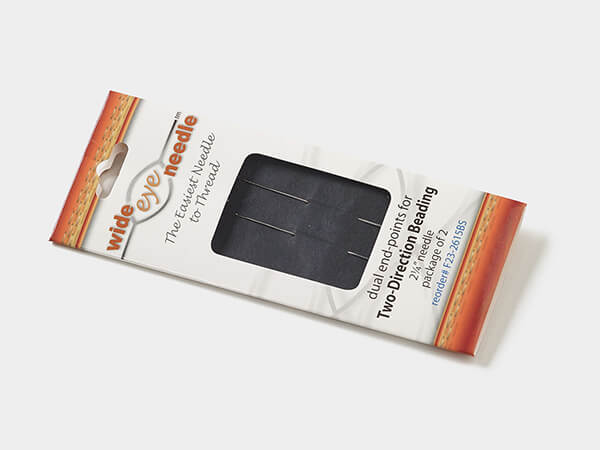
Cut a 3-foot length of stringing material then thread a beading needle, leaving a tail.
Using A beads, create a section of ladder stitch that is six beads in length.
Note: View our "Ladder Stitch, How-To" video and illustrated instructions for additional details.
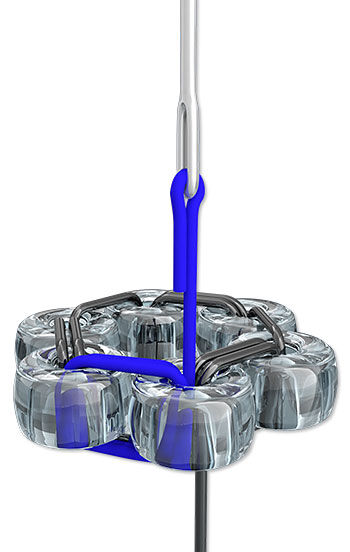
Pass through the first bead and the last bead twice, pulling tight to create a circle. Pass through again, exiting the opposite side of the circle than the tail.
Pick up one B bead. Pass down through the adjacent A bead of the previous row, then up through the next A bead. Repeat two times then pass through the first bead added.

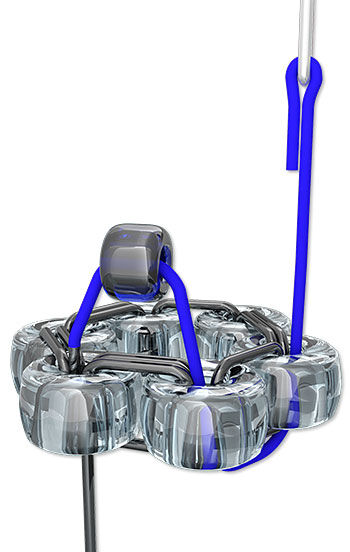
Pick up two A beads and pass through the next B bead added in the previous row.
Repeat two times then pass through the first A bead added in this row.

Pick up one B bead. Pass through the next two A beads of the previous row.
Repeat two times then pass through the first B bead added.

Pick up two A beads and pass through the next B bead in the row.
Repeat two times then pass through the first A bead added in this row.
Repeat Steps 6 and 7 until the chenille stitch reaches the desired length, ending with a Step 7 row.
Pass through the next two A beads, then pick up one A bead.
Repeat twice.
Pass through all of the A beads in the last row twice then secure with a knot.
Shop for Your Materials Here:

Have a question regarding this project? Email Customer Service.
Copyright Permissions
All works of authorship (articles, videos, tutorials and other creative works) are from the Fire Mountain Gems and Beads® Collection, and permission to copy is granted for non-commercial educational purposes only. All other reproduction requires written permission. For more information, please email copyrightpermission@firemtn.com.