Earrings with Azurite-Malachite Gemstone Beads and ParaWire™ Copper Wirework

Design Idea RG27
Earth & Sky
-- Designer --
Patti, Jewelry Designer, Exclusively for Fire Mountain Gems and Beads®
To learn more about Patti Miller, read her jewelry artist success story here.
: : : Materials : : :
Click here to view a full list of materials used in this design.
Please take the creative opportunity to select the products of your choice for this design, offered here at Fire Mountain Gems and Beads. Some materials may not be available or listed.
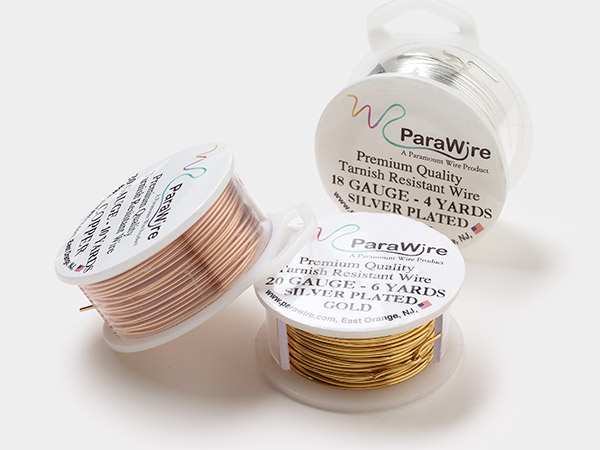
- Wire, ParaWire™, copper, round, 20 gauge
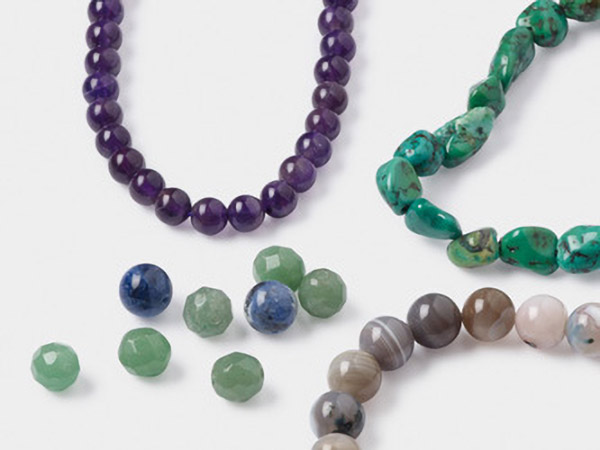
- Malachite, round bead natural 4mm
- Azurite-malachite / resin, round bead 10mm
- Rubber tool dip, liquid coating Tool Magic® 2 ounce jar white
- Sanding pads, mixed colors, 2x2 inches
- Steel Block
Instructions
Cut one 12-inch and one 2-1/2 inch length of 20-gauge round copper ParaWire™.
Thread one 10mm round azurite-malachite bead onto the 12-inch wire, leaving a 3 inch tail. Curve the long tail up and around the bead, snug against the surface. Wrap the tail once around the wire at the top of the bead.
Bring the long tail all the way around the bead snug against the existing wire, then once around the 3-inch tail just above the first wrap.
Repeat once more, then trim excess wire and tuck the tail.
Thread a 4mm round malachite bead onto the remaining 3-inch tail.
Several millimeters up from the 4mm bead, make a 90-degree bend in the wire and make a wrapped loop, wrapping the wire back down to sit snugly against the 4mm malachite bead. Cut off the excess wire and tuck the tail at the back.
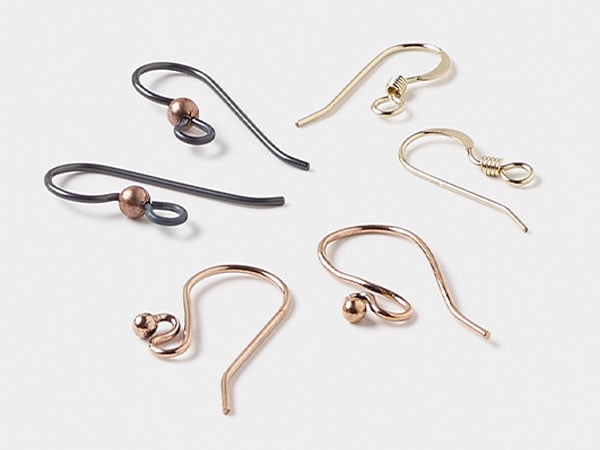
Make the ear wire by making a small flush cut at the end of the 2-1/2 inch 20-gauge round copper ParaWire so it is smooth.
About 4mm from the tip of the wire, make a small simple loop using round-nose pliers.
Seat the largest step in wire-wrapping pliers against the simple loop you just made. Rotate the pliers about 3/4 turn away from the loop.
Cut the wire about 3/4 inch from the top of the large loop.
Using the widest part of chain-nose pliers as a gauge, make a 30-degree bend outward in the end of the wire.
Use a medium grit sanding pad to soften the end of the ear wire that will go through your ear until it no longer feels sharp to the touch.
Put the ear wire on a steel block and hammer it up and down with a rawhide mallet about 20 times to work-harden it.
Attach the ear wire to the loop of the wrapped bead drop.
Repeat Steps 1 - 7 to create a second earring.
Shop for Your Materials Here:

Copyright Permissions
The pieces featured in the Gallery of Designs are copyrighted designs and are provided for inspiration only. We encourage you to substitute different colors, products and techniques to make the design your own.
All works of authorship (articles, videos, tutorials and other creative works) are from the Fire Mountain Gems and Beads® Collection, and permission to copy is granted for non-commercial educational purposes only. All other reproduction requires written permission. For more information, please email copyrightpermission@firemtn.com.