Gift Box with Czech Glass Druks and Green Ribbon

Design Idea RK22
-- Designer --
Patti, Jewelry Designer, Exclusively for Fire Mountain Gems and Beads®
To learn more about Patti Miller, read her jewelry artist success story here.
: : : Materials : : :
Click here to view a full list of materials used in this design.
Please take the creative opportunity to select the products of your choice for this design, offered here at Fire Mountain Gems and Beads. Some materials may not be available or listed.
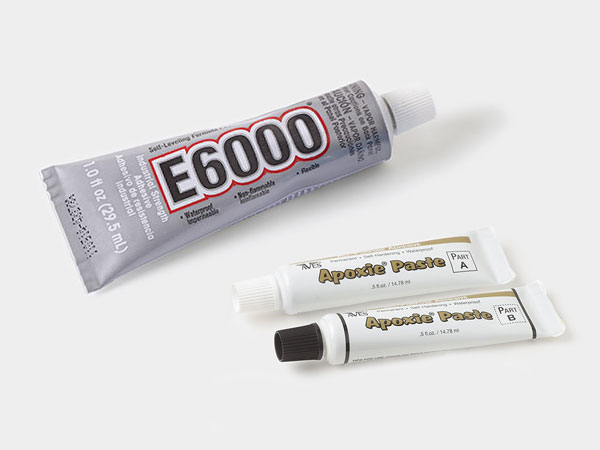
- Adhesive, Quick Hold®, clear
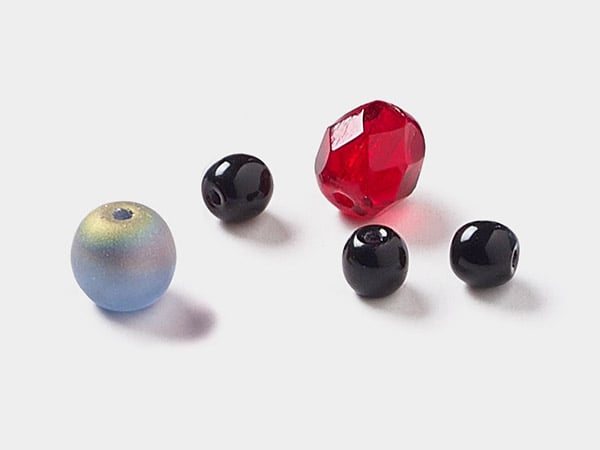
- Czech glass round druk bead pearl-coated crimson 8mm
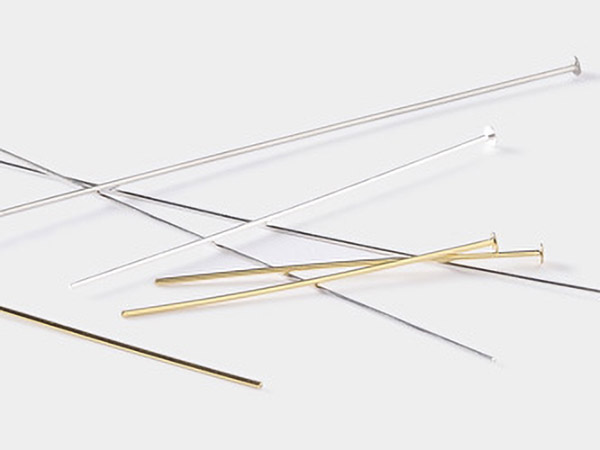
- Head pin, gold-plated brass, 2 inches, 24 gauge
- Paper / "cotton"-filled, rectangle box / swirl design black 8x2x.88 inch
Instructions
Cut the following:
- Three 20-inch lengths of 7/8 inch teal organza ribbon
- One 20-inch length of 1/4 inch red satin ribbon
Thread one 8mm pearl-coated crimson Czech glass round druk bead onto a 2-inch 24-gauge gold-plated head pin.
Repeat to make two beaded head pins. Set aside.
Make a ribbon rose by using a thick 10cm round-tipped upholstery needle as follows:
Position the thumb and forefinger of your dominant hand at the halfway point of the 10cm needle. Bring the end of one 20-inch length of 7/8 inch wide ribbon to the halfway point in your needle, on one edge.
Place the needle diagonally along the ribbon so the tip falls at the opposite edge (4-5cm down from the ribbon end). Then, push the needle through the edge of the ribbon about 1/8 inch in from the edge. Push the newly threaded ribbon down to your thumb and forefinger and grip it.
Keeping the same distance for each stitch, repeat the process, side to opposite side, until you reach the end of the ribbon.
Thread just the tip of the ribbon nearest the eye through the eye, then turn the needle slowly so the ribbon curls around the needle, creating a rose effect. If it bunches up, back it off a little, then continue turning again until you are happy with the shape of your rose.
Then, grip the ribbon at center on both sides of the needle and pull the tip of the ribbon through the center of the rose and out the bottom side, leaving about 1/2 inch of ribbon coming out of the bottom. To prevent fraying, melt the tip of the ribbon very slightly with a flame.
Thread one of the beaded head pins you created in Step 2 through the center of the rose and out the bottom. Then use round-nose pliers to roll up the tail until it cinches the rose tightly. Squeeze the rolled tail together and push it flat against the bottom of the rose.
Arrange the rose as you like. You can tighten it by twisting the center so it rolls more ribbon back up into the rose shape.
Repeat this step to make a second ribbon rose.
Lay the 20-inch 1/4 inch wide ribbon along the center on one side of the remaining 20-inch 7/8 inch wide ribbon, then flip it over so they are straight and flat on your work surface, with the 1/4 inch wide ribbon on the bottom.
Center your box, face up, on the ribbons. Then bring both sides up to meet at center over your box. Bring the ribbons down, twisting them a half turn so they go in the opposite directions, then bring them down around to the back of the box.
Adjust the ribbon so it looks neat on the top and sides, making sure the 1/4 inch wide ribbon stays centered on the 7/8 inch wide ribbon.
Secure one set of ribbon, then the other with invisible tape.
Add a ring of Quick Hold® adhesive to the bottom of one ribbon rose. Adhere it to the top of the box to one side, a bit back from the center. Repeat for the second rose, arranging it closely and diagonally to the first. Let the adhesive dry.
Shop for Your Materials Here:
Copyright Permissions
The pieces featured in the Gallery of Designs are copyrighted designs and are provided for inspiration only. We encourage you to substitute different colors, products and techniques to make the design your own.
All works of authorship (articles, videos, tutorials and other creative works) are from the Fire Mountain Gems and Beads® Collection, and permission to copy is granted for non-commercial educational purposes only. All other reproduction requires written permission. For more information, please email copyrightpermission@firemtn.com.