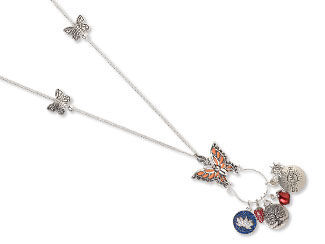
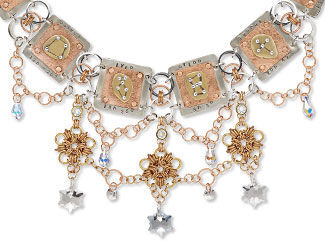
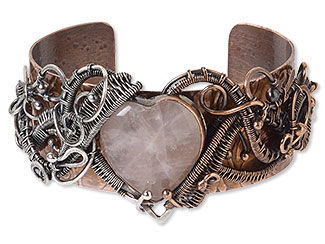
Six Ways to Create Cold Connections

The image of the blacksmith is powerful: using fire to form, alter and connect metal shapes. However, fire is not required to create connections between multiple pieces of metal.
When you want to connect a variety of metal components together without using heat, you can using what is called a "cold connection." (Soldering, welding and firing silver clays make warm connections.)
Depending on the material you are working with, cold connections might prove to be the essential technique to employ, as the heat of a torch is not compatible with everything. Leather, paper and a range of acrylic materials are good examples of when heat is not the best option. Rather than feel limited, embrace the opportunities that cold connections give and explore the variety these techniques give to your designs.

Some techniques use tools and supplies right off the shelf, while others require more hands-on investment to apply. Cold connections come in three different categories: adhered, pierced and embedded. Adhered cold connections are created with glues and clays. Pierced cold connections include riveting and wireworking. Embedded cold connections use bonding materials such as Apoxie® Sculpt and pourable resins.
Throughout this article, you'll find tips, techniques and metals information from jewelry-making expert Tammy Honaman, drawn from her own experience creating jewelry and décor items using cold connections.
Preparing Your Metals
You might be using pre-cut metal shapes, since there's so much variety. When pre-cut shapes don't work, you get to go custom. There are three ways to efficiently and effectively cut metal sheet: disc cutters, shears and saws.
Disc cutters save time, especially if a design needs multiples of the same shape. Most disc cutters will cut precise shapes in 36 to 20 gauge sheet metals. Some types of disc cutter can cut beveled as well as straight edges. Metal sheet shears use the same motion as scissors and will cut metal sheet as thick as 18 gauge and wire up to 1mm in diameter. A jeweler's saw, saw blade and bench pin will get nearly every job done, and without the need for a lot of hand-filing afterward. Just be sure to choose the right blade for the type and gauge of metal you're cutting.
Tip from Tammy Honaman: Saw blades work best if you coat them lightly with beeswax just before you begin sawing.
Be sure to file the edges of your cut metal pieces to prevent damage to other components—or to customers.
Adhered Cold Connections: Glues and Clays
1. Glues
Glues are usually the first method jewelry makers use to connect metal surfaces together. The best metal-to-metal connections are created by adhesives with certain qualities: minimal shrinkage, industrial-strength adhesion and gap-filling properties.
When gluing metals together, it is critical to prepare their surfaces. Even the best adhesives need something to grip, so designers need to lightly sand the surface to create roughness or drill holes into the metal to facilitate adhesion. This is especially important for metals with highly polished, glossy surfaces or protective coatings.
Our in-house jewelry designers recommend the following glues for creating metal-to-metal connections:
E-6000® Plus
- This multi-purpose glue will bond to just about everything. Components can be adhered and adjusted repeatedly until the glue dries. This is a very thick adhesive, with tremendous gap-filling qualities and superior adhesion. Once dried, E-6000 Plus remains flexible and is ideal for pieces that may undergo pressure or torque. It is also waterproof, UV resistant and washer/dryer safe. E-6000 Plus needs to be clamped as it dries to prevent component separation.
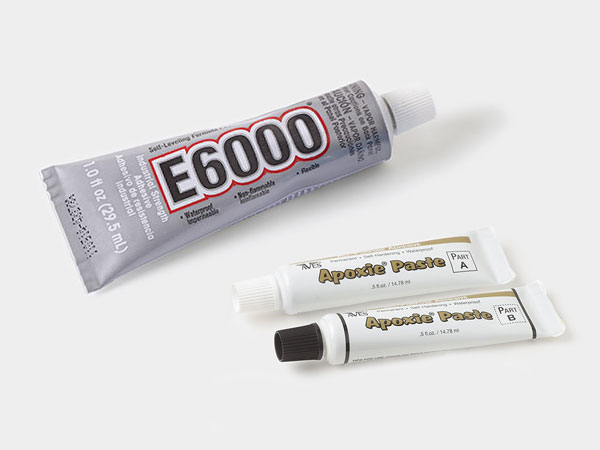
Devcon Jeweler's 2-Ton 2-Part Epoxy
- This two-part epoxy dries clear and creates a very strong, tight bond. It is available with a 5-minute or a 30-minute curing time, with the 30-minute version creating the tighter bond. To create the strongest connection, lightly coat each surface as you would with a contact cement, wait briefly until the sides are slightly tacky, then place the two pieces together. They will instantly adhere. The metal pieces will be fixed in place and will not be adjustable.
GORILLA™ Glue
- GORILLA Glue is ideal for projects that require a firm connection, with plenty of time to set and cure. This brand is available in a range of formulas, so review product descriptions! Some formulas of GORILLA Glue foam to fill gaps, others do not. Some require moisture to cure, others should avoid wet surfaces—check to see how individual glue formulas should be used. Foaming types dry over the course of 3-4 hours and need to be clamped during this time to prevent the glue from pushing components apart.
Tip from Tammy Honaman: When using enameled metal components in a design, glues are a great way to go for securing your assembly. These products do not require any force or impact, so they will not damage enameled surfaces. If you need to clamp a design, put felt or thick fabric between the end of the clamp and the enameled surface.

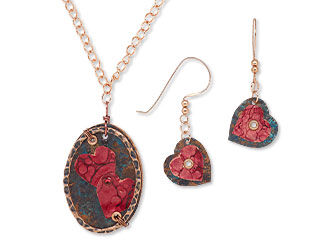
2. Clays: Polymer Clays and Resin Clays
Polymer clays and Vitrium® resin clay can be used to connect multiple pieces of metal together, especially openwork or filigree styles. These clays add a variety of color possibilities to the connections between metal components, which most clear-drying glues cannot do.
Polymer Clays
- This is not entirely a cold connection, as all polymer clays need to be baked to cure. However, the bright colors possible with polymer clays are too important to overlook—and most metals are safe to bake at the temperatures required for polymer clays. Double check for resin coatings, decals or color films (Lazer Lace™ uses color films) before you bake. Embed filigree components in polymer clay to create double-sided components and jewelry that has the flash and strength of metal with the controllable, blendable colors created by artists using polymer clays. Popular brands include Cernit® and a variety of Sculpey® clays.
Vitrium Clay
- This is a completely cold connection, as Vitrium is an air-dry resin available in both opaque and translucent versions. Colors can be added to both types using paints, inks, markers, highlighters and other color sources. Use opaque Vitrium as a backing for metal components or create stained-glass style pieces with openwork metal components and translucent Vitrium.
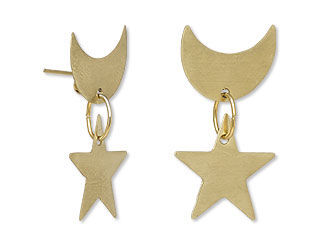
Pierced Cold Connections: Riveting and Wireworking
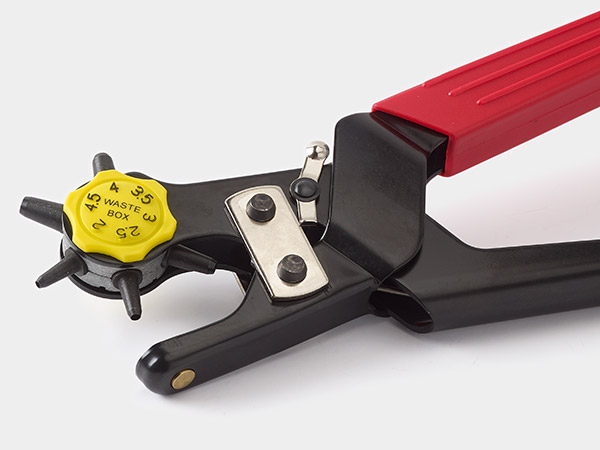
Creating the proper sized hole is the first step to all pierced cold connection techniques. Hole punches or rotary drilling tools are essential to joining materials together without fire. Holes of the proper size allow the passage of the hardware: eyelets, rivets or wire.
The key to successful pierced cold connections is to ensure to eliminate gaps between the hardware and the material being joined. Holes that are too large allow the hardware to wobble, rather than holding the layers together. This applies to all types of cold connection, especially piercing-based types.
Tip from Tammy Honaman: When adding leather layers, I tend to use a smaller hole punch size than the rivet or wire's diameter, as the leather will give and stretch a little. The smaller hole limits the room the rivet or wire has to move in, therefore keeping it in place and creating a better connection.
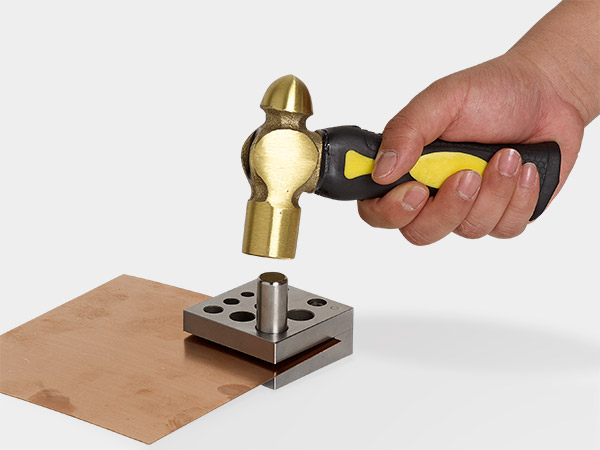
3. Riveting
Rivets are a great way to combine layers of material together. Riveting is much easier and less intimidating than it sounds. It can be done with any of these easy-to-obtain materials: rivets, brads, wire, grommets or crimp tubes.
When riveting, it is critical to choose the material according to the size of the opening or drill hole in the metal. If the hole is too small, the rivet will not fit. If the hole is too large, the rivet will slide, slump, bend or distort. Tidy rivets hold better, preventing components from working apart as well as adding a professional appearance to designs.
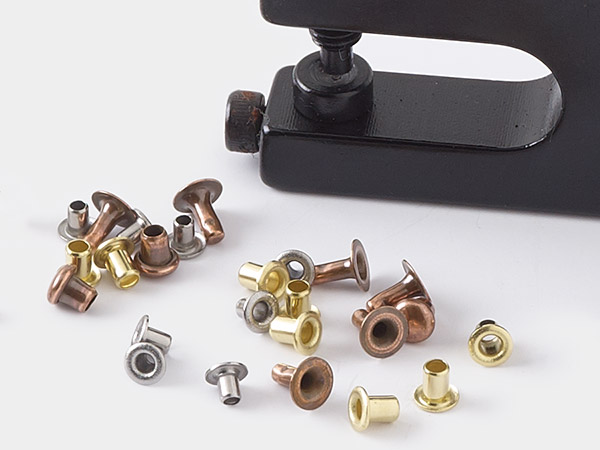
Open Rivets
A rivet made of a grommet, tube or crimp tube connects multiple layers together while allowing for the insertion of a jumpring, wire or other additional connections, embellishments or materials. Open rivets are easily created using grommets, tubes and crimp tubes.
A grommet is simply a tube with one flared end already prepared. They are ideal for larger drill holes, as grommets measure 2mm to 8mm in diameter and are available in brass with a range of plated finishes and sterling silver.
The flared ends hold the layers together and the tube forms a hole that passes through all the layers. Having a tube that is the proper length for the layers being joined is key to the success of this process. If necessary, trim the tube with a jeweler's saw.
One of the greatest benefits of using open rivets is that the hole doesn't need to be filed. The open rivet lines the hole, protecting materials passing through it. This can save you significant time during jewelry production.
For step-by-step instructions, see the Riveting with a Tube or Crimp Tube how-to video and illustrated instructions with jewelry-making guru Tammy Honaman.
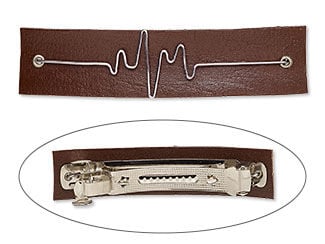
Solid Rivets
Riveting with wire and other solid materials can be more challenging, as you have a wider spectrum of materials to choose from. However, more material choices also leads to greater flexibility in your designs.
A wire rivet is formed into a nail-like head on each end, with the layers to be joined sandwiched in between then held in place. A ball-peen hammer, vise and flush-cutter pliers are essential for this technique.
Lightly filing the hole is recommended, to prevent wear on the solid rivet, especially for pieces (such as bracelets or belt components) that might be exposed to impacts or similar contact.
For step-by-step instructions on this process, view Tammy's how-to video: Riveting with a Wire Rivet.
4. Wireworking
Wireworking includes a number of techniques for binding two pieces of metal together: wrapping, "stitching" and linking. Jewelry makers can expand their wire-based cold connections to include wrapping, weaving and stitching with wire.
Wire-Wrapping
- The same techniques used to wrap multiple pieces of metal wire together to create jewelry can be expanded to include other kinds of components as well. Wire-wrapping can be adapted to attach layers of wire, metal sheet and gemstone components.
Wire-Weaving
- This method draws on the same techniques used with yarn and other fibers, such as loom weaving, knitting, crochet and more. Designs that utilize wire-weaving can contain wire and metal sheet, as well as embedded beads, drops, mountings, settings and other jewelry-making components.
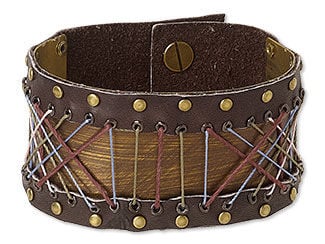
Wire-Stitching
- Another technique adapted from fiber-based arts, wire-stitching uses some of the same methods that tailors and seamstresses use to fashion clothing. Use wire-stitching to replace a line of rivets, create hinged pieces and embellish designs with appliqué-style layers.
Tip from Tammy Honaman: Metal-on-metal (or "galvanic") corrosion can cause unnecessary wear and tear on jewelry. Galvanic reactions occur when noble metals like silver and gold come into direct contact with base metals like copper, iron or aluminum. These metal types, when put together, swap electrons and begin to corrode each other, an effect which becomes worse when the metals are exposed to water. Zinc-based alloys interact poorly with stainless steel, so use anodized wire surfaces as an insulator against galvanic corrosion.
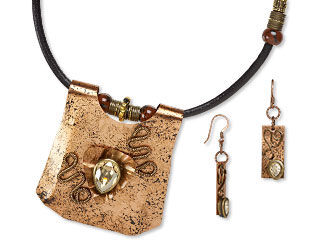
Embedded Cold Connections: Adhesive Clays and Pourable Resins
The final way to connect two metal components is to embed them in another medium. These materials are liminal and transitional. In some ways they are like glues, in other ways like clays: moldable, shapeable, malleable—but jewelry makers tend to use them most as a medium for embedding other materials into.
5. Adhesive Clays
Apoxie® Sculpt
Apoxie Sculpt allows the jewelry designer to design with the ease of glues while retaining the color benefits of resins and clays: connecting metal components, adhering them to a range of other materials and embedding metal in colorful backgrounds. Apoxie Sculpt is a two-part epoxy clay that gives the adhesion power of epoxy and the moldable flexibility of polymer clays. It is a self-hardening dimensional adhesive with 0% shrinkage, has 1-3 hours of working time and cures at room temperature within 24 hours.
Apoxie can be mixed by hand into a smooth, putty-like clay. Designers can create custom colors to match or contrast with other design elements. It is at its most adhesive in the first 30 minutes of mixing. It is non-toxic, non-hazardous and non-flammable. It is also waterproof once cured, yet it can be painted, dyed and tinted any color. Within 24 hours, Apoxie Sculpt is fully cured and waterproof, with a flat to semi-gloss finish.
Apoxie has tremendous gap-filling properties and extremely strong adhesion. Apoxie works on vastly different metals, adhering to almost any clean surface. It has a smooth consistency and does not shrink or expand during drying and curing. It can be used to fill bezels and openwork components, allowing for other metal components to be embedded, attached or connected—all without torches, metalsmithing tools, kilns, dedicated baking ovens or other expensive equipment.
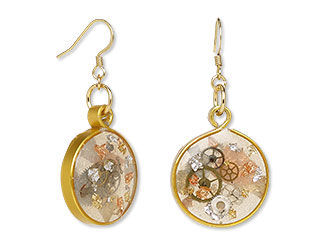
6. Two-Part Pourable Resins
Two-part pourable resins
Two-part resins are an easy way to join multiple metal pieces together, suspending them forever merged or interlocked in fascinating, original components. Designers can create custom links by running wire through the center or embedding jump rings on the sides or back. These molds—plus bezels and lockets—can also be filled with beads, glitter, crafting paper and polymer clay creations. Jewelry resins dry clear and offer a slight magnification of the objects placed inside.
Most resins cure clear, but you can easily change the color with low-moisture pigments and specially made, highly saturated dyes. Color an entire batch or swirl metal components through dyes after the resin has been poured, but before it sets. Create wafts of smokey grey, colorful combinations, blue ocean-inspired waves and countless other looks that permanently connect metal components together—or with other materials.
Tip from Tammy Honaman: When working with paper elements or photos, be sure to apply a layer of Mod Podge®, resin or similar material, covering both sides and the edges to create a waterproof surface.
Connect mixed metals using these cold connection types, all without soldering or other "hot" metalsmithing techniques. Use different kinds of cold connections to create layered and pieced designs from multiple metal materials, as well as adding leather, paper, fabric and more!
Shop for Your Materials Here:
Have a question regarding this project? Email Customer Service.
Copyright Permissions
All works of authorship (articles, videos, tutorials and other creative works) are from the Fire Mountain Gems and Beads® Collection, and permission to copy is granted for non-commercial educational purposes only. All other reproduction requires written permission. For more information, please email copyrightpermission@firemtn.com.