Setting a Cabochon with a Bezel Pusher and Burnisher
by Tammy Honaman, Author, Jewelry-Making Expert and Educator, Exclusively for Fire Mountain Gems and Beads®

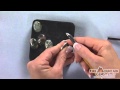
Instructions
Step 1
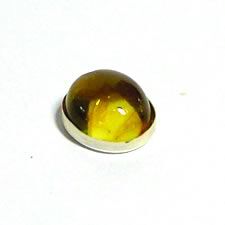
Place the cabochon of your choice into a bezel that will accommodate it.
Note: Verify the cabochon is calibrated or a larger setting may be required: sizes on non-calibrated cabochons vary slightly.
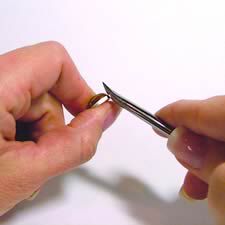
Step 2
Looking at the bezel as if it's a clock, place the bezel pusher against the bezel at the 3 o'clock position. Push on the tool, gently but firmly pressing the edge of the bezel against the cabochon. Repeat by pressing against the bezel at opposing positions: 9 o'clock; 6 o'clock; and then 12 o'clock.
Note: By pressing against the bezel in opposing positions you create equal pressure against the cabochon, keeping it centered as well as moving the metal equally as you work your way around the setting.
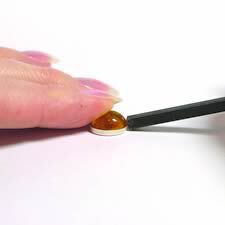
Step 3
Repeat Step 2, pressing on the bezel at the middle of each section created in Step 1, working in opposing positions.
Step 4
Repeat Step 3, pressing on the areas of the bezel that are still not flush against the cabochon. Work on any areas that are still not pressed cleanly against the cabochon so they are flush as well as so the cabochon is secure.
Step 5
To smooth out any imperfections and to shine up the bezel, press the belly of the burnisher along the side of the bezel until you are pleased with the finish.
Shop for Your Materials Here:


Have a question regarding this project? Email Customer Service.
Copyright Permissions
The pieces featured in the Gallery of Designs are copyrighted designs and are provided for inspiration only. We encourage you to substitute different colors, products and techniques to make the design your own.
All works of authorship (articles, videos, tutorials and other creative works) are from the Fire Mountain Gems and Beads® Collection, and permission to copy is granted for non-commercial educational purposes only. All other reproduction requires written permission. For more information, please email copyrightpermission@firemtn.com.